I've been sorting and packing lately, today, I decided I needed to do something crafty.
So I finished three pocket letters. First up, Robots:
That middle piece was pink, my robots wouldn't have gone with it, but I really wanted to use it, so I painted it.
This is made from a couple sheets of robot stickers layered on paper.
Bugs:
Remember this post, the sticker book was these stickers. Ever since I saw the sticker book, I've been wanting to create a PL with it, so I did.
Last one, hot air balloons and flying:
Top row: stickers on polka dot background, part of a PL card, handwritten words and a balloon sticker, hot air balloon PL card.
Middle row: chipboard balloon stickers, steampunk hot air balloon sticker, a balloon PL card with part of another card.
Bottom: random background, trimmed PL card, chipboard hot air balloon sticker. I also added a PL card to the front of the pockets.
I LOVE this one. Sadly, most everything on it is from swaps or garage sales, I couldn't remake it if I wanted to.
Handmade embellishments are a big thing right now, so I tried making some with my decorative edge scissors.
And some more
I'm planning on adding punches, some flags and words to these
These, I made with punches:
I plan to add some words. I really like these.
My boss' birthday was on the 2nd, and she likes elephants. Apparently, I have a lot of elephant things, so I made her a flip book/card:
This first page has an elephant note sticker with a couple words, a vellum quote and some balloon washi tape. I also added a star paper clip to the top.
After you flip it open:
a couple close-ups
I used some star stickers from a swap, a candle from a project life card, I spelled out "Make a wish" with alphabet stickers. The blue elephant is a sticker, the other elephant is from some washi tape.
The next page:
The top elephant was received in Ginnie's PL, the red elephant was drawn for me, the elephant with balloon was in a baby paper kit, the quote is from the elephant washi tape, I also used the balloon washi on this one.
After you flip the above page open
close-ups:
This was on the tissue paper Cynthia wrapped her PL in, the "happy birthday" is from a box that stickers came in.
This quote was on the back of a PL that I bought at a garage sale.
My last post was all about these great flipbooks I made for my friend Amanda, check out the video she made on them:
I love how she reacts. Every time I feel crappy I watch her videos of the stuff I've sent her. You should all check out her channel. Sometime in the future, I feel I might be sending her more butterflies and owls.
I feel it's been awhile since I posted what people have sent me. Most of these are from the group I'm a part of on Facebook. It's called Pocket Letters for Beginners.
This one is from Nancy. I picked it up before going to work, so this picture is on my desk at work
She did a seaside theme. I love the fish, they are actually 3D wooden fish, I don't know what they were in their previous life, but the one in the top right corner is affixed to a paperclip. The dog at the bottom is on the outside of the letter, and the straws are real little straws in his drink. His lei, is sequin flowers.
This next one is from Ginnie, she had someone fall through, so I got this great elephant pocket letter. I love how she had it wrapped up:
And the front is stuffed with elephants. The paper underneath is peanuts. I really like the typewriter piece in the middle.
Here's the back:
I love the paper she used.
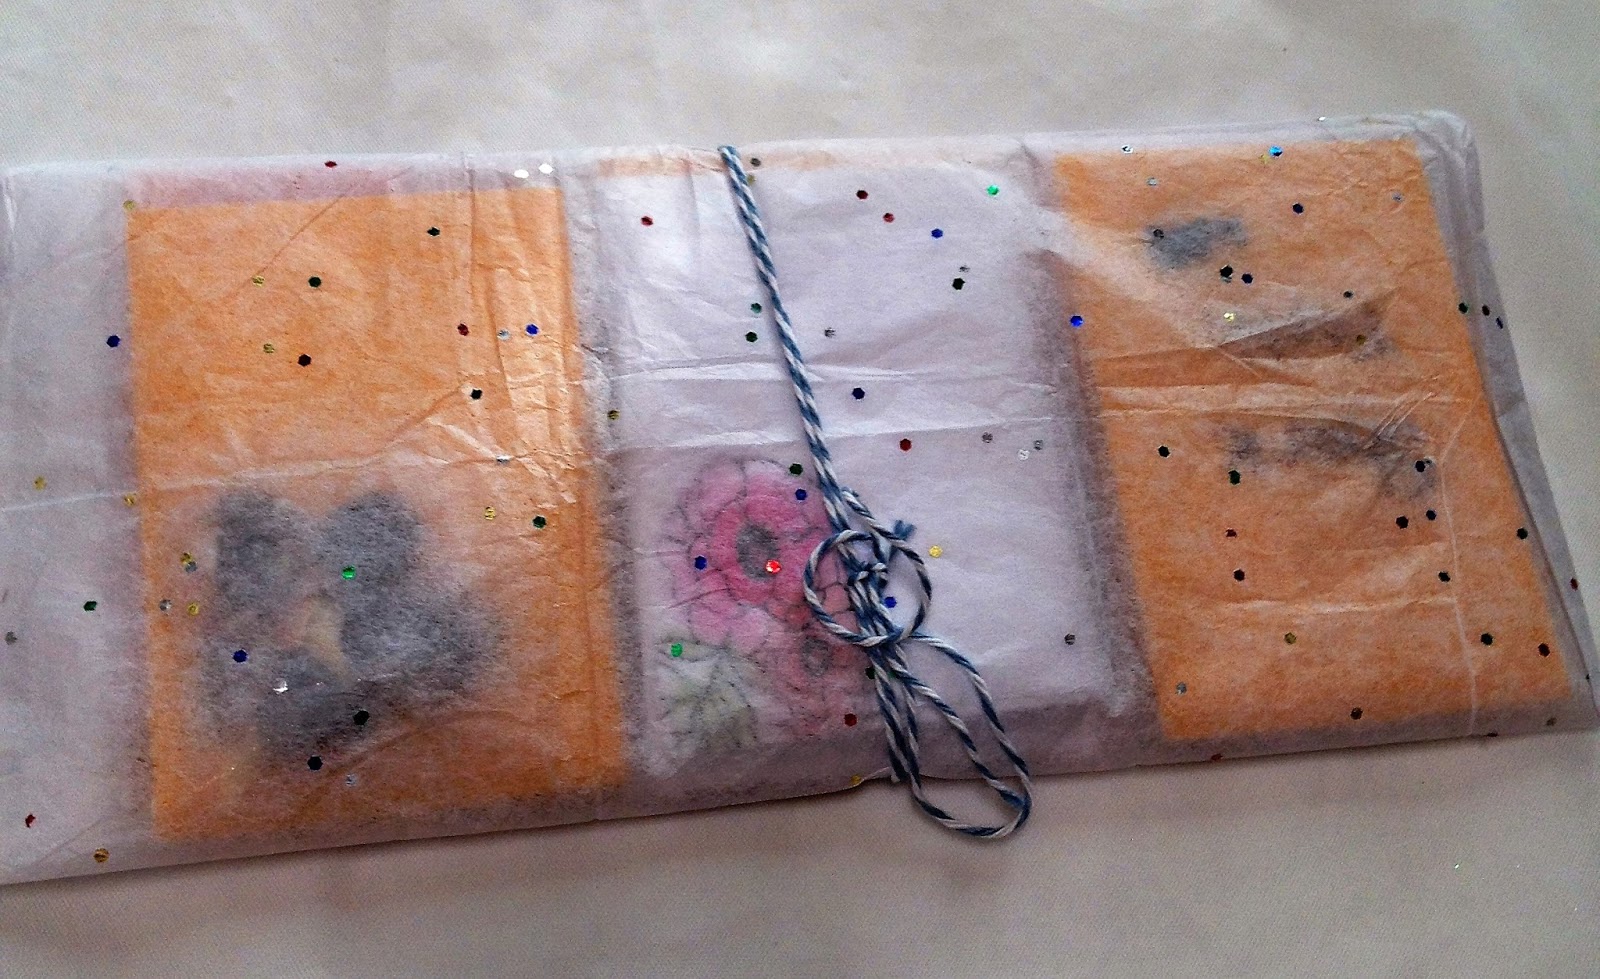
This one is from Susie, we decided to do an Under the Sea theme. Here's hers all wrapped up:
And the front:
She included some shark teeth she had collected in the goodies.
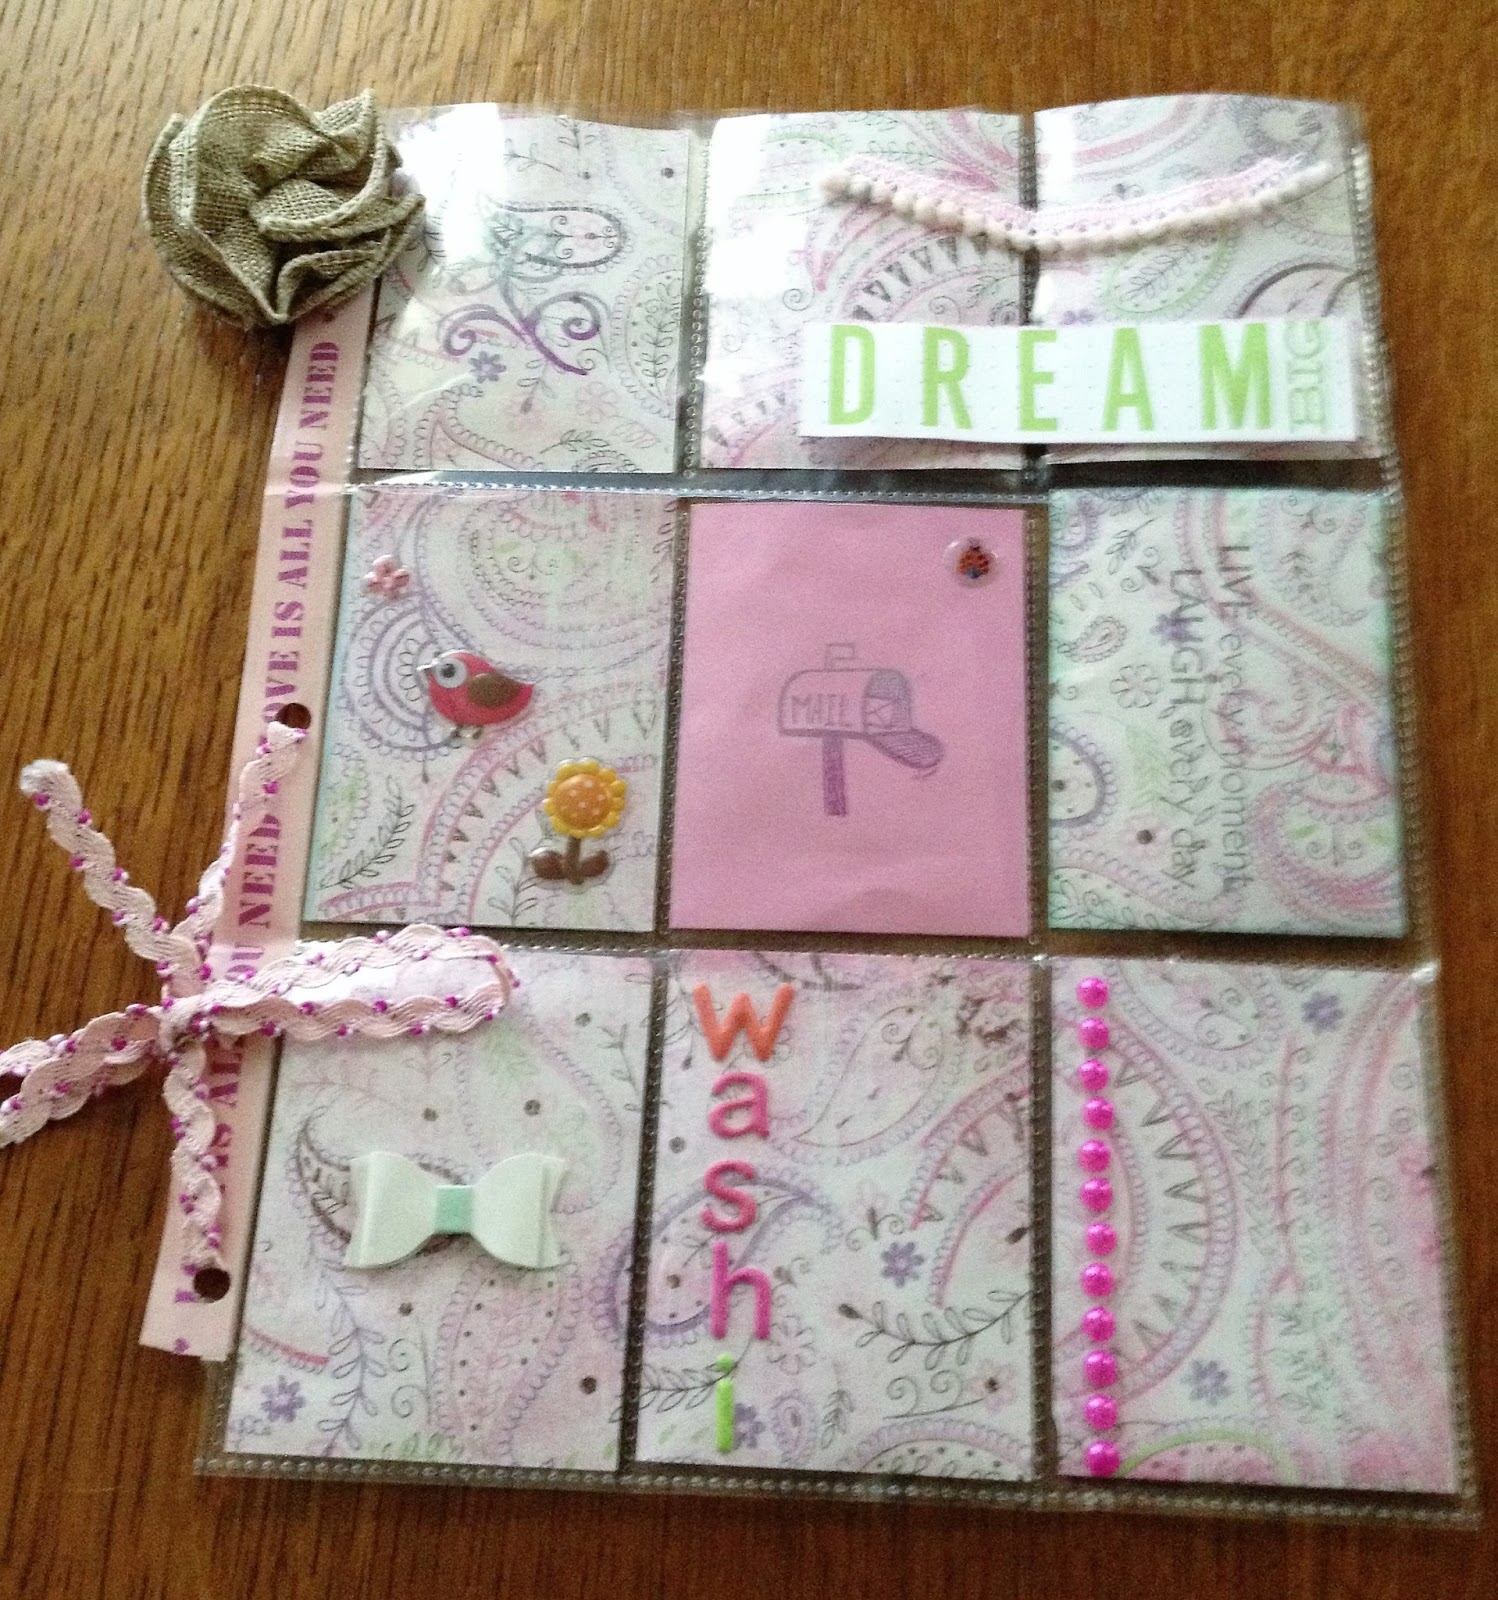
This one is from Jamie. Here it is all wrapped up:
And the front:
I love the burlap rose on the top. She said she was a beginner and not to hold that against her. I love it.
I signed up to do a Goody Bag swap in another Facebook swap. Basically, we were to fill a snack size ziploc with goodies and send them off to our partners.
This one, I received on Saturday, it was a nice surprise, from Megan:
I love those critter stickers, and I used some of those word stickers in a PL already.
Today, I had 3 packages in the mail.
This first one is from Maria, it's 3D stickers and some washi samples.
This next one was a RAK (Random Act of Kindness) from Ginnie.
A RAK, is just sending something fun to a friend. I consider the package I sent Amanda, a RAK. It's just fun to get something you weren't expecting in the mail.
This last one was another goody bag from Pam:
And that is my happy mail. Anyone else getting anything fun in the mail?
I traded pocket letters with Amanda K. And she likes butterflies and owls. My plan was to make an owl pocket letter and fill it up with butterfly embellishments. Then I decided to make her a couple flip books. They are new to me, so I'm trying to get better at making them. They are two different bases.
First up, the butterfly book. I took a 12x12 sheet of double sided paper, folded it in half and then in half again, and then cut one of the folds for this one. I saw this technique on Amanda's channel. I like this technique because you don't use washi to bind it. I don't know about other people, but sometimes my washi will not stick. I have tried using a washi I know is a bit better in quality, but it still doesn't work.
The front: I did add the washi tape to look like it was holding it together, but it's just decorative. The butterfly at the top, I got in a swap and added it to a clothespin, it's purely decorative. The large butterfly on the front is acetate and attached with foam tape. The bottom is polka dot fabric tape.
The first flip:
Left page:
This is just a band that's attached on the sides to hold the butterfly stickers. All the paper I added was in the same paper pack as the background paper. The flower stickers are dimensional, I also added a couple paper clips: a page flag and a swirl.
I like my pages to be able to stand alone even when the extras are taken out. With this page, I added another piece of paper over the background paper.
The right page:
This paper matches the band on the other side, I added some unused postage stamps. On the right I have a ziploc baggie of butterfly ephemera.
When you flip the bag up (or remove it):
There are a few silver butterflies underneath. The top and middle ones are stickers. The bottom one is metal someone sent me in a swap.
The second flip, you flip the above page up:
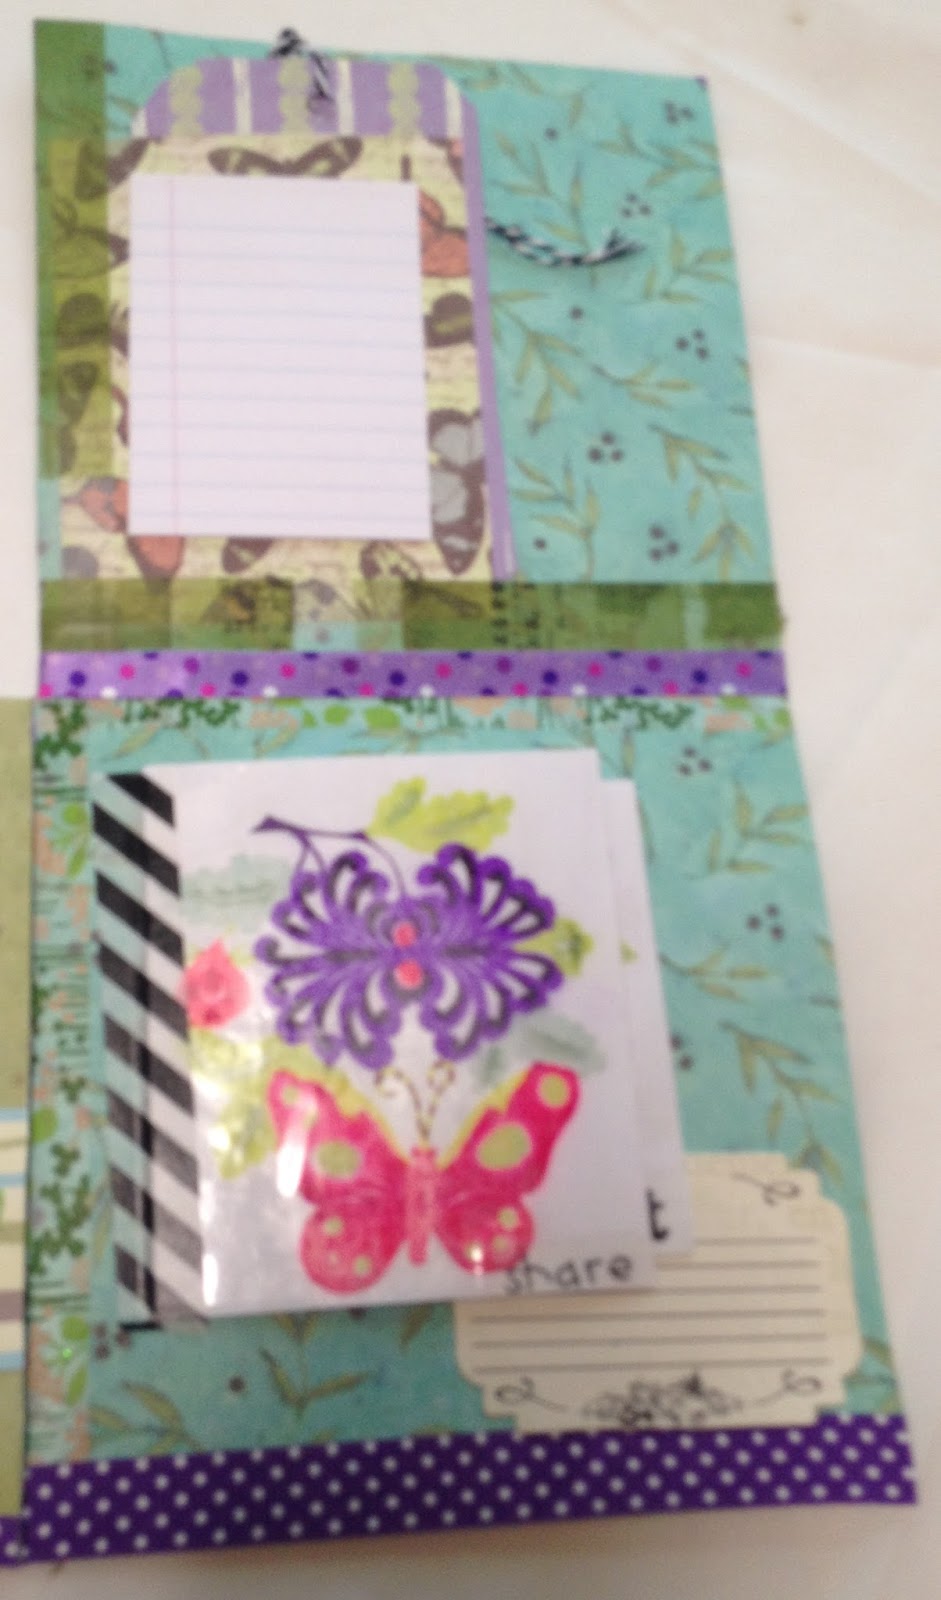
The top page:
I added a pocket (this paper was not from the paper pack) I glued the pocket down and used some washi. The tiny notebook paper are post-it notes. I made some tags with paper from the same paper pack. I added Favorites to the top of the page with a list underneath for Amanda to fill out for me.
The bottom page:
I love these flips. These two pieces are rice paper Japanese paper cuts I bought at a garage sale. They are so delicate, they were in between two pieces of tissue paper. I didn't know what to do with them for forever. I thought they'd be great to make flips out of, but I didn't know how to stop things from getting stuck on them. I finally added some clear acetate over the top (sadly, the glue didn't really keep it on, so I had to tape the sides with clear tape).
When you flip this one open:
The back has a rub-on with some stickers and the other paper cut is opposite.
When you flip this one open:
The back is a couple more rub-on's with some more stickers. There is a journaling card that I filled out my favorites of the ones I asked Amanda to fill out.
Here is a picture of the whole flip book open, you can see how I folded and then cut the fold to make the flip book:
A close-up of the top of the left page:
The butterflies on top are actually vellum and clear, they got lost in the page, so I put them on white cardstock and glued them down. The envelope has some stickers in it. The fairy sticker was from my trip to a seed farm in east Iowa a few years ago.
The bottom page:
I created another pocket with paper from the paper pack. I don't seem to have a picture of the tags. One of them is a sticker, the other one is a project life card that I added a sparkly butterfly sticker and a quote sticker to. The butterfly on the left matches the ones above. The one in the middle is from a Tim Holtz sticker pack. The Happy Day piece is a rub-on. I also added some along the seam line.
I had a hard time finding butterflies to use, until I finished it and found all the butterflies I had set aside to send to Amanda (story of my life).
Here's the second flip book. This one is my favorite. It's supposed to look vintage and when she opens the flips, she sees the owls. This one, I used some paper I had cut down from 12x12 to 6x6. It's from The Heirloom Stack by DCWV. I glued them together to make double sided pages. I used some brown washi that kinda looks like a ruler to bind it.
The front:
The flower in the top is actually purple and peach, but it looked nice. I made some banners from washi tape. The cameo is something I picked up years ago at an antique mall that was going out of business, I had already sewed it on to the brown fabric. The 'discover' sticker is chipboard.
When you open it:
I noticed I don't have a close-up of these pages (oops). The left page has watercolored like clock on it. I added the polka dot bag to hold duplicates of the project life cards I used. I added the steampunk tape as decoration, the bag is actually held down with double sided tape.
The right side has the 'smiles' and 'good times' on the paper. The cameo is paper glued into a metal frame with an acrylic oval on top of it. The 'cameo embroidery' is vintage packaging. There is also a strip of ribbon on the bottom.
The next flip:
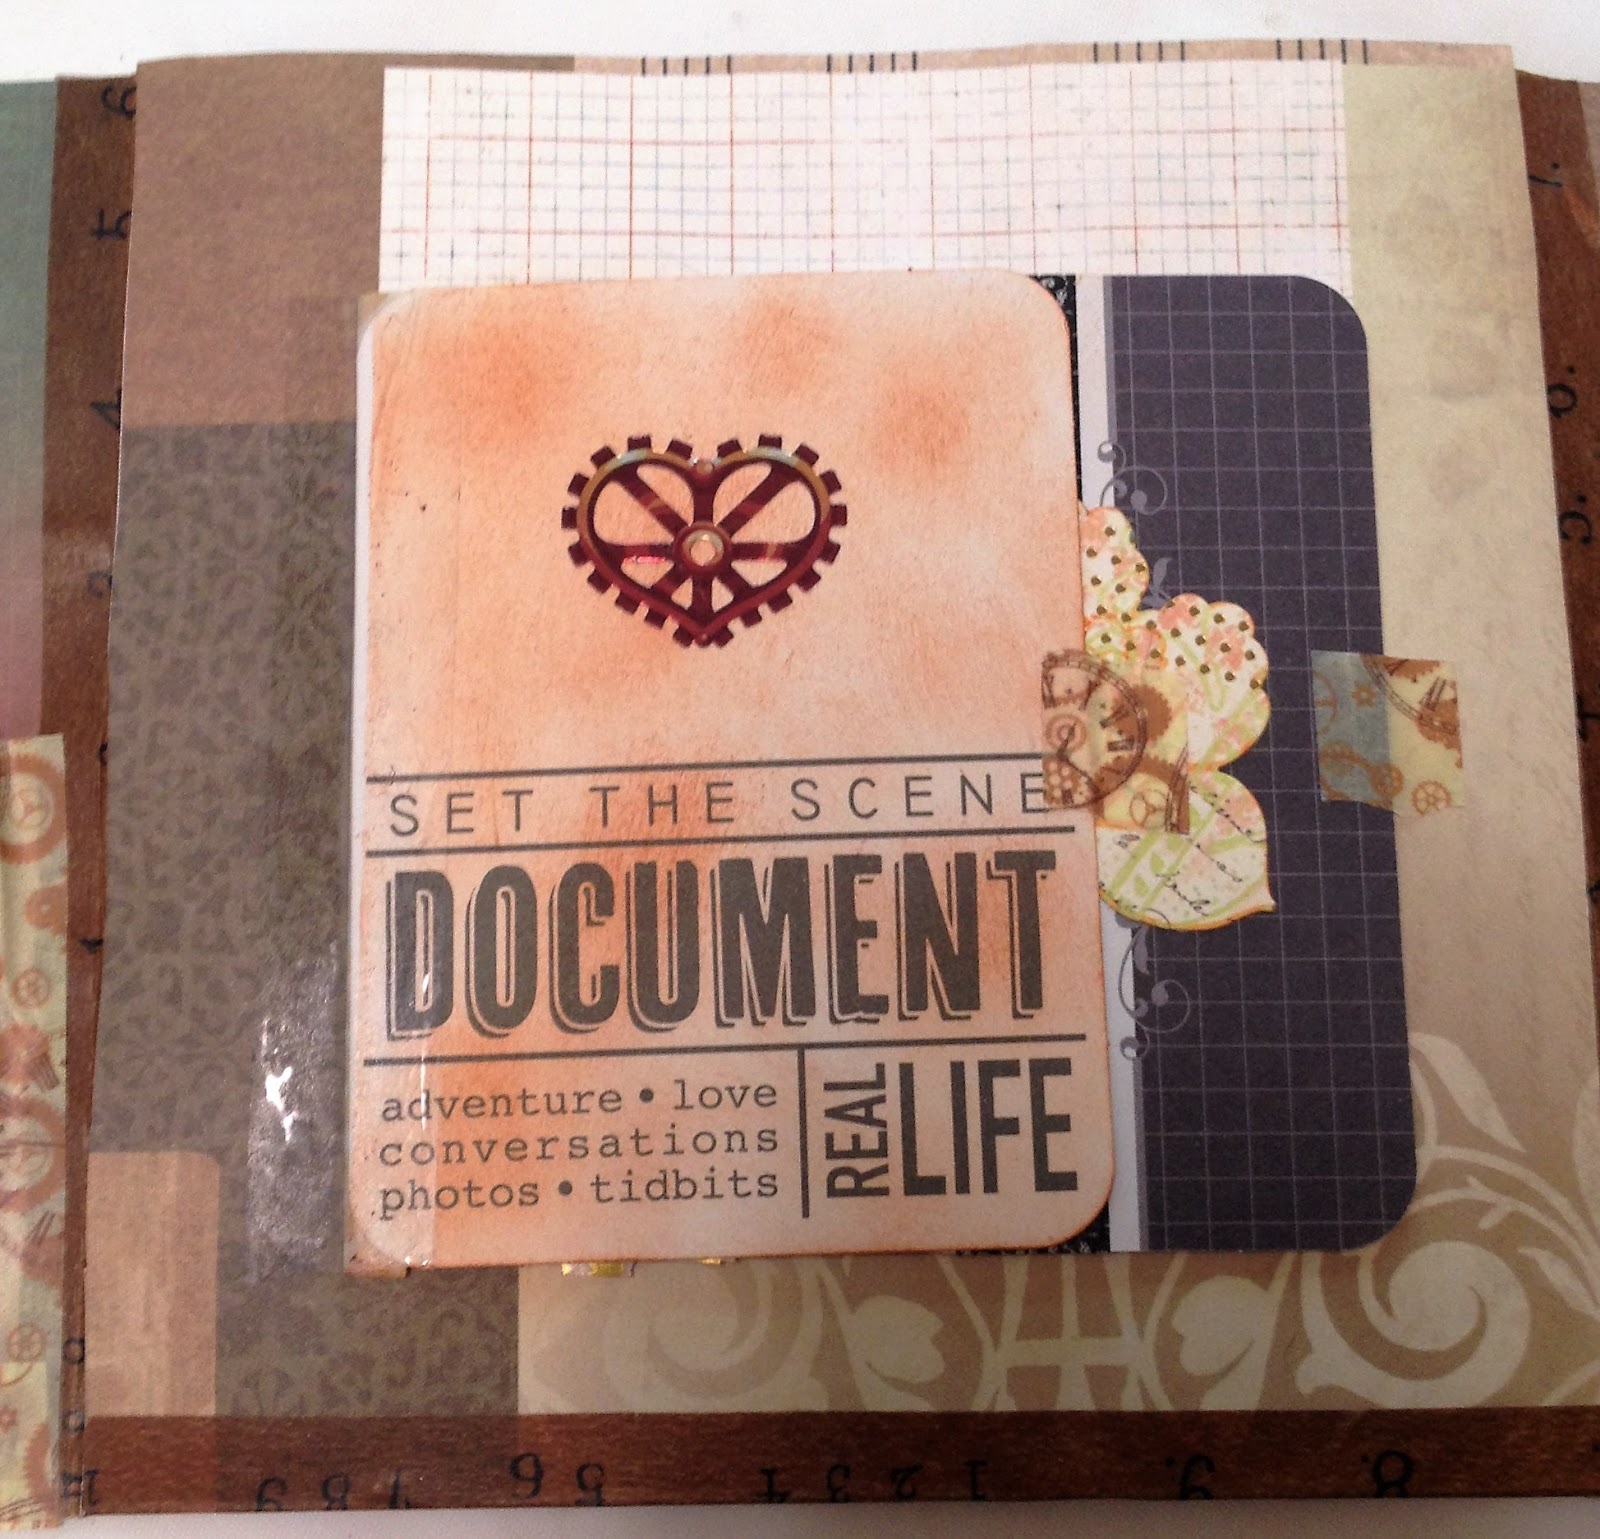
Here's a close-up of the middle page:
All I did is add the project life cards to this. The first one was way too stark white, so I added some brown ink to it and a steampunk heart. It's held down with clear tape as I didn't want to cover up the card. When you flip it open:
You see the back with some owl stickers. I picked these up from Hobby Lobby, they have a kraft background with pink glitter. The back of the card is held on with gold chevron washi I picked up at the Target dollar spot (or Bullseye's playground as I believe it's now called). The next card had a horizontal design on the front, so I covered it up with some black lace washi and a flower. When you flip it open:
There are puffy owl stickers. The background has some owl paper that I cut out the same owls and added foam tape to. You can't see it, but they're popped up a little.
This is the right page:
I added the thick sticker to the bottom and gold letters spelling out 'surprise' to the top. The first card is held on with some checkered washi from Hobby Lobby (it comes with the Union Jack pattern you will see further below), it's also covering up a design on the side of the card that was horizontal. I added some dark mother-of-pearl buttons to the top.
When you flip it open:
There is a steampunk owl sticker. I didn't do anything to the next card.
When you flip it open:
There are more puffy owl stickers, these were in the 97 cent aisle at Walmart as well. On the back page are some owl punch-outs I got in a swap.
Back to the rest of the book, this is what it looks like when the middle is flipped down:
A close-up of the middle page:
This is that Union Jack washi I was talking about. The square on the card says 'thinking of you...' and then there are check boxes next to these options: on your birthday, on your anniversary, while you're down or because you're special. I filled in the last one and added Amanda's name to it. When you flip this card open:
There are some pop-up owls from the Dollar Tree. The next card looked too blah, so I added some paper and goldish star stickers.
When you flip that one open:
There are more puffy owl stickers, also 97 cents from Walmart. The owl on the back is cut from a dictionary and added to a tag sticker.
Here is the bottom page:
I like the honeycomb washi tape. It gives a little pop of color, sadly I ran out just as I attached these cards and I got it in a swap, so I don't know where to get more. I added the journaling spot to cover up something.
When you flip it up:
Another steampunk owl sticker (I'm pretty sure these are from Walmart, but someone gave them to me, so I don't really know).
When you flip up the next one:
Some more owl stickers, these are from The Dollar Tree. The owl in the background is a paper cut image.
Here's the back:
A travel label that I added a button washi to, to cover something up. I added handmade by me to it.
You can see lots of tiny steampunk washi holding the cards down throughout, that's basically so they don't flip open when she opens the books. I wanted the owls to be a surprise for her. I really hope she likes it I had so much fun making it.
I did create a video of this one as well (my first video) because there are so many flips.