I signed up for a swap called a Crazy 8 basically we send 8 different items, but 8 of each item.
I chose 8 paper clips, 8 clothespins, 8 pieces of ribbon, 8 project life cards, 8 stickers, 8 tags, 8 buttons, 8 stacks of sticky notes.
Here it is spread out:
I realized after putting it all back in the bags, I forgot to put out the buttons:
My supervisor's birthday was April 24th, so I made her a tiny birthday card. I used some journaling cards I've gotten in swaps. I bound them with some Scotch washi and rounded the corners.
The front:
I added some glitter washi from Dollar Tree and some flatback pearls from a swap.
When you flip this one up:
The top, I added a "Happy Birthday" stamp, layered it on some pink paper and embellished it with jewels. The bottom card I just added a flower jewel to it.
When you flip the bottom one down:
The middle one, I just added some enamel stars I got from Spellbinders. On the bottom one I added some Dollar Tree stickers.
The back:
I added a rose that I cut out of a book, and a handmade stamp.
Friday, was one of my supervisor's birthday, I guess I've been a little wrapped up in my life to pay attention to the birthday sheet. She was saying she loved these little Project Life flipbooks, so I made her one.
I could not sleep last night, most likely because I drank a Mountain Dew about 10pm, plus there was a concert going on a few blocks away. So, instead of staring at the ceiling, I decided to create.
Here's the front:
This is actually a pocket page I got in my birthday haul, go here to see that. The binding washi is from stuff I bought Friday, check that out here. The pink polka dot washi is also from a Friday haul.
I feel I need to add a little something 3D to this. I added some lace to the bottom
When you flip it up:
The butterfly was from my birthday haul. On the trip from my craft closet to my kitchen to take a picture, I lost a sticker that says wonderful, it goes right underneath the butterfly. I'm still not sold on this one, but I left it as is
The bottom is a PL card, I did add a strip of the pink polka dot washi to the top.
When you flip the bottom down:
The sticker on the middle card is from the Dollar Tree, I added a darker pink piece of paper underneath the roses. The bottom card has a birthday sticker and some cupcake washi that I layered on some white cardstock to help them pop out.
When you flip the middle to the left:
I changed the pink polka dot washi to a darker pink polka dot washi, it was a thicker washi, so I cut it in half and put the other half on the card to the right. I had a chipboard sticker for the cupcake, but it would not stay stuck down, so I switched to this one, it's from Hobby Lobby. The washi says It's your birthday, it's from Dollar tree.
When you flip the middle to the right:
I love that right card. The doily came from a kit I bought on Friday. The sticker is a mason jar with flowers that says Live Simply. I love how it came together. The middle card, I added a Dollar Tree sticker to it.
I've been getting double use out of my layered stickers. Most off them are the same pieces just layered on each other with foam tape, so I just peel off the top layer and the foam tape and get extra pieces out of them. I actually got the idea from coupontoprovide on YouTube.
Here's the back:
I need a nice label to add to my backs so I can stamp the handmade with love on them. That stamp is from the Dollar Tree.
I'm loving these project life flip books. I think it's because of the small size, I'm more used to this size. I made a second one for one of my supervisor's birthday. For this one I doubled my cards, I couldn't find any where I liked both sides.
This is the front:
The card just had the Hello on it. The letters are kinda sparkly.
When you open it:
close-ups:
I love that this quote is by J.K. Rowling, I didn't notice that at first. If you didn't know, I work at a library, so this is perfect. I know the coffee cup washi doesn't really go with the card, but I know she likes coffee and I loved how it turned out.
The bottom card:
I added the words from something I got in the mail. The dessert person is from a Stampin' up set.
When you flip the above card down:
close-ups:
I covered up the banner on this card, it had originally said 'celebrate' and since the card above it says that, I thought it was a bit much. I used some pink script washi and a gold word sticker.
This is the card. I didn't do anything to it.
When you flip the cupcake card to the left:
close-ups:
I didn't do anything to this card.
I added a handmade banner embellishment and a butterfly sticker.
When you flip this card to the right:
close-ups:
The words are from a sticker set. The present is from a chipboard sticker set, I had taken off most of the background to thin it out. The book was not closing very well with dimension, I tried to keep it as flat as possible.
I added the 'Happy birthday' from the same sticker set as the cupcake card above. This cupcake is from a sheet of sticker cupcakes from Hobby Lobby, I added a puffy cherry stickers. I put this card on top of the washi tape to keep the words from being covered. After I had attached all the washi, I thought next time I should have put the washi on and then doubled the cards, it would have made the washi a little stronger.
This washi is from the Target Dollar Spot, I've decided it's not the strongest washi and I shouldn't use it for flip books, at least not to keep the cards together.
Most of these cards are from some birthday project life cards I picked up at a garage sale, they match a chipboard sticker sheet that the present sticker came from. As I said above, I tried to keep it as flat as possible. I don't know if it was the washi or the smaller surface, but this washi did not want to stay. I even used my tape runner to stick some of it down. The other one I used pink washi from JoAnn's and that is very sticky.
I'm thinking of trying a flip book with the larger project life cards next. I just don't like that they don't have any quotes. I also should be packing, I haven't done much of that in the last week. I have one more swap and a flip book I'm making for a friend's birthday, then I don't have any more creative obligations, I'm not planning to sign up for anything until after I move.
One of the FB groups I'm a member of recently had a Project Life flip book swap. I didn't get to participate, but after looking at their pictures, I was inspired to make one for my mother. I recently got a great deal on Project Life cards (go here), and I've been wondering what to do with them.
I decided to create a Birthday flip book for my mother. Here's the front:
The card said Remember this moment. I covered up the "this moment" with some washi I got in a PL, the 'happiness' sticker is from an old sticker sheet. I created the embellishment at the bottom by cutting some flags out of scraps, adding a button and a word sticker. I also added some vintage lace.
When you flip that one up:
close-ups:
The top on I layered the quote cut from another card on some white cardstock and some leftover scraps from another one.
This one is layered on another card, I liked this quote but didn't want to cut it out. I added some pink washi and cupcake ribbon.
When you flip this one down:
Close-ups:
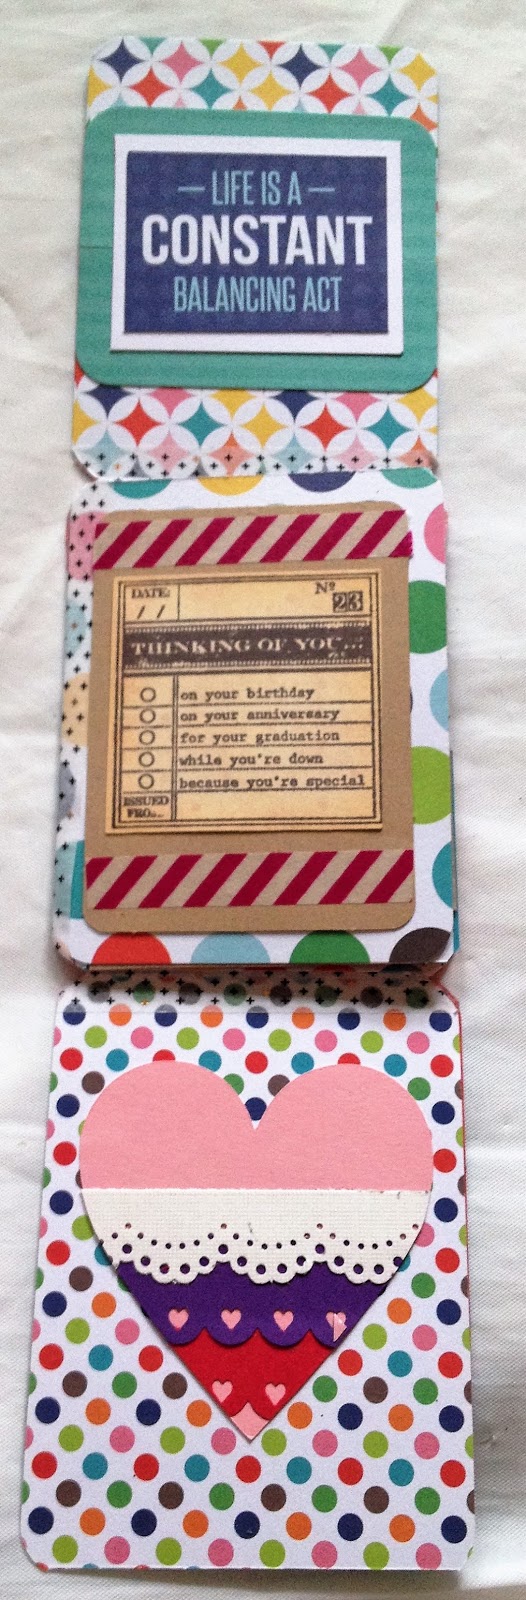
I had bought this 'thinking of you' piece at a garage sale. I added it to a piece of brown cardstock and added some pink striped washi on it.
This heart was from a swap in another of my FB groups, I added washi to the top that says 'enjoy today!' on it.
When you flip the thinking of you one to the left:
close-ups:
The create is from another card, I created a pocket and stuck this cross-stitch balloon piece inside.
Both these quotes are from project life cards.
When you flip this card to the right:
close-ups:
The cupcake is a thick sticker, the 'happy birthday' is a sticker made to look like a label maker made it. I also added 'celebrate' in blur sparkly stickers at the top.
this is another project life card. I added a little washi to the top and bottom
This is the back. I will add a handmade by me to it.
I traded pocket letters with Amanda K. And she likes butterflies and owls. My plan was to make an owl pocket letter and fill it up with butterfly embellishments. Then I decided to make her a couple flip books. They are new to me, so I'm trying to get better at making them. They are two different bases.
First up, the butterfly book. I took a 12x12 sheet of double sided paper, folded it in half and then in half again, and then cut one of the folds for this one. I saw this technique on Amanda's channel. I like this technique because you don't use washi to bind it. I don't know about other people, but sometimes my washi will not stick. I have tried using a washi I know is a bit better in quality, but it still doesn't work.
The front: I did add the washi tape to look like it was holding it together, but it's just decorative. The butterfly at the top, I got in a swap and added it to a clothespin, it's purely decorative. The large butterfly on the front is acetate and attached with foam tape. The bottom is polka dot fabric tape.
The first flip:
Left page:
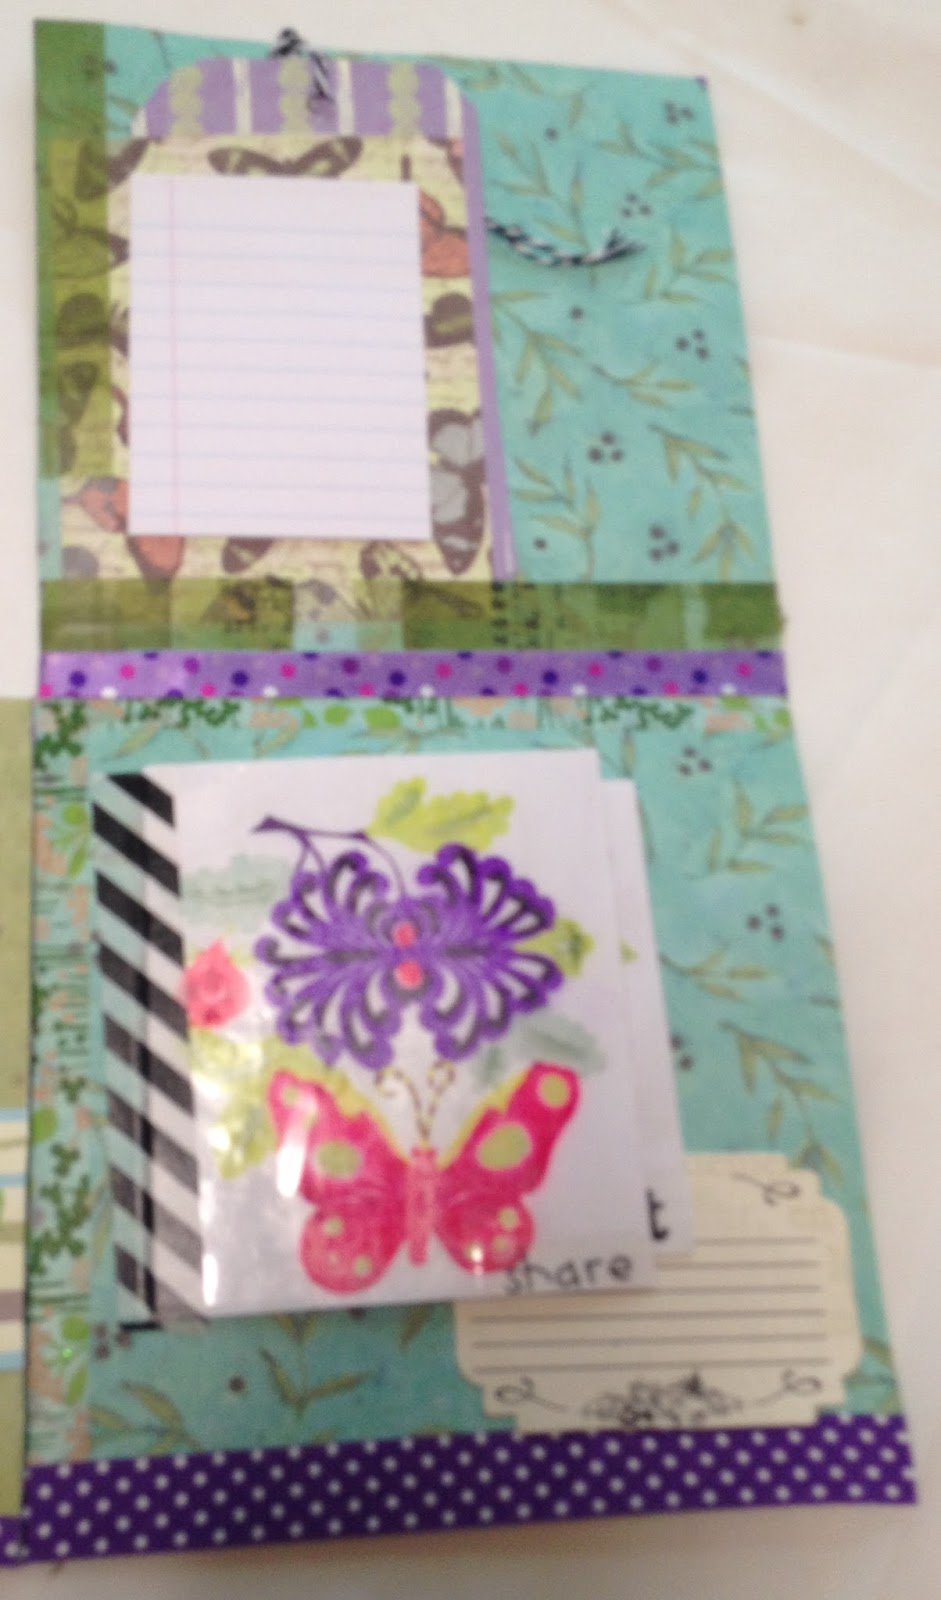
This is just a band that's attached on the sides to hold the butterfly stickers. All the paper I added was in the same paper pack as the background paper. The flower stickers are dimensional, I also added a couple paper clips: a page flag and a swirl.
I like my pages to be able to stand alone even when the extras are taken out. With this page, I added another piece of paper over the background paper.
The right page:
This paper matches the band on the other side, I added some unused postage stamps. On the right I have a ziploc baggie of butterfly ephemera.
When you flip the bag up (or remove it):
There are a few silver butterflies underneath. The top and middle ones are stickers. The bottom one is metal someone sent me in a swap.
The second flip, you flip the above page up:
The top page:
I added a pocket (this paper was not from the paper pack) I glued the pocket down and used some washi. The tiny notebook paper are post-it notes. I made some tags with paper from the same paper pack. I added Favorites to the top of the page with a list underneath for Amanda to fill out for me.
The bottom page:
I love these flips. These two pieces are rice paper Japanese paper cuts I bought at a garage sale. They are so delicate, they were in between two pieces of tissue paper. I didn't know what to do with them for forever. I thought they'd be great to make flips out of, but I didn't know how to stop things from getting stuck on them. I finally added some clear acetate over the top (sadly, the glue didn't really keep it on, so I had to tape the sides with clear tape).
When you flip this one open:
The back has a rub-on with some stickers and the other paper cut is opposite.
When you flip this one open:
The back is a couple more rub-on's with some more stickers. There is a journaling card that I filled out my favorites of the ones I asked Amanda to fill out.
Here is a picture of the whole flip book open, you can see how I folded and then cut the fold to make the flip book:
A close-up of the top of the left page:
The butterflies on top are actually vellum and clear, they got lost in the page, so I put them on white cardstock and glued them down. The envelope has some stickers in it. The fairy sticker was from my trip to a seed farm in east Iowa a few years ago.
The bottom page:
I created another pocket with paper from the paper pack. I don't seem to have a picture of the tags. One of them is a sticker, the other one is a project life card that I added a sparkly butterfly sticker and a quote sticker to. The butterfly on the left matches the ones above. The one in the middle is from a Tim Holtz sticker pack. The Happy Day piece is a rub-on. I also added some along the seam line.
I had a hard time finding butterflies to use, until I finished it and found all the butterflies I had set aside to send to Amanda (story of my life).
Here's the second flip book. This one is my favorite. It's supposed to look vintage and when she opens the flips, she sees the owls. This one, I used some paper I had cut down from 12x12 to 6x6. It's from The Heirloom Stack by DCWV. I glued them together to make double sided pages. I used some brown washi that kinda looks like a ruler to bind it.
The front:
The flower in the top is actually purple and peach, but it looked nice. I made some banners from washi tape. The cameo is something I picked up years ago at an antique mall that was going out of business, I had already sewed it on to the brown fabric. The 'discover' sticker is chipboard.
When you open it:
I noticed I don't have a close-up of these pages (oops). The left page has watercolored like clock on it. I added the polka dot bag to hold duplicates of the project life cards I used. I added the steampunk tape as decoration, the bag is actually held down with double sided tape.
The right side has the 'smiles' and 'good times' on the paper. The cameo is paper glued into a metal frame with an acrylic oval on top of it. The 'cameo embroidery' is vintage packaging. There is also a strip of ribbon on the bottom.
The next flip:
Here's a close-up of the middle page:
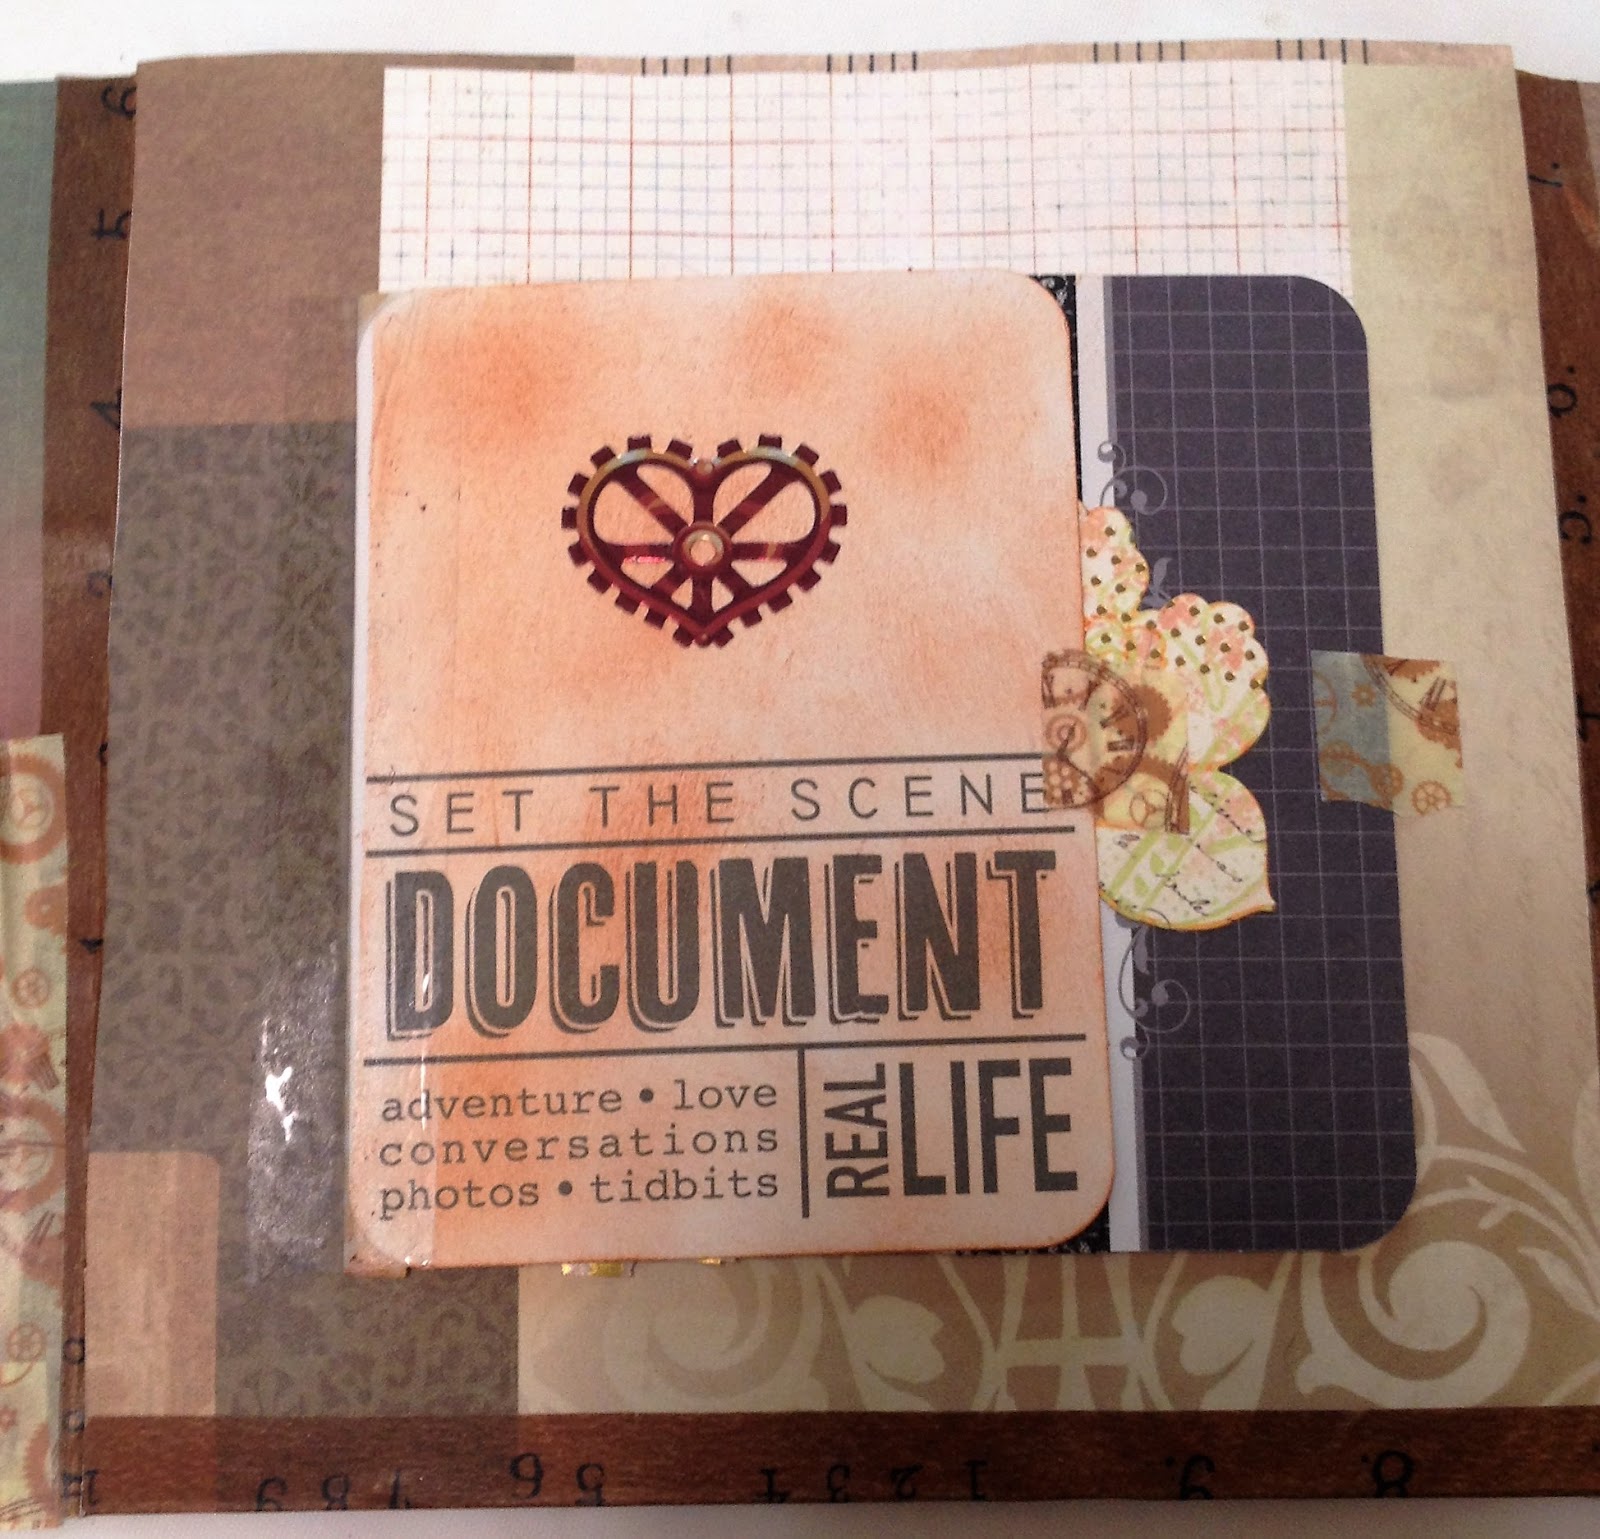
All I did is add the project life cards to this. The first one was way too stark white, so I added some brown ink to it and a steampunk heart. It's held down with clear tape as I didn't want to cover up the card. When you flip it open:
You see the back with some owl stickers. I picked these up from Hobby Lobby, they have a kraft background with pink glitter. The back of the card is held on with gold chevron washi I picked up at the Target dollar spot (or Bullseye's playground as I believe it's now called). The next card had a horizontal design on the front, so I covered it up with some black lace washi and a flower. When you flip it open:
There are puffy owl stickers. The background has some owl paper that I cut out the same owls and added foam tape to. You can't see it, but they're popped up a little.
This is the right page:
I added the thick sticker to the bottom and gold letters spelling out 'surprise' to the top. The first card is held on with some checkered washi from Hobby Lobby (it comes with the Union Jack pattern you will see further below), it's also covering up a design on the side of the card that was horizontal. I added some dark mother-of-pearl buttons to the top.
When you flip it open:
There is a steampunk owl sticker. I didn't do anything to the next card.
When you flip it open:
There are more puffy owl stickers, these were in the 97 cent aisle at Walmart as well. On the back page are some owl punch-outs I got in a swap.
Back to the rest of the book, this is what it looks like when the middle is flipped down:
A close-up of the middle page:
This is that Union Jack washi I was talking about. The square on the card says 'thinking of you...' and then there are check boxes next to these options: on your birthday, on your anniversary, while you're down or because you're special. I filled in the last one and added Amanda's name to it. When you flip this card open:
There are some pop-up owls from the Dollar Tree. The next card looked too blah, so I added some paper and goldish star stickers.
When you flip that one open:
There are more puffy owl stickers, also 97 cents from Walmart. The owl on the back is cut from a dictionary and added to a tag sticker.
Here is the bottom page:
I like the honeycomb washi tape. It gives a little pop of color, sadly I ran out just as I attached these cards and I got it in a swap, so I don't know where to get more. I added the journaling spot to cover up something.
When you flip it up:
Another steampunk owl sticker (I'm pretty sure these are from Walmart, but someone gave them to me, so I don't really know).
When you flip up the next one:
Some more owl stickers, these are from The Dollar Tree. The owl in the background is a paper cut image.
Here's the back:
A travel label that I added a button washi to, to cover something up. I added handmade by me to it.
You can see lots of tiny steampunk washi holding the cards down throughout, that's basically so they don't flip open when she opens the books. I wanted the owls to be a surprise for her. I really hope she likes it I had so much fun making it.
I did create a video of this one as well (my first video) because there are so many flips.


 The card just had the Hello on it. The letters are kinda sparkly.
 I love that this quote is by J.K. Rowling, I didn't notice that at first. If you didn't know, I work at a library, so this is perfect. I know the coffee cup washi doesn't really go with the card, but I know she likes coffee and I loved how it turned out.
 I added the words from something I got in the mail. The dessert person is from a Stampin' up set.
 I covered up the banner on this card, it had originally said 'celebrate' and since the card above it says that, I thought it was a bit much. I used some pink script washi and a gold word sticker.
 This is the card. I didn't do anything to it.
 I didn't do anything to this card.
 I added a handmade banner embellishment and a butterfly sticker.
 The words are from a sticker set. The present is from a chipboard sticker set, I had taken off most of the background to thin it out. The book was not closing very well with dimension, I tried to keep it as flat as possible.
 I added the 'Happy birthday' from the same sticker set as the cupcake card above. This cupcake is from a sheet of sticker cupcakes from Hobby Lobby, I added a puffy cherry stickers. I put this card on top of the washi tape to keep the words from being covered. After I had attached all the washi, I thought next time I should have put the washi on and then doubled the cards, it would have made the washi a little stronger.