Showing posts with label pocket letter. Show all posts

Tuesday, December 25, 2018

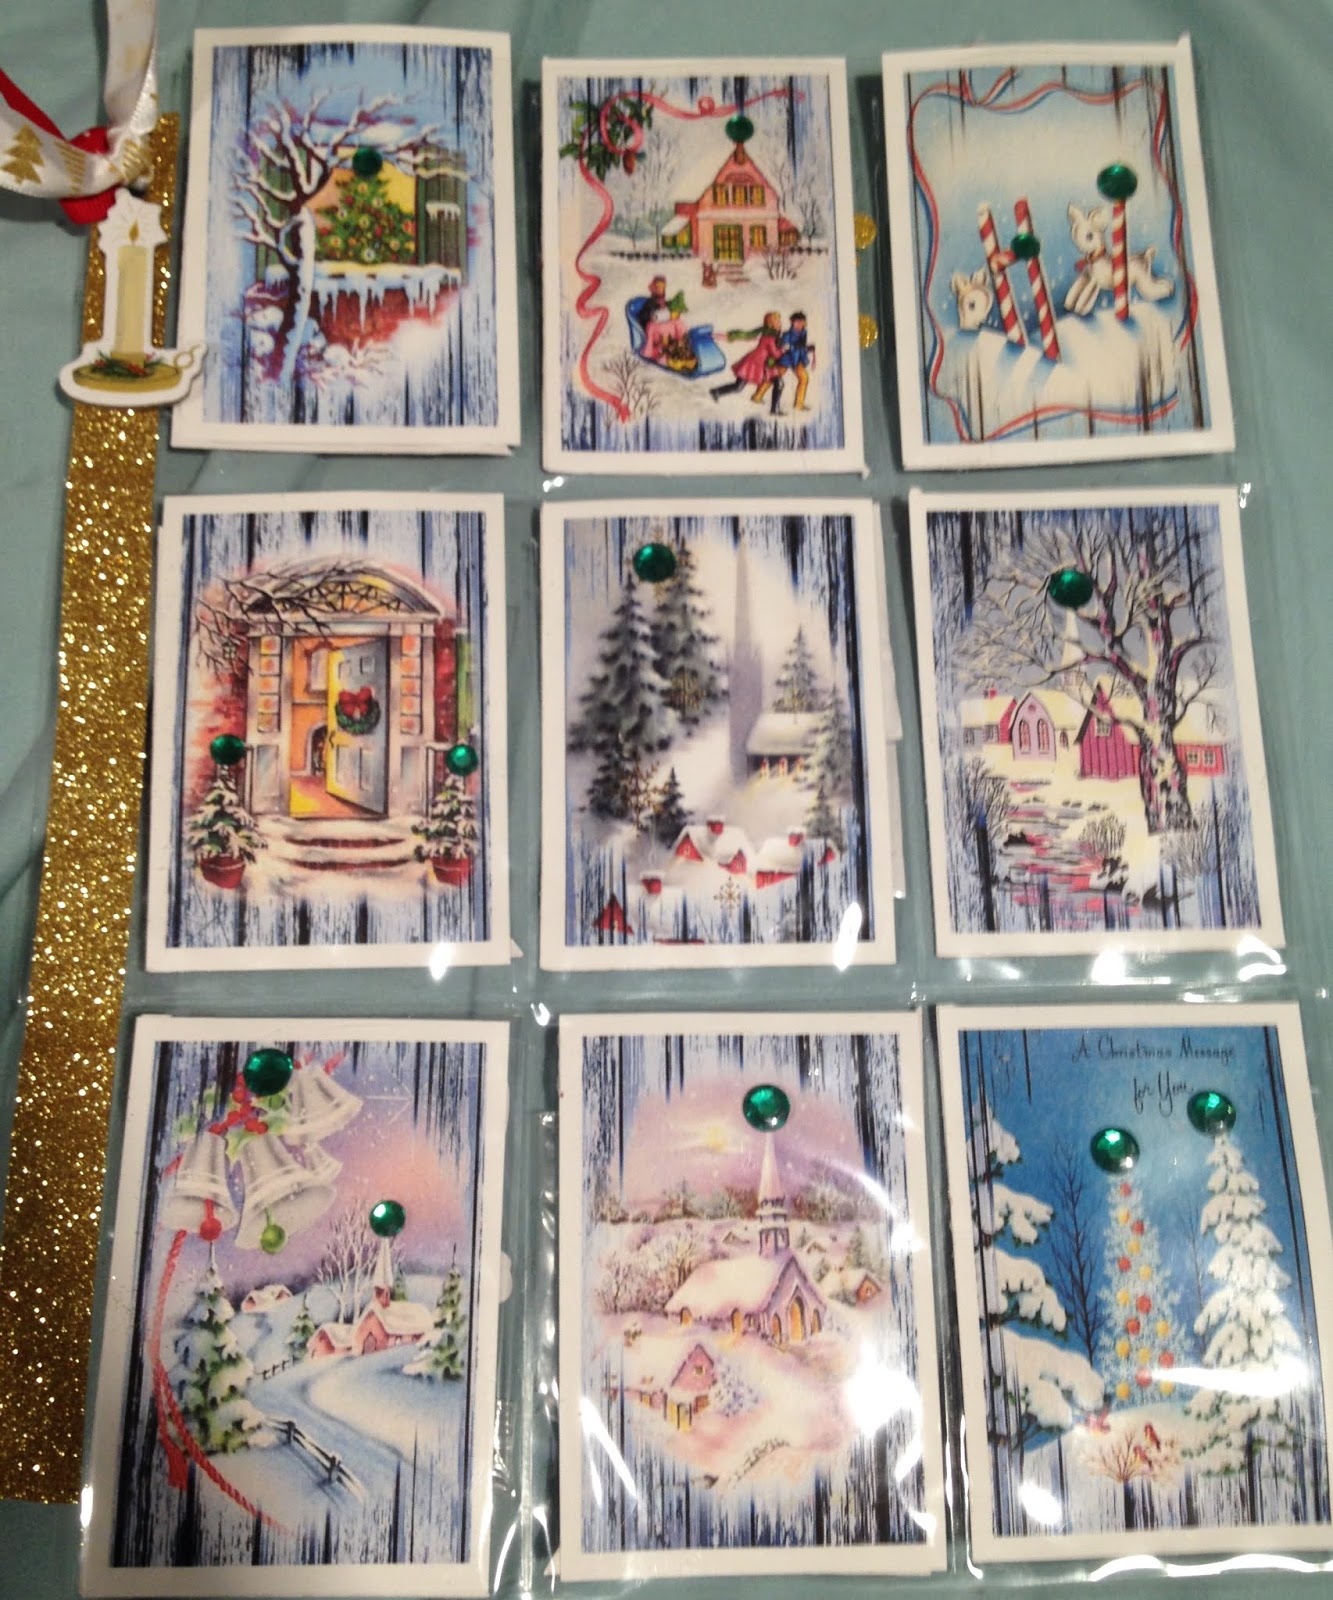
Believe in Christmas pocket letter

I signed up for a Christmas pocket letter swap. I originally didn't sign up, but they were short a person, so I decided to fill in.
 The background paper is stripes. I used this adhesive ribbon I got at a garage sale for the bottoms. I tried to add something to every sticker I used. First row, first card is just a sticker and then a sticker between the two pockets. I wanted it to say Merry Christmas somewhere on it. Second card: I picked up these poufy house stickers at Hobby Lobby, sadly, they didn't stick very well. I added some snowflakes to the top of the card. Third pocket: this has a chipboard frame on top of a polaroid camera sticker that's spitting out an image of Santa. I added a car with Christmas tree to the frame.
Second row, these are all tags. First pocket: I added some bling on top of red that was on the tag and a star to the top of the tree. Second pocket: I added some snowflake bling to cover the hole in the tag. Third pocket: this tag is from a swap I did a few years ago.
Third row, first card: I added a poinsettia sticker and a twine bow on it. There's a sticker between the cards. Second card: I added a Gifts to buy sticker and a pile of gifts. Third card: I added an ornament sticker with a foam tree in it. I added a mini journal/book to the side along with some sparkly star mini ornaments.
The back:
 stickers, erasers, sequins, wood pieces, sticky notes and an ornament.
Back:
I used some Santa paper.
What I received in return:
 I liked her theme, but it didn't seem very Christmassy to me.
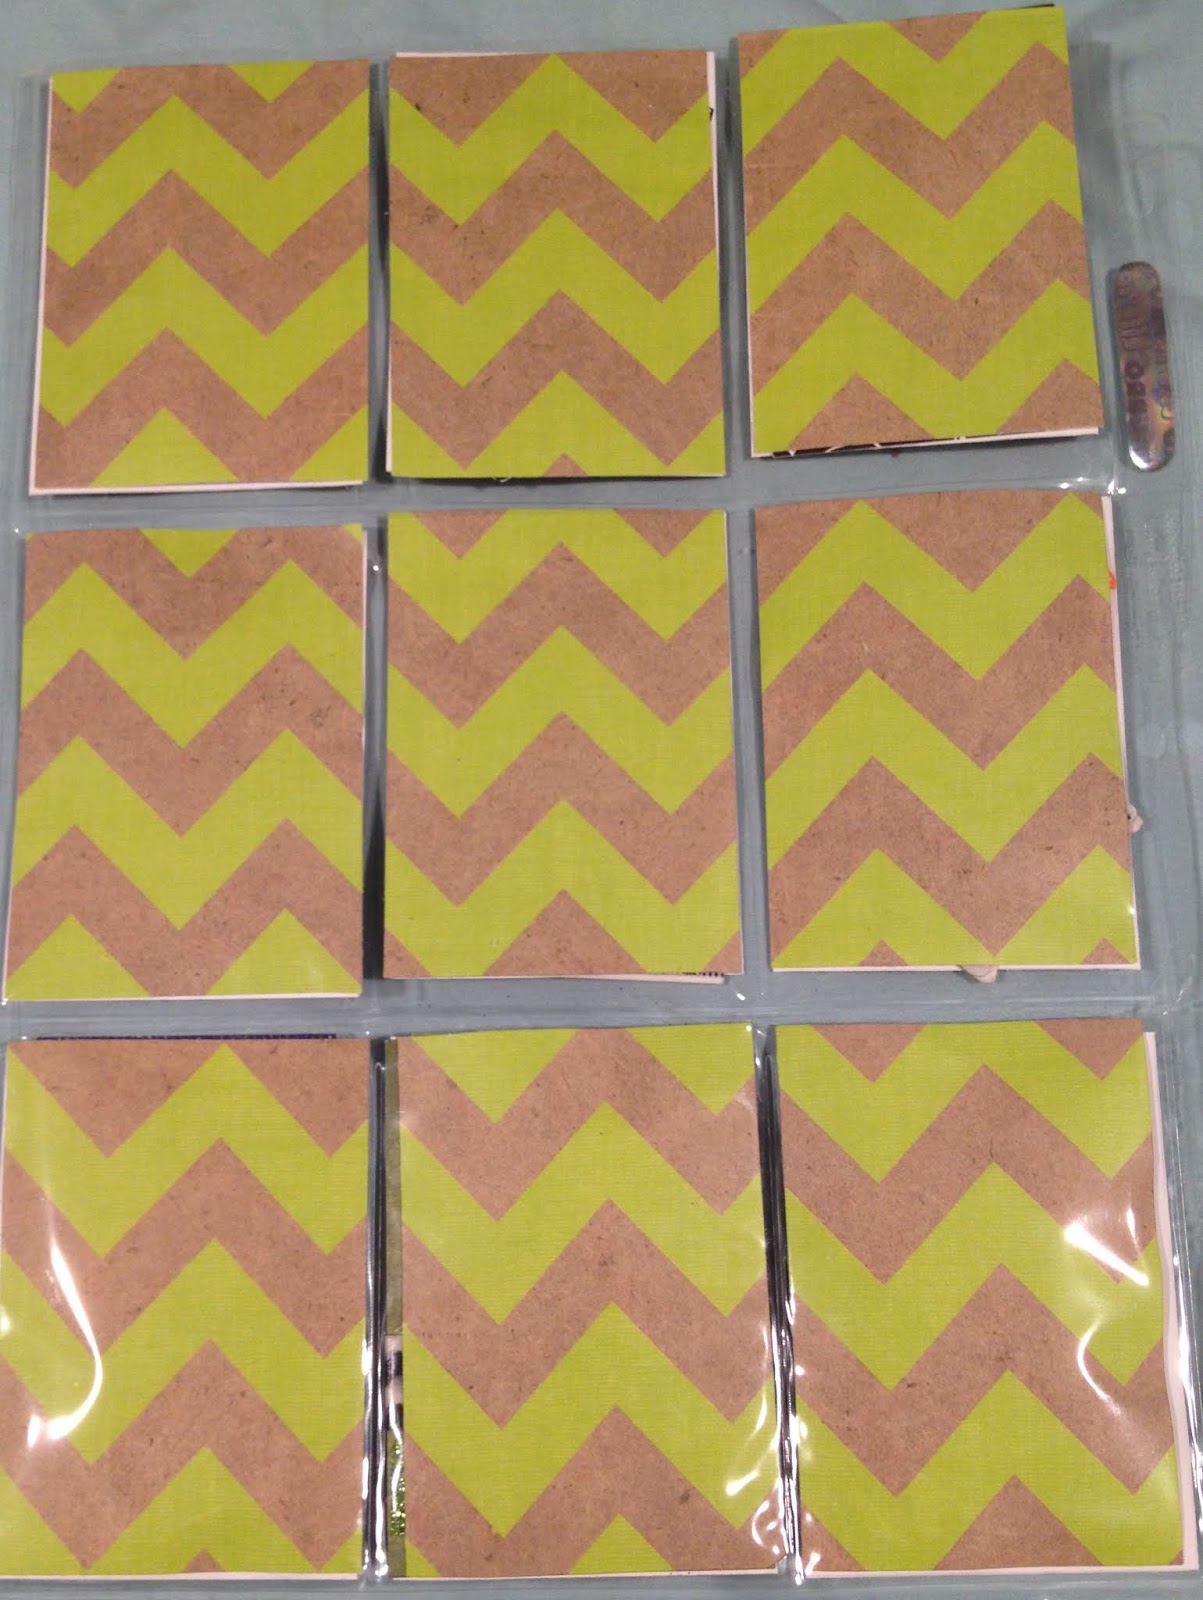
The back was cute:
 And all the goodies;

Saturday, November 17, 2018

Christmas Advent Pocket Letter

I made one of these last year and then dropped out of the group I made it for, because of things. I proposed the idea to the moderator of another one of my groups and she posted it. The one she suggested was just a 9 sleeve pocket letter, but using a fuse tool to divy up the pockets into more. I suggested using three 9 sleeve pocket letters but just decorating the extra pockets, so people without fuse tools could participate, and because that's what I made last year.
As I was packaging up the one I made last year, I tied it together with ribbon, but then thought after mailing it, why didn't I just make it a file folder pocket letter, so that's what I did this year:
 Again, I took a gift bag and used the front of it for the front of the file folder, sadly when I was attaching it, it stuck in the wrong spot and I had to pull it off making the lower right corner tear. So, I took some wood veneer snowflakes, colored them with a silver marker and then covered them with silver or blue glitter glue. When I first laid them down, they covered the whole bottom, but after putting the pocket letters inside the file folder, it made one side much more pushed up than the other, so I just attached the snowflakes to the more bubbled side. I also added some gems to the middle of them. I was going to add more gems to the sparkles under the sleigh, but then I decided that since the file folder was extra, I didn't really need to.
Inside:
 I covered the inside with some paper from Hobby Lobby. I never know how to decorate the insides, I just stuck a bag and some hot cocoa in it.
First pocket letter:
I used some plaid paper for the backgrounds on all the pocket letters. I added mostly stickers to either the cards inside the pockets or the outsides of the pocket itself. The candy cane on the first pocket is gems. The 'merry christmas' is from a project life journaling card. The hats are from a Christmas kit. The reindeer is a very dimensional sticker, the merry christmas on the bottom is from a cupcake pic and the snowman is a tag. I had some cute ornament paper that I thought would work to number them, but thought they were a little small when I cut them out, so I just punched some 1" circles to layer them on. I couldn't find number stickers small enough, but realized I had some number stamps in my stash.
Goodies:
stamped images, wooden pieces, brads, stickers, tags, word pieces, tags, tea, tags.
Back:
 I used some letters to Santa paper
Second pocket letter:
I went with a Christmas tree theme for this one. The first pocket has a die cut, the second and ornament from Hobby Lobby. The third, fourth, sixth, and eighth are stickers. The fifth is a tag I got in a swap as are the seventh and ninth. I added some washi to keep the goodies in in transit.
The goodies:
embellishments from a swap, stickers, altered paper clips, shaker mix, stamps, pins, magnetic bookmark, tea. I didn't put anything in the middle pocket as it was very hard to get open with the tag on the front.
The back:
 I felt the plaid on the front wasn't very Christmassy, so I used Santa paper for the back.
The third pocket letter:
This one is a little more Santa themed. The first pocket has a reindeer from a cupcake pic, the second one is a tag, the third a wood piece, the fourth is a sticker, the fifth another wood piece, the sixth is from a cupcake pic. The seventh has a couple stickers, the last two, I used some foam trees to make a scene, I added a snowman button behind them and some snowflakes on top.
The goodies:
die cuts, stickers, wooden ornament, bling, foam trees, sticker, tiny ornaments, Christmas themed stamps. I did take out the candy cane bling because I thought it was too hard to get in that pocket as well.
Back:
Candy cane paper.
Second page of file folder:
 Again, just covered it with paper. I added a little envelope with a note in it.
The card:
 I just made a little 3x3 card with a sticker.
Back of file folder:
I thought this paper was very nice by itself, so I left it alone.
Here's what I received in return:


I want to open it right now. I'm so impatient

Saturday, October 27, 2018

Halloween pocket letter

I'm not really into Halloween, but people and swaps have sucked me into it. I had a few years collecting Halloween crafting stuff that I didn't use, so I did a destash swap with someone this year for my Halloween crafting stuff. I kept a few things. I did want to create a Halloween pocket letter, so when the opportunity arose in one of my groups, I jumped on it.
 Mostly everything is stuff people have sent me throughout the years except for a few stickers. All the layered papers except that tag at the top were journaling cards with this strip of decoration on the side, of course it wasn't big enough for the whole card, so I just layered it. The stickers on the first card, the fourth and fifth card were from my collection. The stickers on the bottom row are foam. I like how it turned out.
Goodies:
 a cupcake pic, Casper die cut, sequins, some tags, stickers, washi and foam stickers.
Back:
I don't have any big pieces of Halloween paper, so I just went with this zig zag paper.
Here's what I received in return:
 The back:
I'm not sure how I feel about it, but I think I'm going to stop doing pocket letters for this group, the last few have been not so great.

Friday, October 5, 2018

Shabby Chic pocket letter

I signed up for a shabby chic/vintage pocket letter. And then realized I don't really know what shabby chic is. I made this pocket letter and people said it was shabby chic.
 I took some scraps of paper for the background. I didn't have enough of each paper for the whole background, but had enough to do a strip. I just basically used a bunch of stickers and then some flat back pearls and lace tape for the front. I like how simple it turned out.
The back:
 I filled up the pockets with beads, stickers, cut aparts, washi samples, die cuts and more stickers.
The back
 I love this paper, but the texture made it hard to attach anything to it, so I used it as my back piece.
What I received in return:
 I LOVE this pocket letter. It's so beautiful.
The goodies:
This was a great swap.

Monday, September 24, 2018

bird pocket letter

I signed up to make a bird pocket letter, though I'm not sure why, I had the hardest time figuring out what to do.
The background is a floral cardstock, I fussy cut some birds from a calendar and mod podged them to the background, then I cut the paper up to make the pocket letter. I added some embellishments of lacy stickers to the second, third and sixth cards. The first card has some washi on the bottom. I added an extra flower sticker to the fourth card. The seventh card has some pearls at the bottom and the ninth card has a sticker in the corner.
I love the mod podged look. It's been a long time since I've mod podged anything.
The goodies:
Some bird images, feather sticky notes, feather punch outs, stickers, owl sticky notes, bird themed washi, more stickers. I also taped some bird cards to the back of the pocket letter.
The back:
flamingo paper
Here's what I received in return:
It's cute and simple.
The goodies:
Also very simple, not a lot in it, but that's ok. The front is more important than the goodies.

Wednesday, August 22, 2018

Back to School pocket letter and bookmark

I had suggested in one of my groups that we do a back to school bookmark, so when the swap appeared that was a pocket letter and bookmark, I kinda felt obligated to do it. I feel like I don't have a lot of back to school crafting stuff.
 I used some grey paper that I thought kinda looked like a chalkboard with some 'note paper' layered on it. I found some owls that were in a school sticker book. I specifically bought the sticker sheet that had the scissors, schoolbus, and triangle thing for this swap. I had found a sheet of pencil, fountain pens and crayon stickers at a garage sale. The dinosaur just looked like she was studying, so I added her. The 'back to school' sticker is from a planner set. The crayons and easel are from the same sheet. I cut out the 'wise university' from the cover of the owl sticker sheet. The pencil is actually a name tag, I added another planner sticker to the top that says school supplies on it. The mouse die cut I got in a swap. The beakers are from the owl sticker book. I added some washi on each row: pencils, books and apples.
The goodies:
 stickers, school bus confetti, those pencil labels, washi samples and some sticky notes.
The back:
 My bookmark:
 The background is actually from a library pamphlet I picked up in St. Louis. The letters are from a sticker sheet that looks like chalkboard.
What I received:
 It's very cute. I love my partner's use of die cuts and that pencil.
The back:
She also sent me some die cuts of books, schoolbusses and a pencil. She included some apple ribbon, the same school bus sequins I did and some book paper clips as well as washi, some punchouts and some sticky notes.

Wednesday, August 8, 2018

Birthday pocket letter

I signed up for a July birthday pocket letter. Here's what I made:
 the first, seventh and ninth pockets are just images I cut from birthday cards people have given to me. The other cards are stickers I put on pink backgrounds. The middle card is a tag I got in a swap.
Goodies:
washi, memo sheets, birthday sequins, July stickers, bling, tea and flower seeds.
Here's what I received:
 It's so pretty. My favorite card is the second row, first card with the elephants holding the button balloons.
The goodies:
Lots of washi and stickers.

Saturday, July 14, 2018

Summer pocket letter

I signed up to make a summer pocket letter in one of my groups. Here's what I came up with:
 I used some leftover paper for the background. I basically took a whole bunch of summer stuff from my stash and used it on this pocket letter.
First row is a sun diecut, second card stickers from Dollar Tree, third card coloring piece and a girl from a calendar.
Second row, first card is a sticker from Dollar Tree and a die cut, second card both images are from journaling cards, third card is the girl from a calendar.
Third row, first card both images take from a journaling card, second card image from ephemera layered on a flower, third card cut outs from a subscription box and a die cut.
The back:
 We had to include some summer embellishments, one handmade embellishment and two washi samples. I created the flower paper clip, the tags and the butterfly paper clip in the bottom. I also included another butterfly paperclip, the summery washi, more stickers from the Dollar Tree, some ice cream bling, scraps of paper, more coloring cards, some ephemera and some stickers.
The back:
 I used this summery popsicle paper for the back.
Here's what I received in return:
 It's cute, I just wish there was more on it.
The goodies:
I love the tassel and the rosette that she made. Everything is very cute.