Saturday, December 24, 2016

E.L.F. Winter Swap

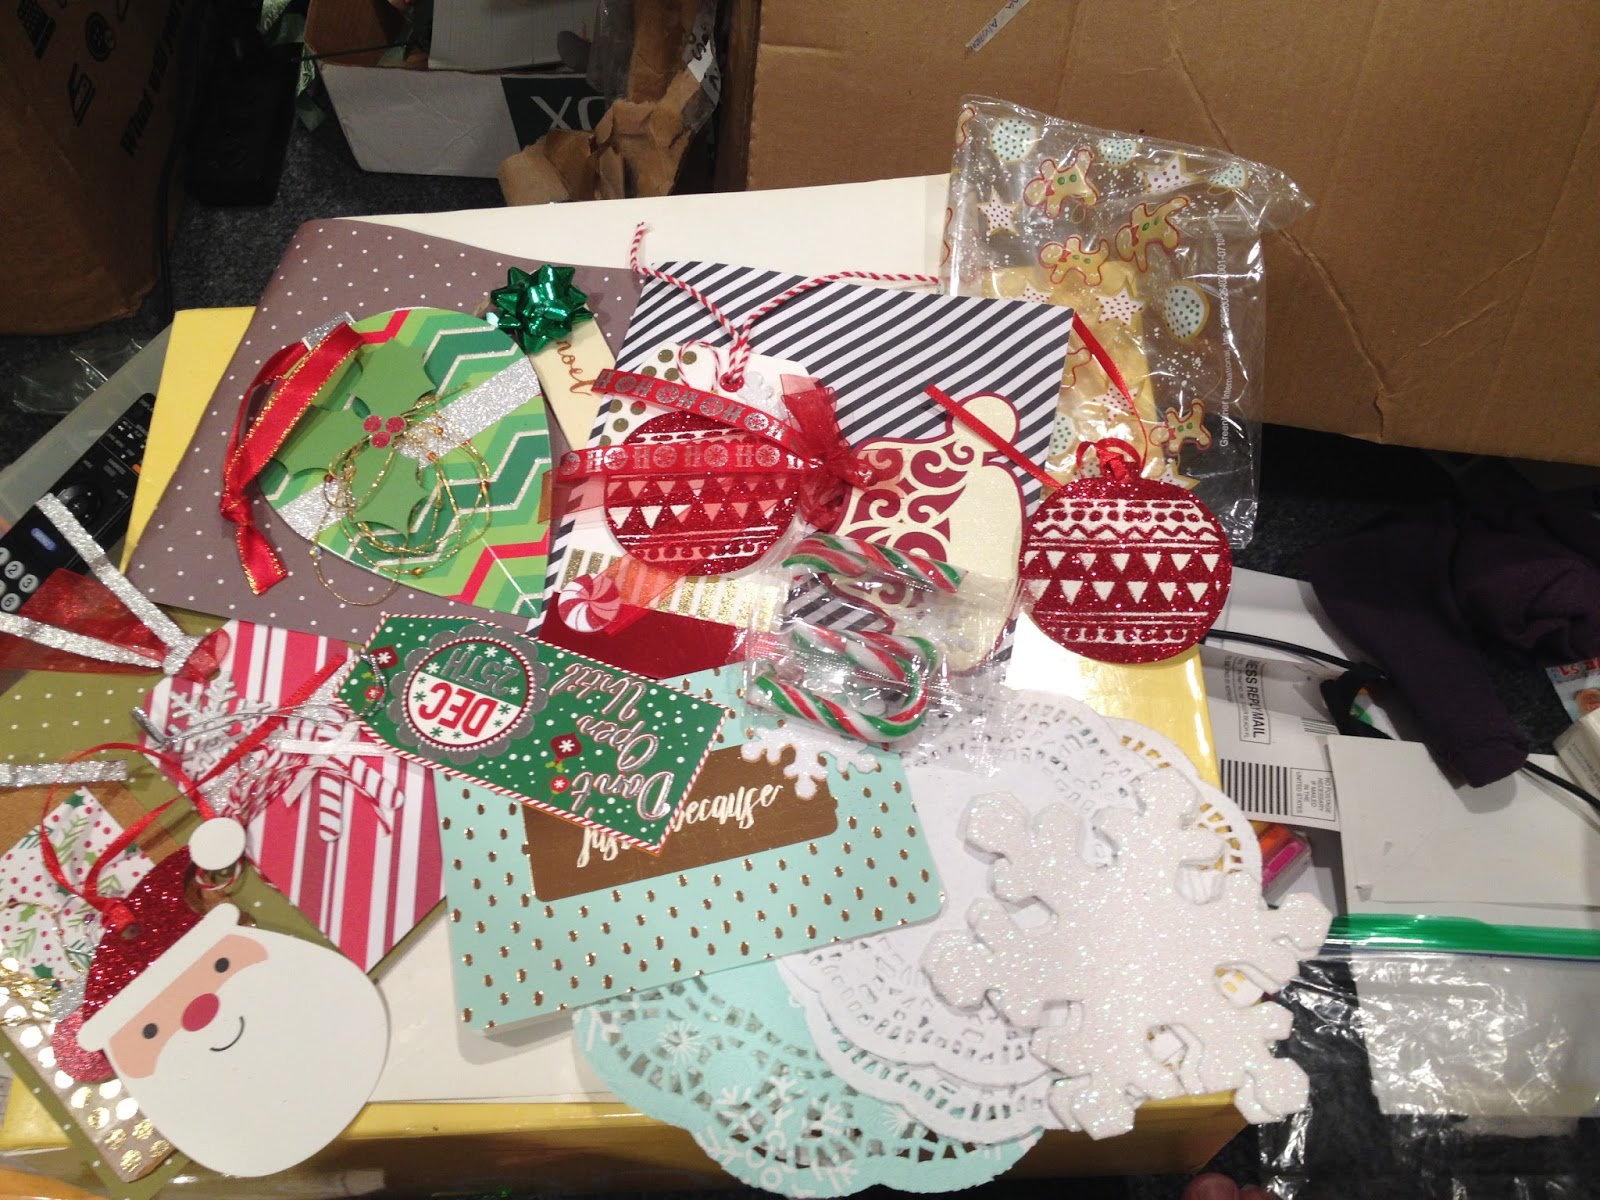
I participated in Esther Luka's Winter swap and it was so much fun. My partner was Julie, here's what she sent me, first look:
 Everything out of the box:
 These were in the bag in the back:
 Tons of lace, some eyelash yarn and a bag of buttons
The other extras:
I'm still working on this bag of candy, it's very good.
And here's the handmade stuff:
This is a loaded envelope stuffed with goodies
Here are the goodies:
 some ornaments, a couple paper clips. I love the pom pom snowman.
More goodies:
 Some stickers, washi samples and a handmade card.
I love how she did the washi samples, it looks so cute, I'm not sure I'll want to take them off.
And the wands:
I love it when people make and send these to me. They are so fun. I've gotten a few lately. I haven't tried making one myself yet.
And here's the loaded envelope empty
It's also beautiful. I've seen people getting these in the mail and saying how they don't want to take them apart and ruin how gorgeous they are. I made sure to put everything back in the way I found it. Though I do think I should have a special place for all my wands just to keep them together.
Here's her pocket letter:
 How beautiful is that? She told me it was her first pocket letter.
Here's the back:
 And the goodies:
 Lots of bling in there, paper clips and snowflakes
And some other stuff she included:

She said she read I wanted doilies, now I have quite a selection. I love all the snowflakes she sent me. I've signed up for a challenge and am thinking of doing a snowy pocket letter, they will be perfect.

Thursday, December 22, 2016

Winter Esther Luka Swap

I joined the Esther Luka Family Winter swap this year. We had to send our partner:
a flip book or a pocket letter
5 samples of washi at least 18 inches long
3 handmade embellishments
a handmade ornament
1-2 extras.
Here's what I sent my partner
 The flip book is in the top left, next to that are my samples of washi, I added them to a 'library card' bookmark from Target, next to those are some Almond Roca (my partner said those were her favorite chocolates), I also included a mug full of chocolate, next to that are my handmade embellishments, next to those is my handmade card and at the end some Christmas tree clothespins
Here's a close-up of my embellishments:
 The one on the left is a tag layered with a scalloped circle, a circle and a word sticker. I stamped the snail in the middle. The tag is actually wooden, I just added the wooden snowflake that I colored with a metallic pen and put a gem in the middle and added some sparkly washi to the bottom. The last one is made from a button that I got in a swap, I colored it to  look like a peppermint and added some banners and a word sticker.
Here's my handmade card:
 I used some kraft paper background that I layered some Christmas paper on. The sentiment is actually a clear sticker that I put on a white background, I distressed it with some stampin up ink so it wasn't so white.
Here's my flipbook:
 On the front here I added some jewel snowflakes and the sticker to the top.
When you flip it open:
 Here's a close-up of the left page:
 I created a side pocket with dictionary paper and highlighted the word 'Holiday'. I put one of each of the tags I picked up at Target and some Christmas stickers. The side is some Santa stickers on plaid paper.
Here's a close-up of the right page
I bought the puffy stickers with this exact set-up in mind. I didn't really have any great paper for the fireplace, so I just used some striped paper. I added a string to hang the stockings on and some stickers. I probably should have added a fire in the fire place.
When you flip the left page up:
 Close-up of the top page:
 I added a cut-out from a clip art book and colored it in. I also added some sparkly silver washi to the bottom and two snowmen buttons to the left. I also painted the wooden snowflakes with puff paint and added some bling.
Close-up of the bottom page:
 I love this little train sticker. I added some ribbon to the bottom, that sort of looked like train tracks. The sentiment was a clear sticker that I added to white paper and cut out.
When you flip the bottom right page to the right:
 Close-up of the middle page:
 I made a pocket and added some vintage images I printed off my computer. I added this Mary Engelbreit paper doll I had gotten somewhere.
Close-up of the right page:
 The corner pieces are from the same clip art book as the snowman above, I colored them in with metallic pens. I loved the sentiment of this card.
Here's my handmade ornament. I had the hardest time figuring out what to do, so I finally just went with an altoids box (if you've read my previous posts here, and here, and here, you know I love altering these, and I haven't done one in awhile).
 I took some more of those vintage images, I added one to the front, and put some lace on it.
Close-up of side:
 I added lace to the top edge of the box as well as the bottom edge.
Close-up of inside:
 
 I added some more vintage images. I added some vintage silver ric rac around the inside edges. I tied a pink ribbon on the top for the hanger, and added this beaded tassel thing to the bottom.
Close-up of the back:
Again, a vintage image. Usually I'll cover the box with dictionary paper, but I finally settled on doing this ornament at the last minute and it would have taken too long for the mod podge to dry and I wanted to get it mailed out on time.
My partner said she loved what she got. The ornament is more vintage chic than the rest, but like I said I was having a hard time with it. She said I could go shabby chic, so I did.

I will post what I received from her, soon.

Saturday, December 17, 2016

Crafty updates

Just some misc updates on what I've been doing craft wise. I got this tag in a RAK back before I moved, I want to say in July. Normally, I don't really color, I just don't like staying in the lines, but one day I sat down and colored it with my metallic pens:
 I also wrapped up gifts for my 12 Days of Christmas swap:

 I had a lot of fun decorating the outside of them.
A few years ago, I started this by cutting out a mitten from felt and then added a vintage dish towel to it. Last year (maybe?) I pinned the fabric to it, but never got around to sewing it down. Mostly because my mother said she was going to give me a sewing machine and then never did. As sheer and delicate as the fabric was, I was afraid hand sewing it, wouldn't catch the fabric right.
I found some metallic thread in my stash and sewed it together
 I don't know what else to do with it. It's about the size of an actual mitten.
I also signed up for a Christmas PL in one of my facebook groups. I had a hard time figuring out what to do for it. I do like how it turned out:
 I used some washi I got in a swap for the side. I just don't have a lot of Christmas washi and what I do have, I didn't think went with the rest of the pl. I used two papers from a 12x12 all seasons paper pad I picked up from Hobby Lobby for the backgrounds. One is a wood grained pattern with chevrons, the other is shades of red and green with Dec 25th in squares.
First row, the red square is actually part of a gift tag from Dollar Tree. Second card, I just fussy cut some reindeer from another paper pad. Third card is a sticker from Hobby Lobby.
Second Row: all the pieces are vintage clip art I printed off from my computer. The first and third were actually printed in grayscale (because I have run out of color ink) and I colored them with metallic pens. The second one was printed off last year, so it's in color.
Third Row: the first and third cards are some Santa stickers that I layered on red paper. The second card is Santa postage stamps layered on red paper.
I added an owl ornament to the side.
Here's the back:
The first space I put my letter in. The second I added some more of the reindeer I put on the front. The third is full of tags I picked up at Target.
Second Row: The first space has some more of that clip art, the second has some heart embellishments that were in my stash. The third has some puffy snowmen stickers.
Third Row: the first space has some clip art someone sent me, the second has some chocolate, the third has some stickers, stamps and a holiday eraser.

What's everyone else up to?

Friday, December 16, 2016

Girly pocket bag - what I made

 Here's what I sent to Lisa for our pocket bag swap:
 I had this vision of just layering a bunch of lace on it. Of course when I got done, I realized I had kinda killed the bag, because I couldn't open the bag to full capacity. Oops. I feel like I'm kinda inundating her with lace, I will try not to use lace on the next thing I make her. The middle part you'll be able to see much better on the next photo. On top of the middle, I added pink velvet ribbon and a tiny piece of bling from some vintage jewelry. I also made that a pocket. I should have taken a picture of this without all the goodies. Aside from the doily peeking out, I'm not exactly sure how I decorated the top. On the way top of the bag, I put sparkly washi, which does not like to stick to itself, so I added some more lace to it.
Here's the back
I didn't do a lot of decoration to the back. I really wish I did more on the middle part, you can see a button that says Model Status on it. On top, I added a hello I fussy cut and some blingy flowers.
I tried to load it up with girly stuff I found in my stash.
I hope she likes it. I can't wait to see what we create next month.

Thursday, December 15, 2016

Girly pocket bag

For the monthly swap I'm in, I got to choose what we made and the theme for November. I'm not good at making decisions sometimes, so I chose a pocket bag in a girly theme. I also asked that we include 3 handmade paper clips.
Here's what Lisa sent me:
 It's beautiful I love that she went with a vintagey girly theme.
Here is the bag itself:
 Here's just the bag:
 I'm loving that banner punch and the mason jar punch. Someone has sent me a few of those for my wishes, but I can't get enough of them. I also love how she added the hello tag above.
Here's what was in the bag:
 a die cut collection. I'm guessing this is one whole collection that she bought somewhere. I'll be using these for sure.
More goodies:
 Lots of lace and embellishments.
This is my favorite goody:
She took that mason jar punch and made me a mini notebook with a W on it.

I've been watching videos where people don't want to take apart the things others sent them. I get that now. I made sure to put everything back in like I found it. I don't have the room in this apartment to display the things people are making me, so sometimes I go to the drawer where I keep them (it's getting pretty full, I'll have to figure out something else soon) and just marvel at how creative people are.

My next post will be what I sent her.

Wednesday, December 14, 2016

Holiday Tags

In my last post I mentioned I had made some holiday tags. Here's what I got back from my partners.
 And my other partner, these came in a mini loaded envelope:
 And here they are by themselves:
My favorite is the coffee cup one. I don't drink coffee, but I LOVE this tag.

Friday, December 2, 2016

What I've been up to crafty-wise

Has anyone altering paperclips? I have had a blast doing them. Mostly just using buttons, but I'm going to start using other things, too.
 The first one is actually made with mummy stickers, front and back. The second one has a pilgrim girl on one side and a pilgrim guy on the other side. The third one has the same pumpkin on the front and back.
 More
 I used two sparkly flower buttons for the first one. The second one is a button with a gold fleur de lis, the back has a plain button on it. The third is a Rudolph button with red felt on the back. The third is a snowman piece I found on my walk home with red felt on the back. On the second row, the first has some buttons and monster faces on them. The second one is a heart brad with a button on the back. The third is a flower button, there is a smaller flower button on the back. The last one is a faceted black button with another button on the back.
I signed up for a Christmas paper clip swap through one of my FB groups, so I will be making more.
I also had a RAK for one of my FB groups, I had a ton of fun wrapping the things I sent:
 That big blue one the left has some burlap leaves on it. The yellow one has ribbon with layered buttons. the third one has a strip of burlap ric rac and buttons. The fourth one has some ribbon with a turkey sticker. the fifth one is harder to see, it has a couple lizard stickers on top, and then I made a little banner embellishment with a pumpkin on the bottom. My favorite is that burlap belly band with the layered leaves. The last one is just a couple of pieces of paper layered.
I also signed up to do a holiday tag swap on FB.
I used dictionary paper and paper from a 12x12 all-occasions paper pack from Hobby Lobby for backgrounds.
 Here's some close-ups:
This one has paper for the background. I added gingerbread guy stickers from Dollar Tree and some puffy white paint to add some dimension. I used a foil washi on the bottom from Hobby Lobby.
 
This next one has plaid paper for the background. I'm trying to make rosettes, so I bought some cupcake papers at Dollar Tree. This is my first attempt with a felt owl from Hobby Lobby in the middle. I also added some Christmas tree washi from Target to the bottom.
I don't have many doilies, but I like using them. I used a wood grain paper for the background. I added half of a green doily, that I got in a swap,  and a little guy I got off of some tags from a magazine, I should have added some white paint to him too. I used plaid washi, from Target, that I cut in half at the bottom.
I used plaid paper for the background here, too. I found this piece of burlap in my stash and layered a felt bird ornament, from Hobby Lobby, on top of it. Here is the full width of that plaid washi I used on the tag above.
This one has the wood grain paper for the background. I put some teal colored 1 inch circles with wood veneer snowflakes, from Hobby Lobby, and bling, from my stash, on top. I put some blue glitter washi, from Dollar Tree, at the bottom.
This one has dictionary paper for the background. I cut these houses out of notecards, from Dollar Tree, and added some puffy white paint to look like snow. I also added some bling, from a swap, at the bottom.
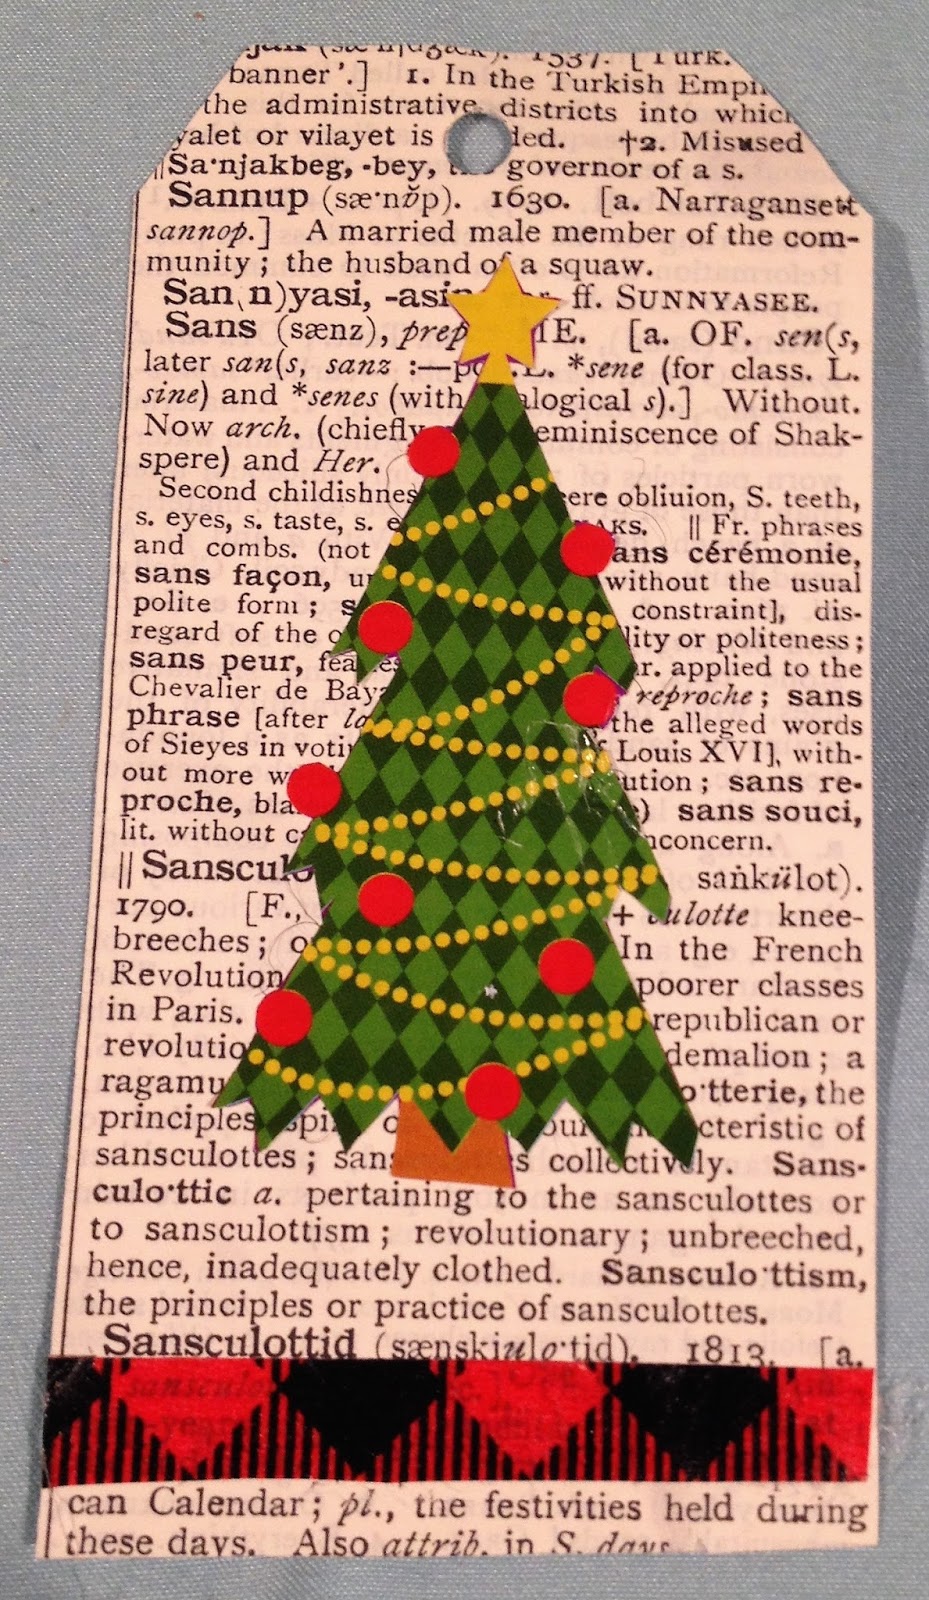
This one has the dictionary paper background. I added a felt tree, from Hobby Lobby, and some Christmas tree washi, from Target, at the bottom.
I don't use a lot of color ink, but somehow I always end up running out of it around Christmas each year. I attempted to print a bunch of vintage looking Christmas images from my computer, and ran out of ink halfway through. So, I went back and printed them in grayscale, I ended up coloring this with my metallic pens, and added some bling for the ornaments. The washi at the bottom is cut in half and is from Target.
This one has the dictionary paper as background with a tree sticker, from Dollar Tree, and plaid washi from Target at the bottom.
I've seen trees made from strips of whatever you want, so I used my thinner washi from Hobby Lobby to make one. I added a metallic star sticker on the top. I should have added something for the trunk at the bottom, but couldn't find anything that looked right, so it looks like it's just floating. The plaid washi at the bottom is from Target.
This one has the dictionary paper background with a sticker I found in my stash and washi from Hobby Lobby on the bottom.
This one is another variation of the other snowflake one above. I used dictionary paper as the background with black 1 inch circles, more of the wood veneer snowflakes and bling. I put plaid washi at the bottom.

I did not get a picture of these with the string/twine in them. I honestly can't remember what I used, but I did add some.