Showing posts with label embellishments. Show all posts

Saturday, May 20, 2017

ELF Spring Swap

It's time for the Esther Luka Family swap, this time the theme was Spring. We had to make
1. Pocket letter, flip book or loaded envelope
2. Three handmade cards: Hello, Get Well, one for our partner.
3. a wand
4. Five samples of washi at least 18 inches
5. Three tags
6. Four embellishments
7 One-two extra embellishments.

Here's what I made:
Pocket letter:
 I used a bunch of springy embellishments from a K&Company kit I bought. I added a bunch of goodies to the various envelopes. I also added some flowery washi on the side.
The back:
 She said she liked elephants, so I filled the back with elephant ephemera.
Cards:
Hello:
 I like this technique, I stole it from Poetspice, it's just using your scraps to make a card. The zigzag scrap on the right wasn't quite long enough to cover the whole page, so I added the blue scrap on the bottom and then the seam between the two top pieces looked rough so I added the plaid sticker, and just spelled out 'hello' with dollar tree stickers.
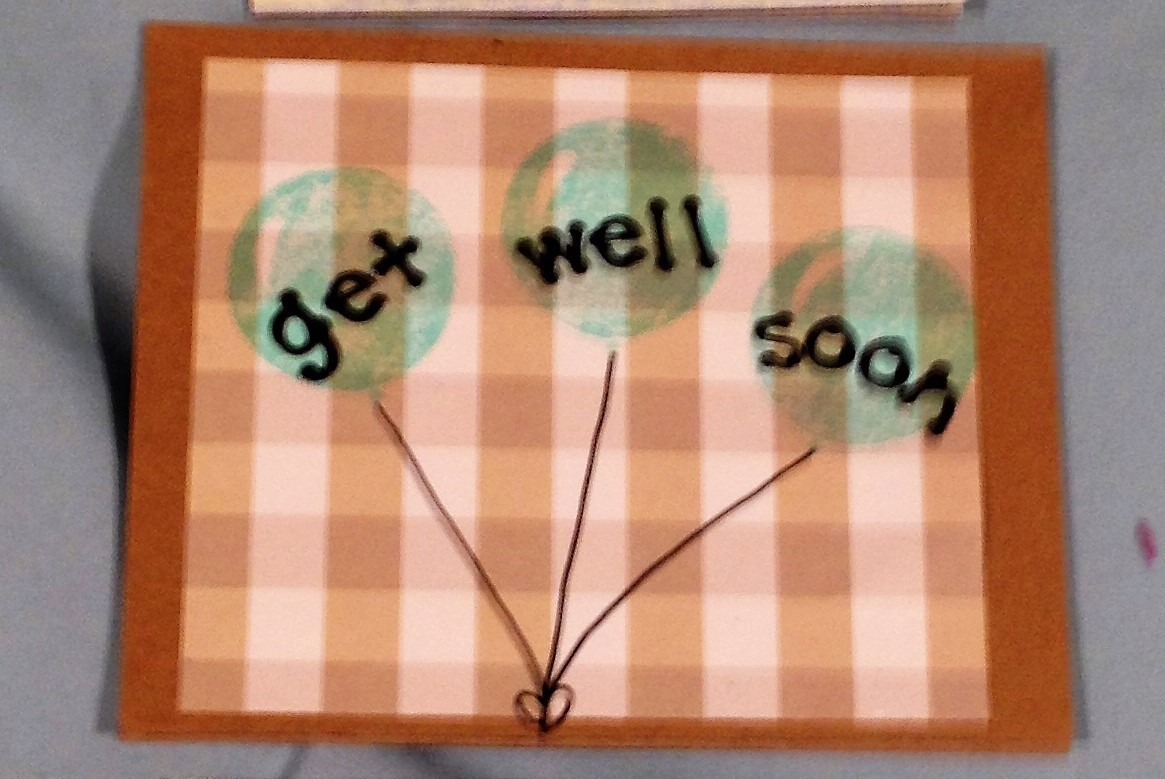
Get Well:
 I'm really not that great at making cards, this one is really simple. I just used a scrap of paper for the background and used a new balloon stamp. I spelled out 'get well soon' with stickers.
One for my partner:
 I actually like how this turned out. I made the main piece first and attached it to the card base. I made the banners with some dollar tree washi and added the 'friends' piece from a paper pad I picked up at a garage sale.
Wand:
 The background is a cupcake liner. I've been loving making rosettes, since I watched Esther's tutorial on them. The rosette is just a scrap of paper, I added the middle of another cupcake liner and a jeweled flower. I wrapped the stick with washi to make it a little more springy.
Washi samples:
 I try to give people washi that you can't find at dollar tree or Hobby Lobby or Micheal's, these I got in swaps, so I'm not exactly sure where they came from, but I know they're not Dollar Tree and I've never seen them at Hobby Lobby.
Tags:
 First tag:
 The background paper is from a DCWV paper pad, as is the butterfly piece and the yellow paper it's layered on. The brown strip at the top is a scrap from my stash, the 'the good life' is from a sticker from Dollar Tree
Second tag:
 The background is a tag from Michael's, I layered some trim on the bottom, a cut apart from JoAnns, and a sticker from Dollar Tree.
Third tag:
The tag I got from skybluepink, I added some pink washi to the bottom, a scrap in the middle and a cute hot air balloon sticker.
Embellishments:
 bag close-up:
 I took a tiny bag that was on my desk, added some brown washi to the bottom and created a fan. I also added a sticker from Hobby Lobby.
Other close-ups:
 The pink is a scrap, layered with ribbon, a yellow ticket and a diecut word from Michael's. The bottom two are made with punches and stickers from my stash. I also made her a purple owl paperclip.
Extras:
She said she liked perfume bottles, so I added this cute notepad. I also included an elephant eraser, and some elephant washi.
Here's what I got from my partner:
a flip book
Front:
 First flip
 I love the little shaker pocket she made.
 Second flip:
 Close-up of first page:
 I love the mouse, I do sewing sometimes, and she incorporated a lot of sewing elements into her creations.
 This tiny piece is actually the front of the flip below, I edited my pictures wrong.
Close-up of second picture
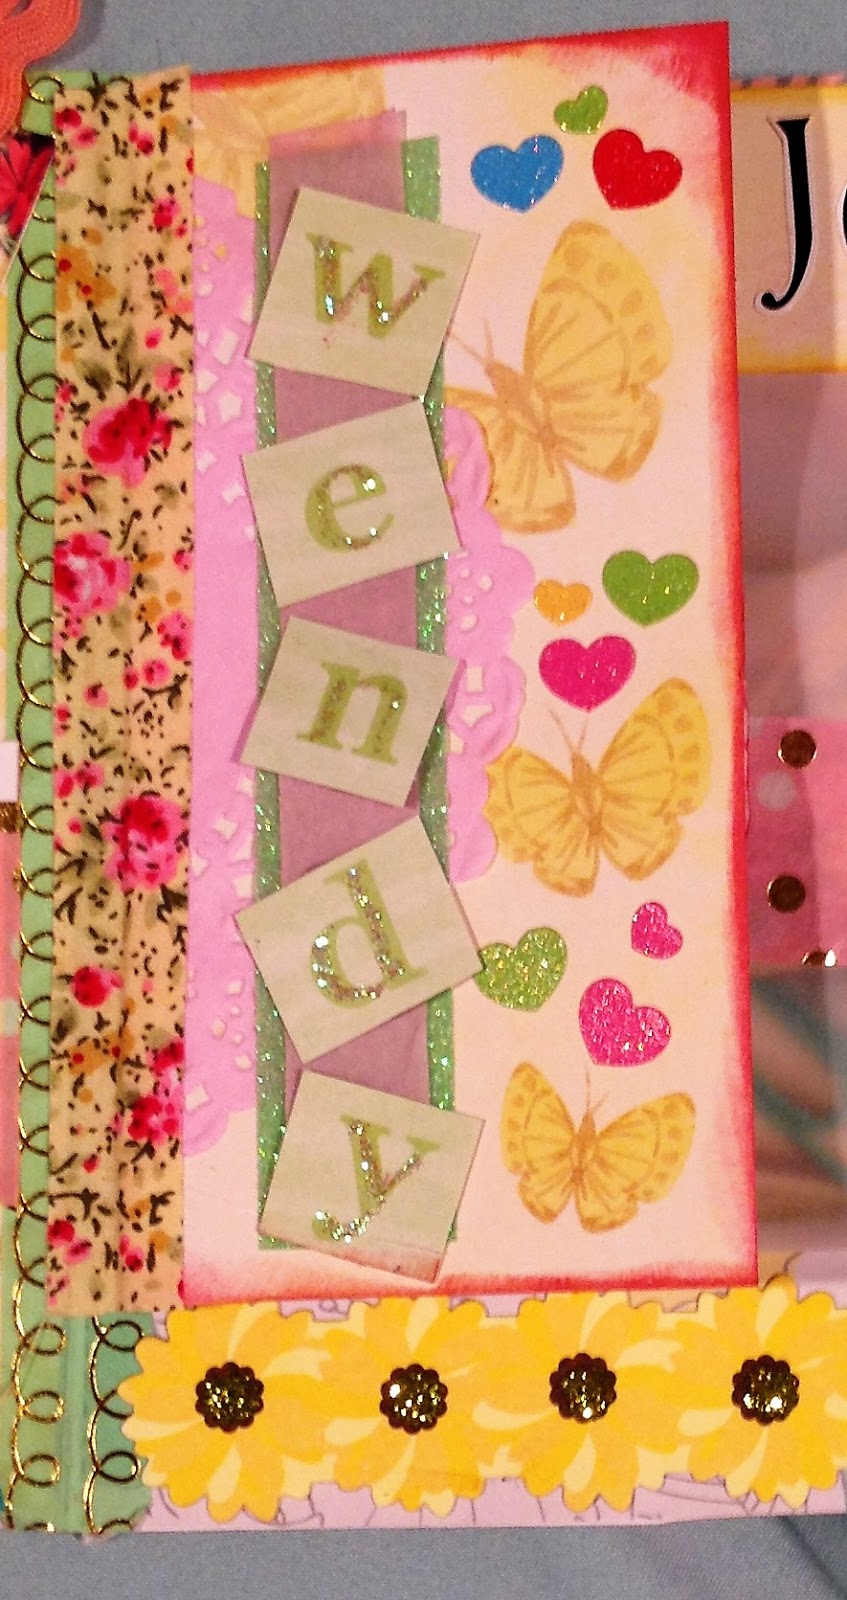
 That piece on the left is the back of the 'Wendy' piece above. The right side is a glassine envelope filled with goodies.
Third card:
 These are the tags she created.
Close-up of last page:
 I'm loving everything about this flip book.
The back:
 The handmade cards:
 I'm always in awe of what people make for me.
Wand:
 washi samples:
 I love that blingy roll.
Tags:
 These are the tags from the pocket above.
Embellishments:
 These were in the glassine envelope above.
Extras:
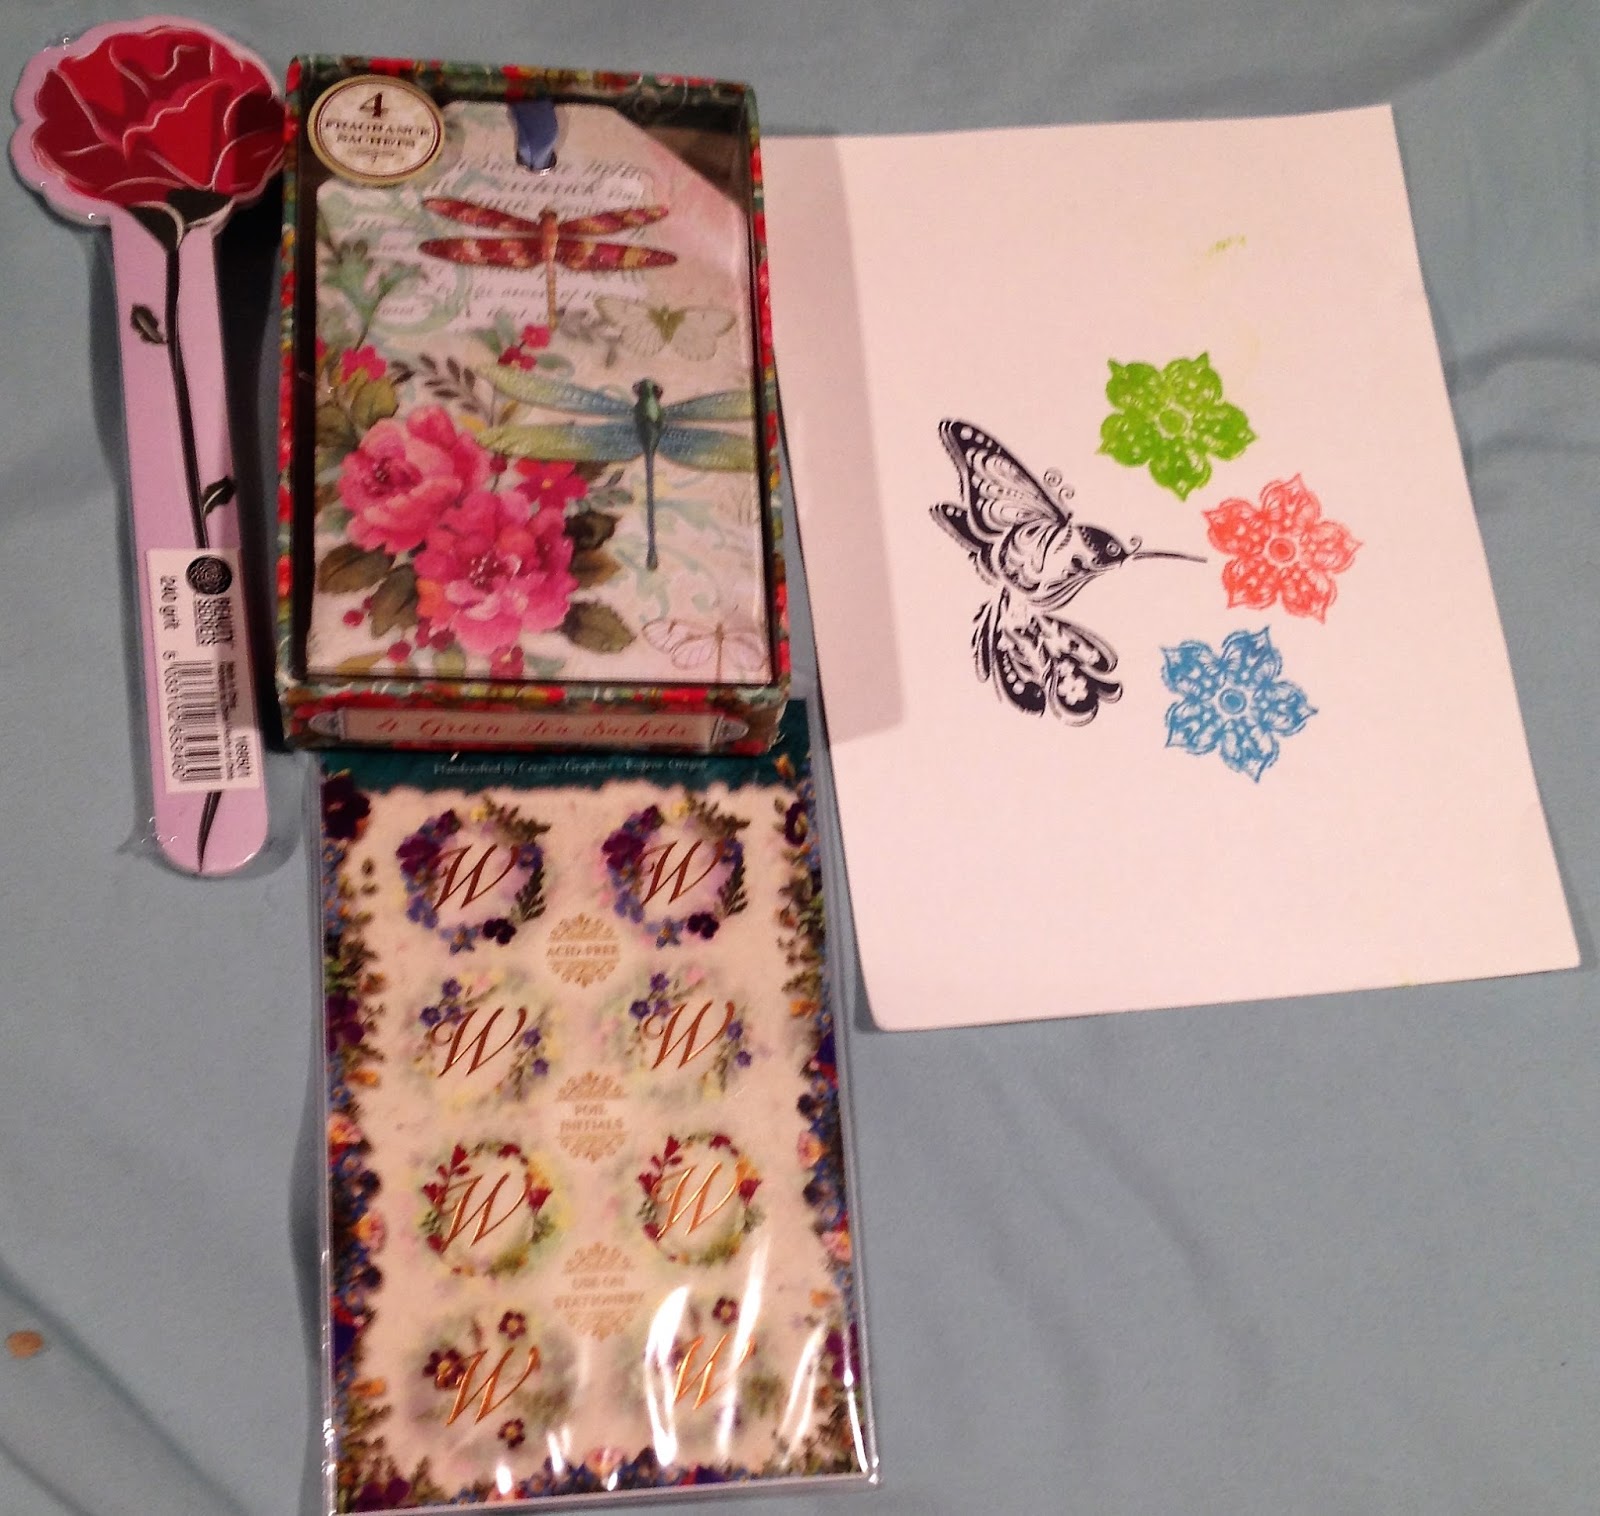
 That's an emery board, some nice smelling sachets, 'W' stickers and a stamped piece.
More extras:
Some stamped elements.

Thursday, December 22, 2016

Winter Esther Luka Swap

I joined the Esther Luka Family Winter swap this year. We had to send our partner:
a flip book or a pocket letter
5 samples of washi at least 18 inches long
3 handmade embellishments
a handmade ornament
1-2 extras.
Here's what I sent my partner
 The flip book is in the top left, next to that are my samples of washi, I added them to a 'library card' bookmark from Target, next to those are some Almond Roca (my partner said those were her favorite chocolates), I also included a mug full of chocolate, next to that are my handmade embellishments, next to those is my handmade card and at the end some Christmas tree clothespins
Here's a close-up of my embellishments:
 The one on the left is a tag layered with a scalloped circle, a circle and a word sticker. I stamped the snail in the middle. The tag is actually wooden, I just added the wooden snowflake that I colored with a metallic pen and put a gem in the middle and added some sparkly washi to the bottom. The last one is made from a button that I got in a swap, I colored it to  look like a peppermint and added some banners and a word sticker.
Here's my handmade card:
 I used some kraft paper background that I layered some Christmas paper on. The sentiment is actually a clear sticker that I put on a white background, I distressed it with some stampin up ink so it wasn't so white.
Here's my flipbook:
 On the front here I added some jewel snowflakes and the sticker to the top.
When you flip it open:
 Here's a close-up of the left page:
 I created a side pocket with dictionary paper and highlighted the word 'Holiday'. I put one of each of the tags I picked up at Target and some Christmas stickers. The side is some Santa stickers on plaid paper.
Here's a close-up of the right page
I bought the puffy stickers with this exact set-up in mind. I didn't really have any great paper for the fireplace, so I just used some striped paper. I added a string to hang the stockings on and some stickers. I probably should have added a fire in the fire place.
When you flip the left page up:
 Close-up of the top page:
 I added a cut-out from a clip art book and colored it in. I also added some sparkly silver washi to the bottom and two snowmen buttons to the left. I also painted the wooden snowflakes with puff paint and added some bling.
Close-up of the bottom page:
 I love this little train sticker. I added some ribbon to the bottom, that sort of looked like train tracks. The sentiment was a clear sticker that I added to white paper and cut out.
When you flip the bottom right page to the right:
 Close-up of the middle page:
 I made a pocket and added some vintage images I printed off my computer. I added this Mary Engelbreit paper doll I had gotten somewhere.
Close-up of the right page:
 The corner pieces are from the same clip art book as the snowman above, I colored them in with metallic pens. I loved the sentiment of this card.
Here's my handmade ornament. I had the hardest time figuring out what to do, so I finally just went with an altoids box (if you've read my previous posts here, and here, and here, you know I love altering these, and I haven't done one in awhile).
 I took some more of those vintage images, I added one to the front, and put some lace on it.
Close-up of side:
 I added lace to the top edge of the box as well as the bottom edge.
Close-up of inside:
 
 I added some more vintage images. I added some vintage silver ric rac around the inside edges. I tied a pink ribbon on the top for the hanger, and added this beaded tassel thing to the bottom.
Close-up of the back:
Again, a vintage image. Usually I'll cover the box with dictionary paper, but I finally settled on doing this ornament at the last minute and it would have taken too long for the mod podge to dry and I wanted to get it mailed out on time.
My partner said she loved what she got. The ornament is more vintage chic than the rest, but like I said I was having a hard time with it. She said I could go shabby chic, so I did.

I will post what I received from her, soon.

Monday, November 28, 2016

Handmade Embellishments

I signed up for a swap on one of my facebook groups where we had to make 5 handmade animal embellishments. I had two partners so I made 10.
Here's what I made:
 A few paperclips, some banners, some tiny rosettes and a leaf.
Here's what I received from one of my partners:
 I love those tags and the rosettes are great.
Here's what I got from my other partner:
These are so fun and cute!