I traded pocket letters with Amanda K. And she likes butterflies and owls. My plan was to make an owl pocket letter and fill it up with butterfly embellishments. Then I decided to make her a couple flip books. They are new to me, so I'm trying to get better at making them. They are two different bases.
First up, the butterfly book. I took a 12x12 sheet of double sided paper, folded it in half and then in half again, and then cut one of the folds for this one. I saw this technique on Amanda's channel. I like this technique because you don't use washi to bind it. I don't know about other people, but sometimes my washi will not stick. I have tried using a washi I know is a bit better in quality, but it still doesn't work.
The front: I did add the washi tape to look like it was holding it together, but it's just decorative. The butterfly at the top, I got in a swap and added it to a clothespin, it's purely decorative. The large butterfly on the front is acetate and attached with foam tape. The bottom is polka dot fabric tape.
The first flip:
Left page:
This is just a band that's attached on the sides to hold the butterfly stickers. All the paper I added was in the same paper pack as the background paper. The flower stickers are dimensional, I also added a couple paper clips: a page flag and a swirl.
I like my pages to be able to stand alone even when the extras are taken out. With this page, I added another piece of paper over the background paper.
The right page:
This paper matches the band on the other side, I added some unused postage stamps. On the right I have a ziploc baggie of butterfly ephemera.
When you flip the bag up (or remove it):
There are a few silver butterflies underneath. The top and middle ones are stickers. The bottom one is metal someone sent me in a swap.
The second flip, you flip the above page up:
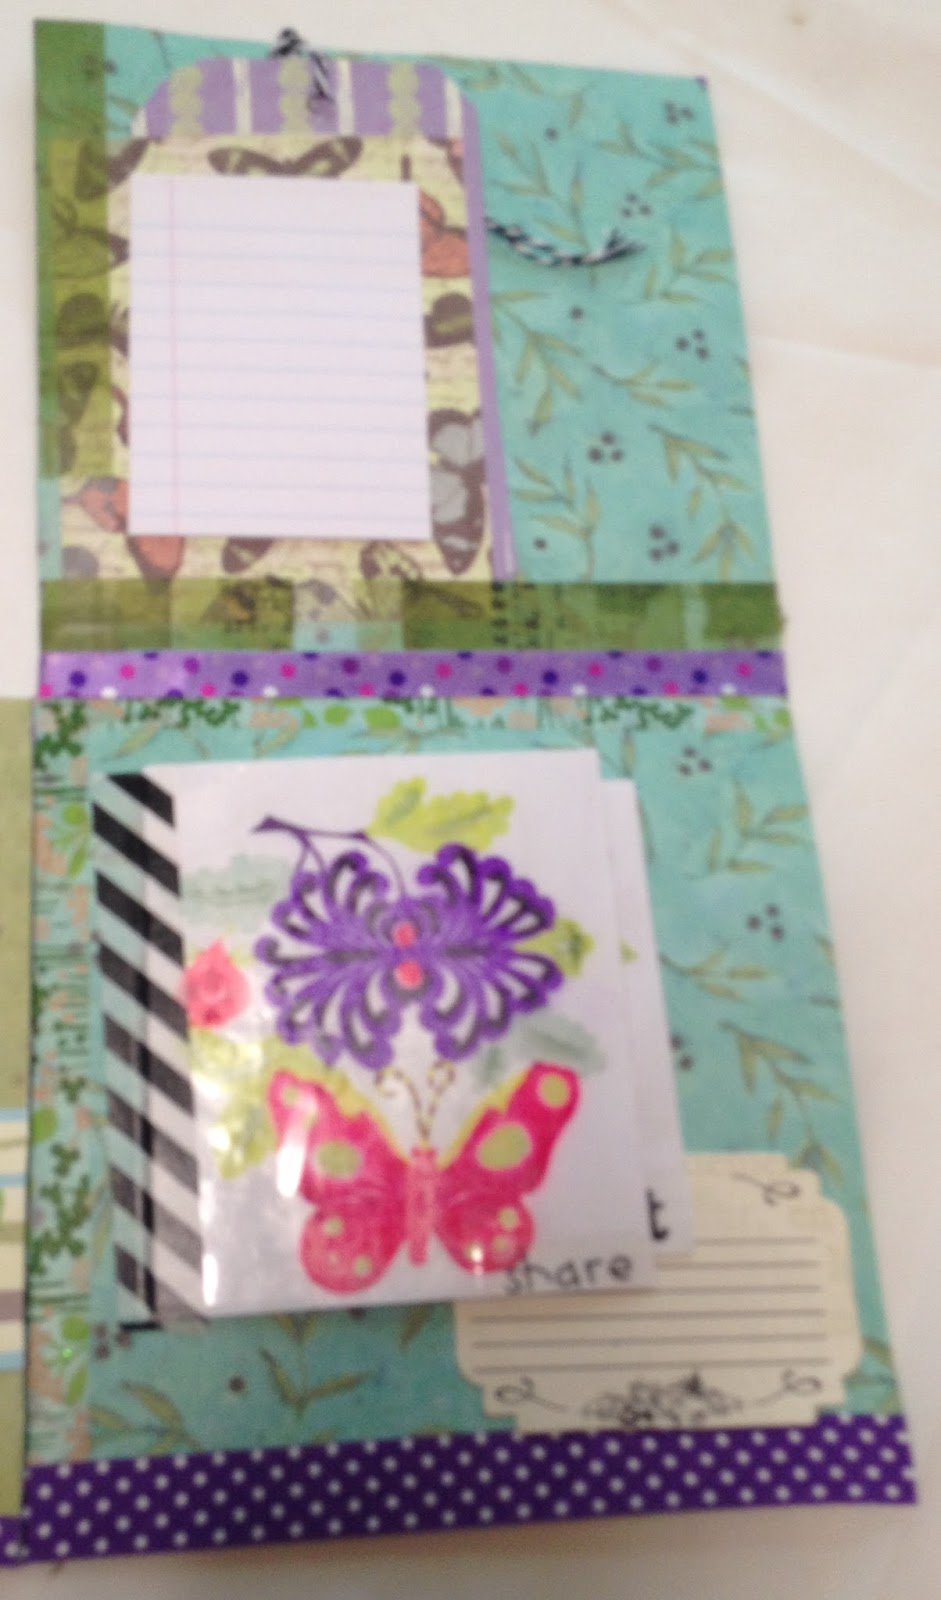
The top page:
I added a pocket (this paper was not from the paper pack) I glued the pocket down and used some washi. The tiny notebook paper are post-it notes. I made some tags with paper from the same paper pack. I added Favorites to the top of the page with a list underneath for Amanda to fill out for me.
The bottom page:
I love these flips. These two pieces are rice paper Japanese paper cuts I bought at a garage sale. They are so delicate, they were in between two pieces of tissue paper. I didn't know what to do with them for forever. I thought they'd be great to make flips out of, but I didn't know how to stop things from getting stuck on them. I finally added some clear acetate over the top (sadly, the glue didn't really keep it on, so I had to tape the sides with clear tape).
When you flip this one open:
The back has a rub-on with some stickers and the other paper cut is opposite.
When you flip this one open:
The back is a couple more rub-on's with some more stickers. There is a journaling card that I filled out my favorites of the ones I asked Amanda to fill out.
Here is a picture of the whole flip book open, you can see how I folded and then cut the fold to make the flip book:
A close-up of the top of the left page:
The butterflies on top are actually vellum and clear, they got lost in the page, so I put them on white cardstock and glued them down. The envelope has some stickers in it. The fairy sticker was from my trip to a seed farm in east Iowa a few years ago.
The bottom page:
I created another pocket with paper from the paper pack. I don't seem to have a picture of the tags. One of them is a sticker, the other one is a project life card that I added a sparkly butterfly sticker and a quote sticker to. The butterfly on the left matches the ones above. The one in the middle is from a Tim Holtz sticker pack. The Happy Day piece is a rub-on. I also added some along the seam line.
I had a hard time finding butterflies to use, until I finished it and found all the butterflies I had set aside to send to Amanda (story of my life).
Here's the second flip book. This one is my favorite. It's supposed to look vintage and when she opens the flips, she sees the owls. This one, I used some paper I had cut down from 12x12 to 6x6. It's from The Heirloom Stack by DCWV. I glued them together to make double sided pages. I used some brown washi that kinda looks like a ruler to bind it.
The front:
The flower in the top is actually purple and peach, but it looked nice. I made some banners from washi tape. The cameo is something I picked up years ago at an antique mall that was going out of business, I had already sewed it on to the brown fabric. The 'discover' sticker is chipboard.
When you open it:
I noticed I don't have a close-up of these pages (oops). The left page has watercolored like clock on it. I added the polka dot bag to hold duplicates of the project life cards I used. I added the steampunk tape as decoration, the bag is actually held down with double sided tape.
The right side has the 'smiles' and 'good times' on the paper. The cameo is paper glued into a metal frame with an acrylic oval on top of it. The 'cameo embroidery' is vintage packaging. There is also a strip of ribbon on the bottom.
The next flip:
Here's a close-up of the middle page:
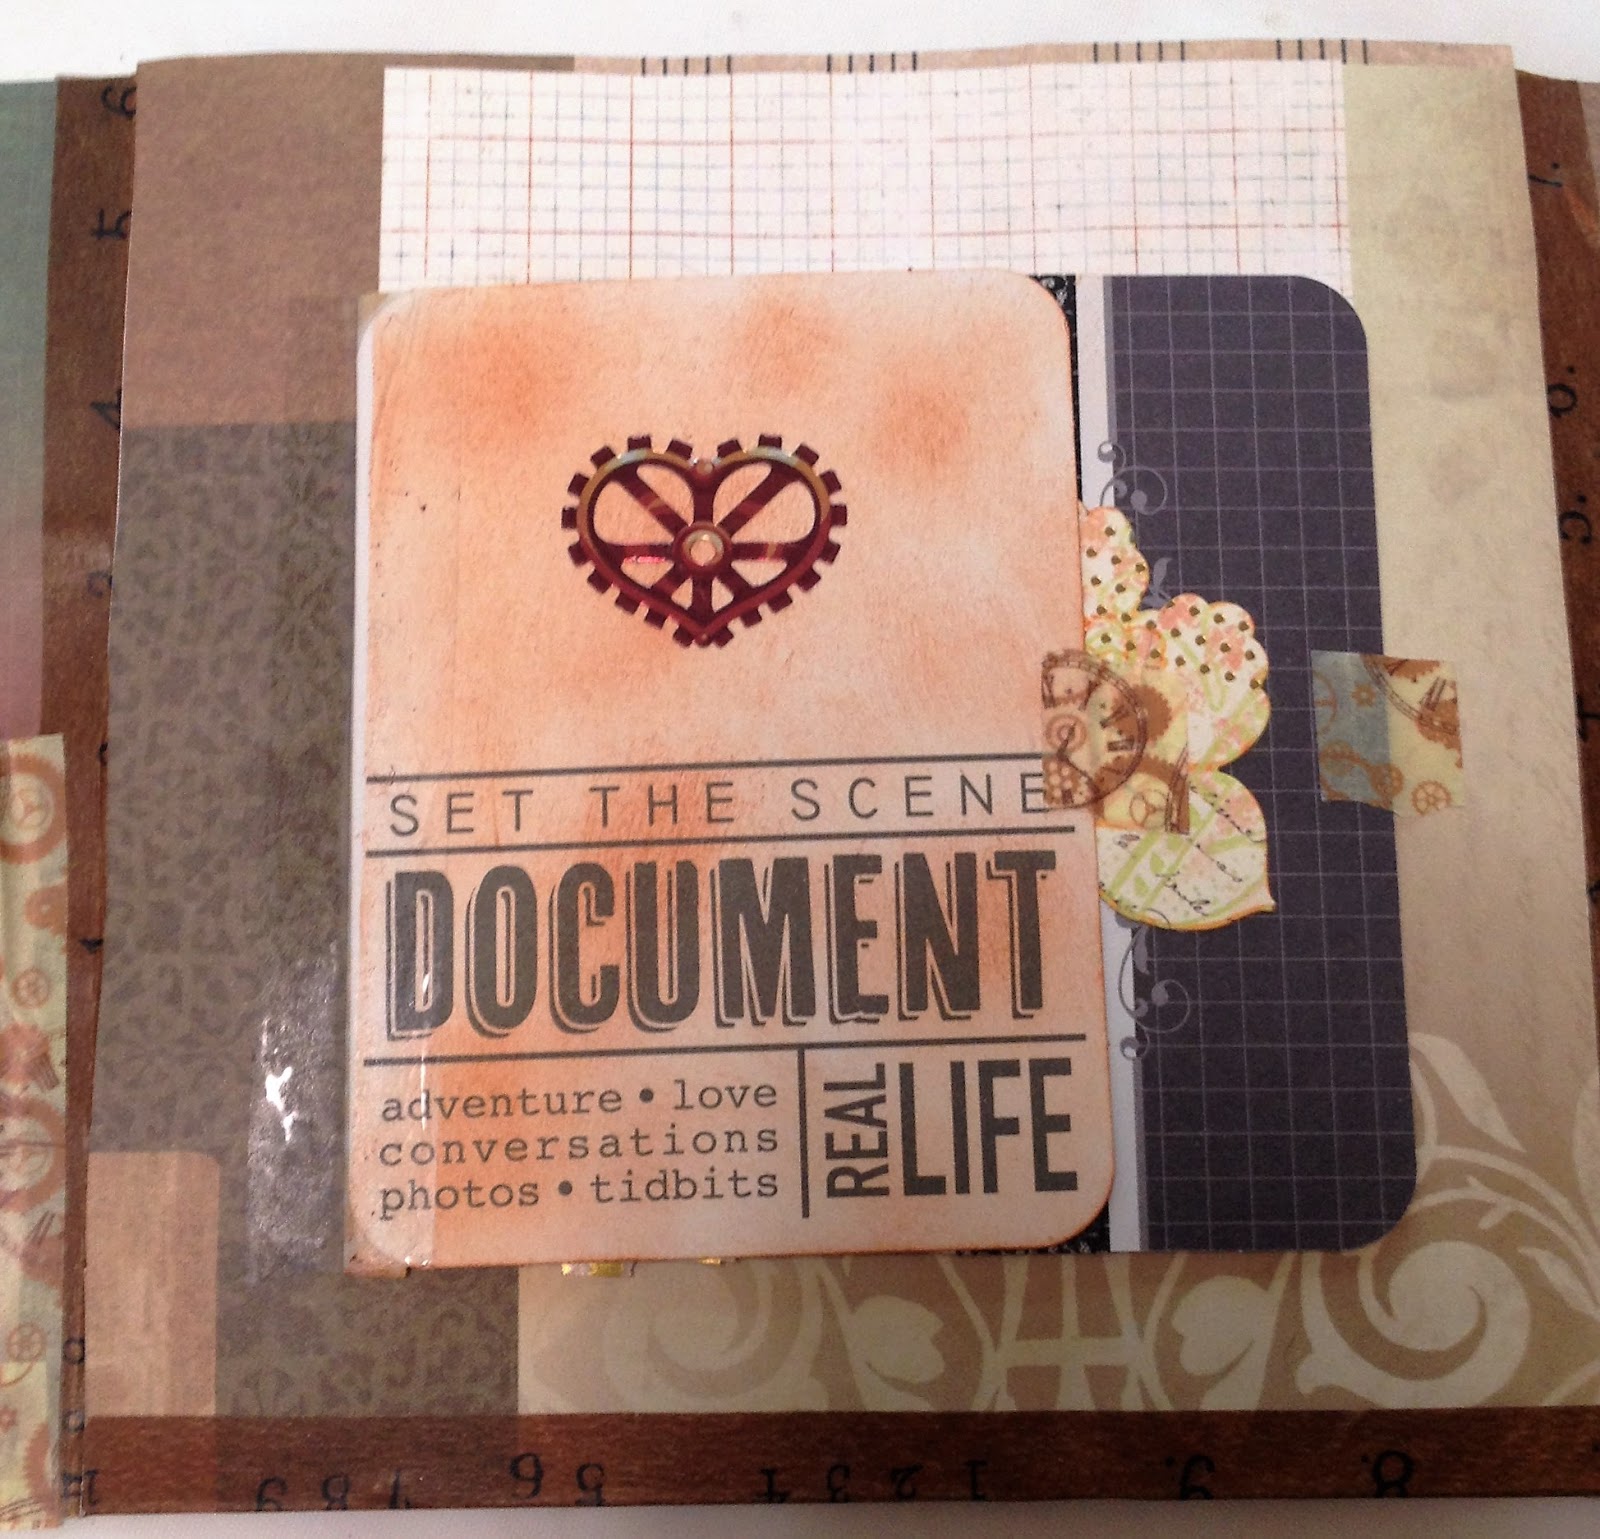
All I did is add the project life cards to this. The first one was way too stark white, so I added some brown ink to it and a steampunk heart. It's held down with clear tape as I didn't want to cover up the card. When you flip it open:
You see the back with some owl stickers. I picked these up from Hobby Lobby, they have a kraft background with pink glitter. The back of the card is held on with gold chevron washi I picked up at the Target dollar spot (or Bullseye's playground as I believe it's now called). The next card had a horizontal design on the front, so I covered it up with some black lace washi and a flower. When you flip it open:
There are puffy owl stickers. The background has some owl paper that I cut out the same owls and added foam tape to. You can't see it, but they're popped up a little.
This is the right page:
I added the thick sticker to the bottom and gold letters spelling out 'surprise' to the top. The first card is held on with some checkered washi from Hobby Lobby (it comes with the Union Jack pattern you will see further below), it's also covering up a design on the side of the card that was horizontal. I added some dark mother-of-pearl buttons to the top.
When you flip it open:
There is a steampunk owl sticker. I didn't do anything to the next card.
When you flip it open:
There are more puffy owl stickers, these were in the 97 cent aisle at Walmart as well. On the back page are some owl punch-outs I got in a swap.
Back to the rest of the book, this is what it looks like when the middle is flipped down:
A close-up of the middle page:
This is that Union Jack washi I was talking about. The square on the card says 'thinking of you...' and then there are check boxes next to these options: on your birthday, on your anniversary, while you're down or because you're special. I filled in the last one and added Amanda's name to it. When you flip this card open:
There are some pop-up owls from the Dollar Tree. The next card looked too blah, so I added some paper and goldish star stickers.
When you flip that one open:
There are more puffy owl stickers, also 97 cents from Walmart. The owl on the back is cut from a dictionary and added to a tag sticker.
Here is the bottom page:
I like the honeycomb washi tape. It gives a little pop of color, sadly I ran out just as I attached these cards and I got it in a swap, so I don't know where to get more. I added the journaling spot to cover up something.
When you flip it up:
Another steampunk owl sticker (I'm pretty sure these are from Walmart, but someone gave them to me, so I don't really know).
When you flip up the next one:
Some more owl stickers, these are from The Dollar Tree. The owl in the background is a paper cut image.
Here's the back:
A travel label that I added a button washi to, to cover something up. I added handmade by me to it.
You can see lots of tiny steampunk washi holding the cards down throughout, that's basically so they don't flip open when she opens the books. I wanted the owls to be a surprise for her. I really hope she likes it I had so much fun making it.
I did create a video of this one as well (my first video) because there are so many flips.
These should have been delivered by now, I'm not entirely sure about this first one (as it was going to Alaska), but the expected delivery date was today.
This first one was a wish I granted through Crafty Lori's channel on YouTube. Naynaylovesmakeup wished for her first pocket letter. She said she liked pink and sparkly. I went with pink and gold, so I hope she likes it.
Starting at the top. I had her name in pink sparkly letters at first, but they kept falling off. So, I changed to teal sparkly letters and had to make a "Y" which I hope stayed together during it's journey. Apparently I need more alpha stickers.
Top row: gold background, a sticky note from a Target pack (it's the one shaped like a thought bubble) and a gold heart from a swap. Pink background with gold tag and pink buttons. Gold background with a pink journaling spot and part of another Target notepad, with some pink ric rac sticker on the bottom.
Middle row: pink background with a gold square and a 'laugh' sticker. Gold background with pink bunting and some pink hearts from a swap. Pink background with gold circle and pink heart with hello stamped in the heart. On the bottom is some gold foil heart washi.
Bottom row: gold background with pink heart, also from Target pack. Pink background with gold strip and then pink strip and washi tape on some white paper. Gold background with a pink tag (from Target) and some gold hearts (from Target note pack). On the bottom is a cardstock thickness sticker that's pink with brown polka dots.
The dangly on the side (I love adding these to PL's. I seem to have a lot of beads, and this is a great way to use them up.) are pink and gold beads.
The back:
I basically stuffed some notes from the whole note pad pack from Target in the back. The thought bubble was used for the circles on the front, the ombre tag was used on the front. The notes in the left, I cut out the quote for a card. The hearts sticky flag was used on the front. The gold foil washi tape was used. And the lined notes I cut into a heart. I put in some of the bigger notepaper folded up and some Target paper clips. The blank space got my letter.
This one was through a Facebook PL group.
We decided on an Under the Sea theme. Even though I thought it would be great not to have themes, I seem to do much better when I have a theme for PLs. I went a little out of my comfort zone and decorated more of the outside of the sleeves this time. I kinda like that.
Top row: an underwater tag sticker and an 'S' for my partner. Weathered board paper with jellyfish, blue striped fish and pop-up squid sticker. Underwater card with a dimensional octopus. The clown fish and squid stickers are on the outside of the pockets.
Middle row: seahorse sticker and pop-up fish and whale sticker. Chipboard sea turtle sticker and pop-up purple fish sticker. Weathered board card with a blue ombre tag from Target and a jellyfish stamp from Stampin' Up. The whale sticker is on the outside of the pocket.
Bottom Row: The backgrounds are all a marbled paper. Coral stickers, Dory-like fish pop-up sticker and (I think) whale shark sticker. More coral stickers and a sea turtle sticker. More coral stickers and a fish sticker. I also added some flat backed pearls to look like bubbles from the fish's mouth. Those kept moving, so I hope they stayed on during their trip.
The dangle on the side has some clay beads I made in elementary school and some paper beads I made in high school.
The back:
Some paper clips in blue and green, underwater stickers, my letter, ombre tags, underwater stamped images, pop-up stickers (I actually bought these to use on the PL, but they didn't really work), flat backed pearls, tag stickers, washi samples. I sent her a little more washi samples than usual because I kept running out of washi.
I've been granting wishes on Crafty Lori's Youtube videos. Basically, she puts up a video every Monday called Let The Wishing Begin. You want to watch the whole video because she tells you what to type in your comment at the end. You type what she tells you to, if you're in the US or international and then your two wishes. You can basically wish for anything you want except for really expensive things.
I've been wishing lately, but no one's been granting my wishes. I've also been granting wishes, because I've been cleaning and sorting lately, so I figured I might as well pass my cast-off's on to someone who wants them.
I have not been taking pictures of what I've been sending. I should do that.
My first week, I granted a penpal to Linda Curl. You should check out the flip book I sent her.
My second week, I sent some 6x6 paper to Mary G, and a pencil pouch for Veronica M.
My third week, I sent socks to Michelle R, buttons to Ashley S, and lace to Deanna P.
Then I took a week off, and last week I sent some critter stamps and stamped images of all the critter stamps I own to Karen J, ephemera to Jeannie, and stickers to Cathy. I also am granting a wish for a pocket letter to Jahnay W, but I haven't actually made it yet. It does take a little more to actually make the pocket letter than to just get stuff together.
This week, I've only granted one so far, I'm sending washi tape samples to Tonya H. I'm sending her a bit of every washi tape I have, I counted it's over 20 different tapes.
Here's a few more pocket letters I finished, they have now reached their destinations, so I can show them:
For Mona
First row: I added some letters to the front of the pocket to spell out her name, otherwise the card is not decorated. Second card has some ric rac sticker, a pink circle card, a puffy flower sticker and a couple bug stickers. Last card has a 'happy' sticker and some ric rac.
Second row: The butterflies are on the top of the pocket and they're wings are folded up, I used some puff paint for their bodies, and added a few flower stickers. Second card is a journaling spot with flower and bug stickers and some more ric rac. Third card is another journaling spot with flower stickers.
Last row: a paint chip with flower and bug stickers. Second card: a bug rub-on with a flower sticker and some ric rac. Last card: bug and flower stickers.
I used some of the stuff she sent me in my pocket letter for hers. The yellow trim and the paper butterflies came from her. I did a little more decorating of the actual plastic page on hers. That's something new for me, I'm trying to branch out.
I used a lot of this felt ric rac stickers I bought before Easter at the Target dollar spot. I loved using that, I'm kinda sad I didn't buy more. I was kinda going with a flower theme for this pocket letter.
Here's the back full of goodies:
I try to add extras of what I had used for the fronts of my cards. Sometimes I really don't know what to include.
I added fruit stickers, journaling spots, paper clips, washi, flower sequins, a card I had made but did not use, ladybug stickers and a packet of flower seeds.
Here's one that went out to Kimberly:
It came together so fast. I have this set of springy rub-ons that I got out and cut out 9 ones I wanted to use and then just started adding other things to the cards.
First row: rain on me rub-on with green ribbon, umbrella rubon with wonder sticker, singin in the rain rub-on with green ribbon.
Second row: april showers bring May flowers rub-on with raindrop stickers, for you rub-on on top of a star chipboard piece, flower and bird rub-ons with discover sticker.
Last row: spring has spring rub-on with flower stickers, happy rub-on with it's the simple things sticker, spring has sprung rub-on on a wooden tag with a border sticker.
I love it when they come together really fast.
Here's the back:
I tried to include some more springy things, there's also some more of the rub-ons I used.
Green ribbon I used on the front, some flower ephemera, rub-ons, washi, planner stickers, wooden tags, dragon fly acetate ephemera and more stickers and flower pieces.
I have one more person on my facebook page that I've signed up to swap with. I am planning to swap with a lot more people. I'm just kinda slowing down. I'm sorting through my art closet and weeding out stuff I don't use anymore. I'm also trying to organize it a bit, so I don't have to take everything out when I want to create. In my new apartment, my crafting will probably be done in my bedroom, there's not as much space in that one as I have here.
This pocket letter is from Amanda, who I started watching on YouTube. I loved watching her channel and she was the first (technically second) person I asked to swap with me. I sent her the sea/vintage pocket letter in this post.
Last night I received one back from her. I apologize if the pictures are dark or out of focus, it was after 8PM, and I was so excited to open the package and see what she sent me.
This is what was in my package.
These goodies were in the envelope above with my name on it, I love that banner piece.
These were in the flowery package in the first picture:
These were attached to some of the packages:
I love the flip flop piece. I want to do something neat with it, but I'm not sure what.
Here's my pocket letter package:
And here is the actual pocket letter:
I love the washi on the side, I have that washi. It's fun to see how people use the same stuff you have, I love getting ideas from other people.
I took some close-up pictures because there was so much detail in it. This is the dangly thing on the top:
Here's the tag on the side:
Here's the first row:
I also have some of those tiny pearl things, so again I have an idea of how to use them. There seems to be a trend of hauling these things called enamel dots, they're basically dots with some kind of colored epoxy so the pop up. I love seeing them in hauls, but I don't know what I would do with them. I also love how she used the washi on the cards, I never know what to do with my washi.
Here's the second row
I saw in one of her hauls that she had bought these little wooden pieces she used on the first card. I also love how she created a band on the last card to hold some embellishments. I've done that in a button book before.
Here's the last row:
Once again with the washi, I also love seeing people create the little banners. I know it's really easy, but I never thought about creating my own.
And here's the back of the letter with all the goodies:
I love those Mickey Mouse pieces, they are 3D and I will find some way to use them. I've seen people hauling post it notes and page flags recently and while I did buy some, I still have no idea what to use them for. I don't really use notepads, I have one at my desk at work, but I'm at my desk so rarely. I'm more of a tiny spiral bound notebook person. I use quite a few notebooks.
I was so excited to see what Amanda had sent me. I think it's because I've watched her channel on YouTube, so I kinda knew a little bit more about what she liked and her style of stuff.
I love all the pocket letters I'm getting in swaps.