Thursday, December 15, 2016

Girly pocket bag

For the monthly swap I'm in, I got to choose what we made and the theme for November. I'm not good at making decisions sometimes, so I chose a pocket bag in a girly theme. I also asked that we include 3 handmade paper clips.
Here's what Lisa sent me:
 It's beautiful I love that she went with a vintagey girly theme.
Here is the bag itself:
 Here's just the bag:
 I'm loving that banner punch and the mason jar punch. Someone has sent me a few of those for my wishes, but I can't get enough of them. I also love how she added the hello tag above.
Here's what was in the bag:
 a die cut collection. I'm guessing this is one whole collection that she bought somewhere. I'll be using these for sure.
More goodies:
 Lots of lace and embellishments.
This is my favorite goody:
She took that mason jar punch and made me a mini notebook with a W on it.

I've been watching videos where people don't want to take apart the things others sent them. I get that now. I made sure to put everything back in like I found it. I don't have the room in this apartment to display the things people are making me, so sometimes I go to the drawer where I keep them (it's getting pretty full, I'll have to figure out something else soon) and just marvel at how creative people are.

My next post will be what I sent her.

Wednesday, December 14, 2016

Holiday Tags

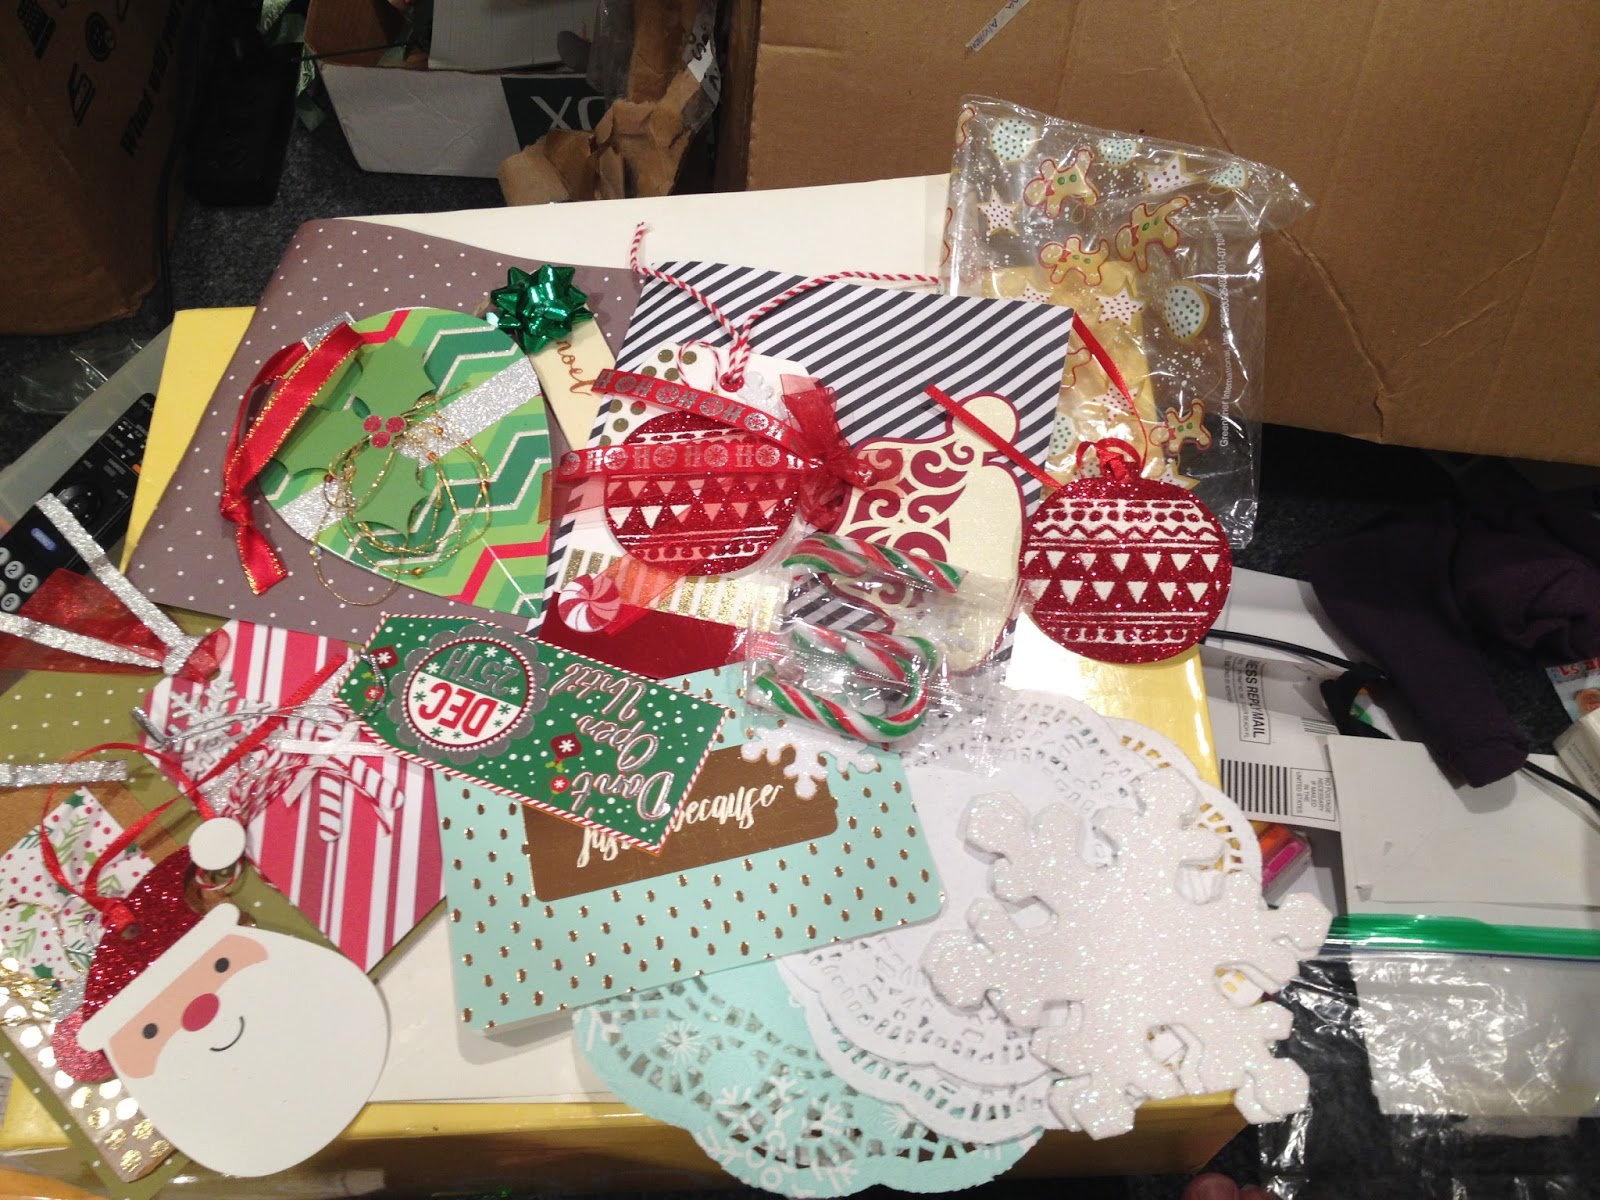
In my last post I mentioned I had made some holiday tags. Here's what I got back from my partners.
 And my other partner, these came in a mini loaded envelope:
 And here they are by themselves:
My favorite is the coffee cup one. I don't drink coffee, but I LOVE this tag.

Friday, December 2, 2016

What I've been up to crafty-wise

Has anyone altering paperclips? I have had a blast doing them. Mostly just using buttons, but I'm going to start using other things, too.
 The first one is actually made with mummy stickers, front and back. The second one has a pilgrim girl on one side and a pilgrim guy on the other side. The third one has the same pumpkin on the front and back.
 More
 I used two sparkly flower buttons for the first one. The second one is a button with a gold fleur de lis, the back has a plain button on it. The third is a Rudolph button with red felt on the back. The third is a snowman piece I found on my walk home with red felt on the back. On the second row, the first has some buttons and monster faces on them. The second one is a heart brad with a button on the back. The third is a flower button, there is a smaller flower button on the back. The last one is a faceted black button with another button on the back.
I signed up for a Christmas paper clip swap through one of my FB groups, so I will be making more.
I also had a RAK for one of my FB groups, I had a ton of fun wrapping the things I sent:
 That big blue one the left has some burlap leaves on it. The yellow one has ribbon with layered buttons. the third one has a strip of burlap ric rac and buttons. The fourth one has some ribbon with a turkey sticker. the fifth one is harder to see, it has a couple lizard stickers on top, and then I made a little banner embellishment with a pumpkin on the bottom. My favorite is that burlap belly band with the layered leaves. The last one is just a couple of pieces of paper layered.
I also signed up to do a holiday tag swap on FB.
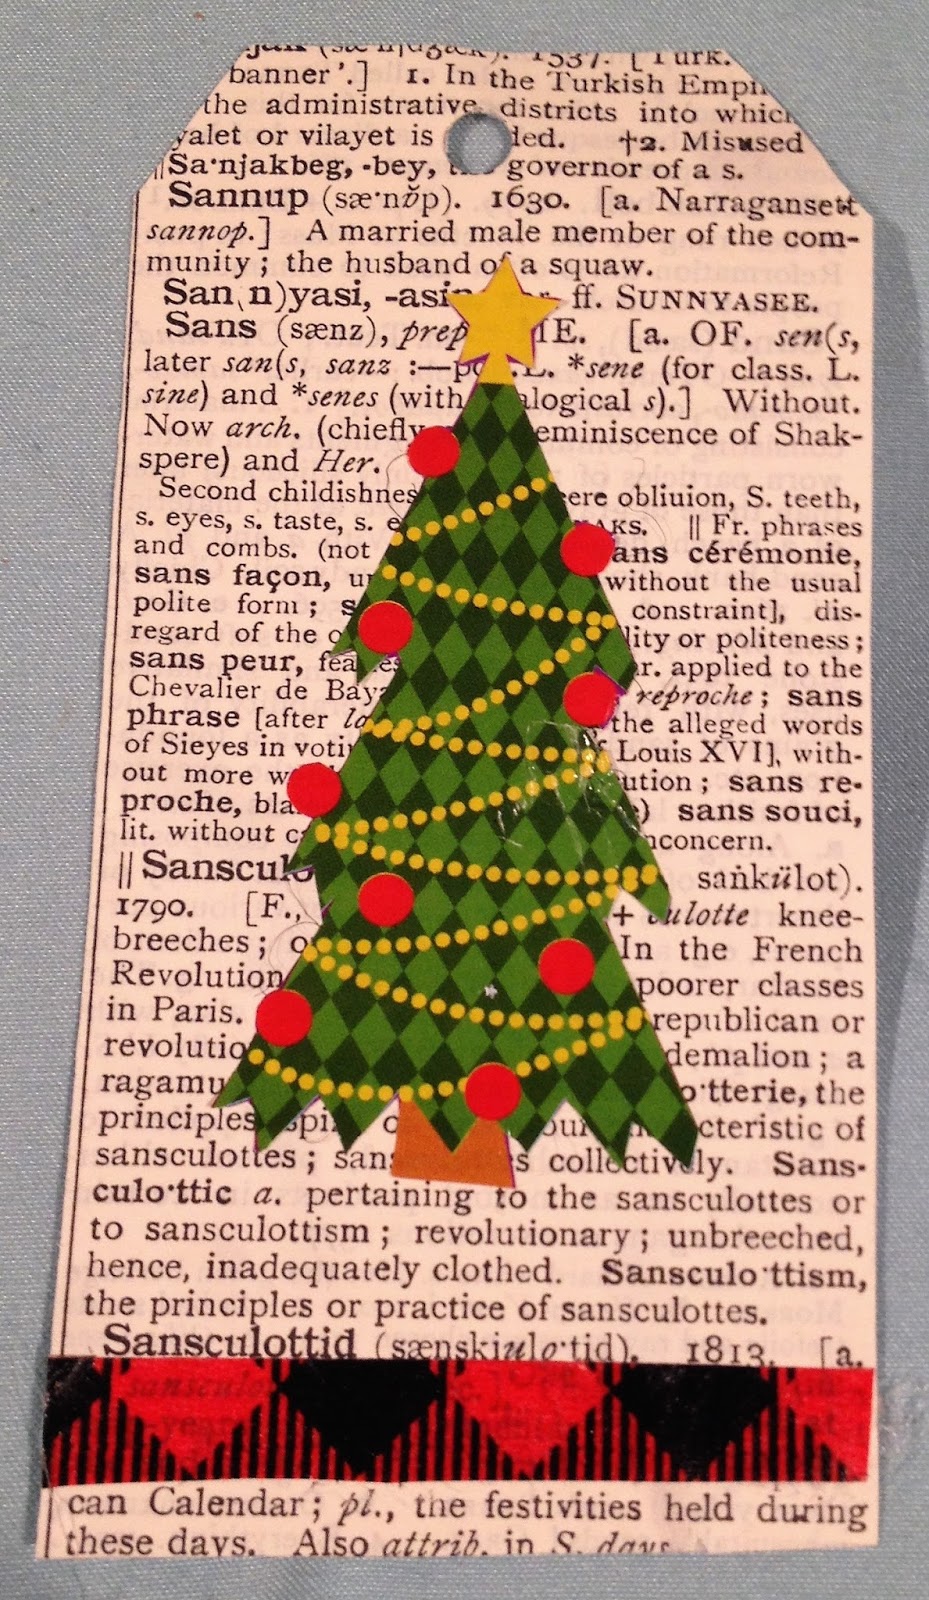
I used dictionary paper and paper from a 12x12 all-occasions paper pack from Hobby Lobby for backgrounds.
 Here's some close-ups:
This one has paper for the background. I added gingerbread guy stickers from Dollar Tree and some puffy white paint to add some dimension. I used a foil washi on the bottom from Hobby Lobby.
 
This next one has plaid paper for the background. I'm trying to make rosettes, so I bought some cupcake papers at Dollar Tree. This is my first attempt with a felt owl from Hobby Lobby in the middle. I also added some Christmas tree washi from Target to the bottom.
I don't have many doilies, but I like using them. I used a wood grain paper for the background. I added half of a green doily, that I got in a swap,  and a little guy I got off of some tags from a magazine, I should have added some white paint to him too. I used plaid washi, from Target, that I cut in half at the bottom.
I used plaid paper for the background here, too. I found this piece of burlap in my stash and layered a felt bird ornament, from Hobby Lobby, on top of it. Here is the full width of that plaid washi I used on the tag above.
This one has the wood grain paper for the background. I put some teal colored 1 inch circles with wood veneer snowflakes, from Hobby Lobby, and bling, from my stash, on top. I put some blue glitter washi, from Dollar Tree, at the bottom.
This one has dictionary paper for the background. I cut these houses out of notecards, from Dollar Tree, and added some puffy white paint to look like snow. I also added some bling, from a swap, at the bottom.
This one has the dictionary paper background. I added a felt tree, from Hobby Lobby, and some Christmas tree washi, from Target, at the bottom.
I don't use a lot of color ink, but somehow I always end up running out of it around Christmas each year. I attempted to print a bunch of vintage looking Christmas images from my computer, and ran out of ink halfway through. So, I went back and printed them in grayscale, I ended up coloring this with my metallic pens, and added some bling for the ornaments. The washi at the bottom is cut in half and is from Target.
This one has the dictionary paper as background with a tree sticker, from Dollar Tree, and plaid washi from Target at the bottom.
I've seen trees made from strips of whatever you want, so I used my thinner washi from Hobby Lobby to make one. I added a metallic star sticker on the top. I should have added something for the trunk at the bottom, but couldn't find anything that looked right, so it looks like it's just floating. The plaid washi at the bottom is from Target.
This one has the dictionary paper background with a sticker I found in my stash and washi from Hobby Lobby on the bottom.
This one is another variation of the other snowflake one above. I used dictionary paper as the background with black 1 inch circles, more of the wood veneer snowflakes and bling. I put plaid washi at the bottom.

I did not get a picture of these with the string/twine in them. I honestly can't remember what I used, but I did add some.

Monday, November 28, 2016

Flip book for a friend

A friend of mine has been having some rough days, so I made her a flip book to cheer her up:
 I chose some bright colored pieces from my Hello Baby 12x12 paper pack I got at Hobby Lobby. I attached the pages together with some cupcake washi. These animals on the front are from a folder that I got from BAM. I have no idea where I got the letters. It says "Sending you happy thoughts"
 When you flip this open:
 
Close-up of the left page:
 This background piece was sent to me in a swap. I added pink sequins and tiny bling to it so it wasn't so flat.
Close-up of right page:
The letters are sparkly. The remember is a sticker. I got the quote in a swap. I cut the hot air balloons out of another paper and affixed them with foam tape. There is gold foiled heart washi on the bottom and an arrow sticker.
When you flip this one to the right:
 close-ups of middle page:
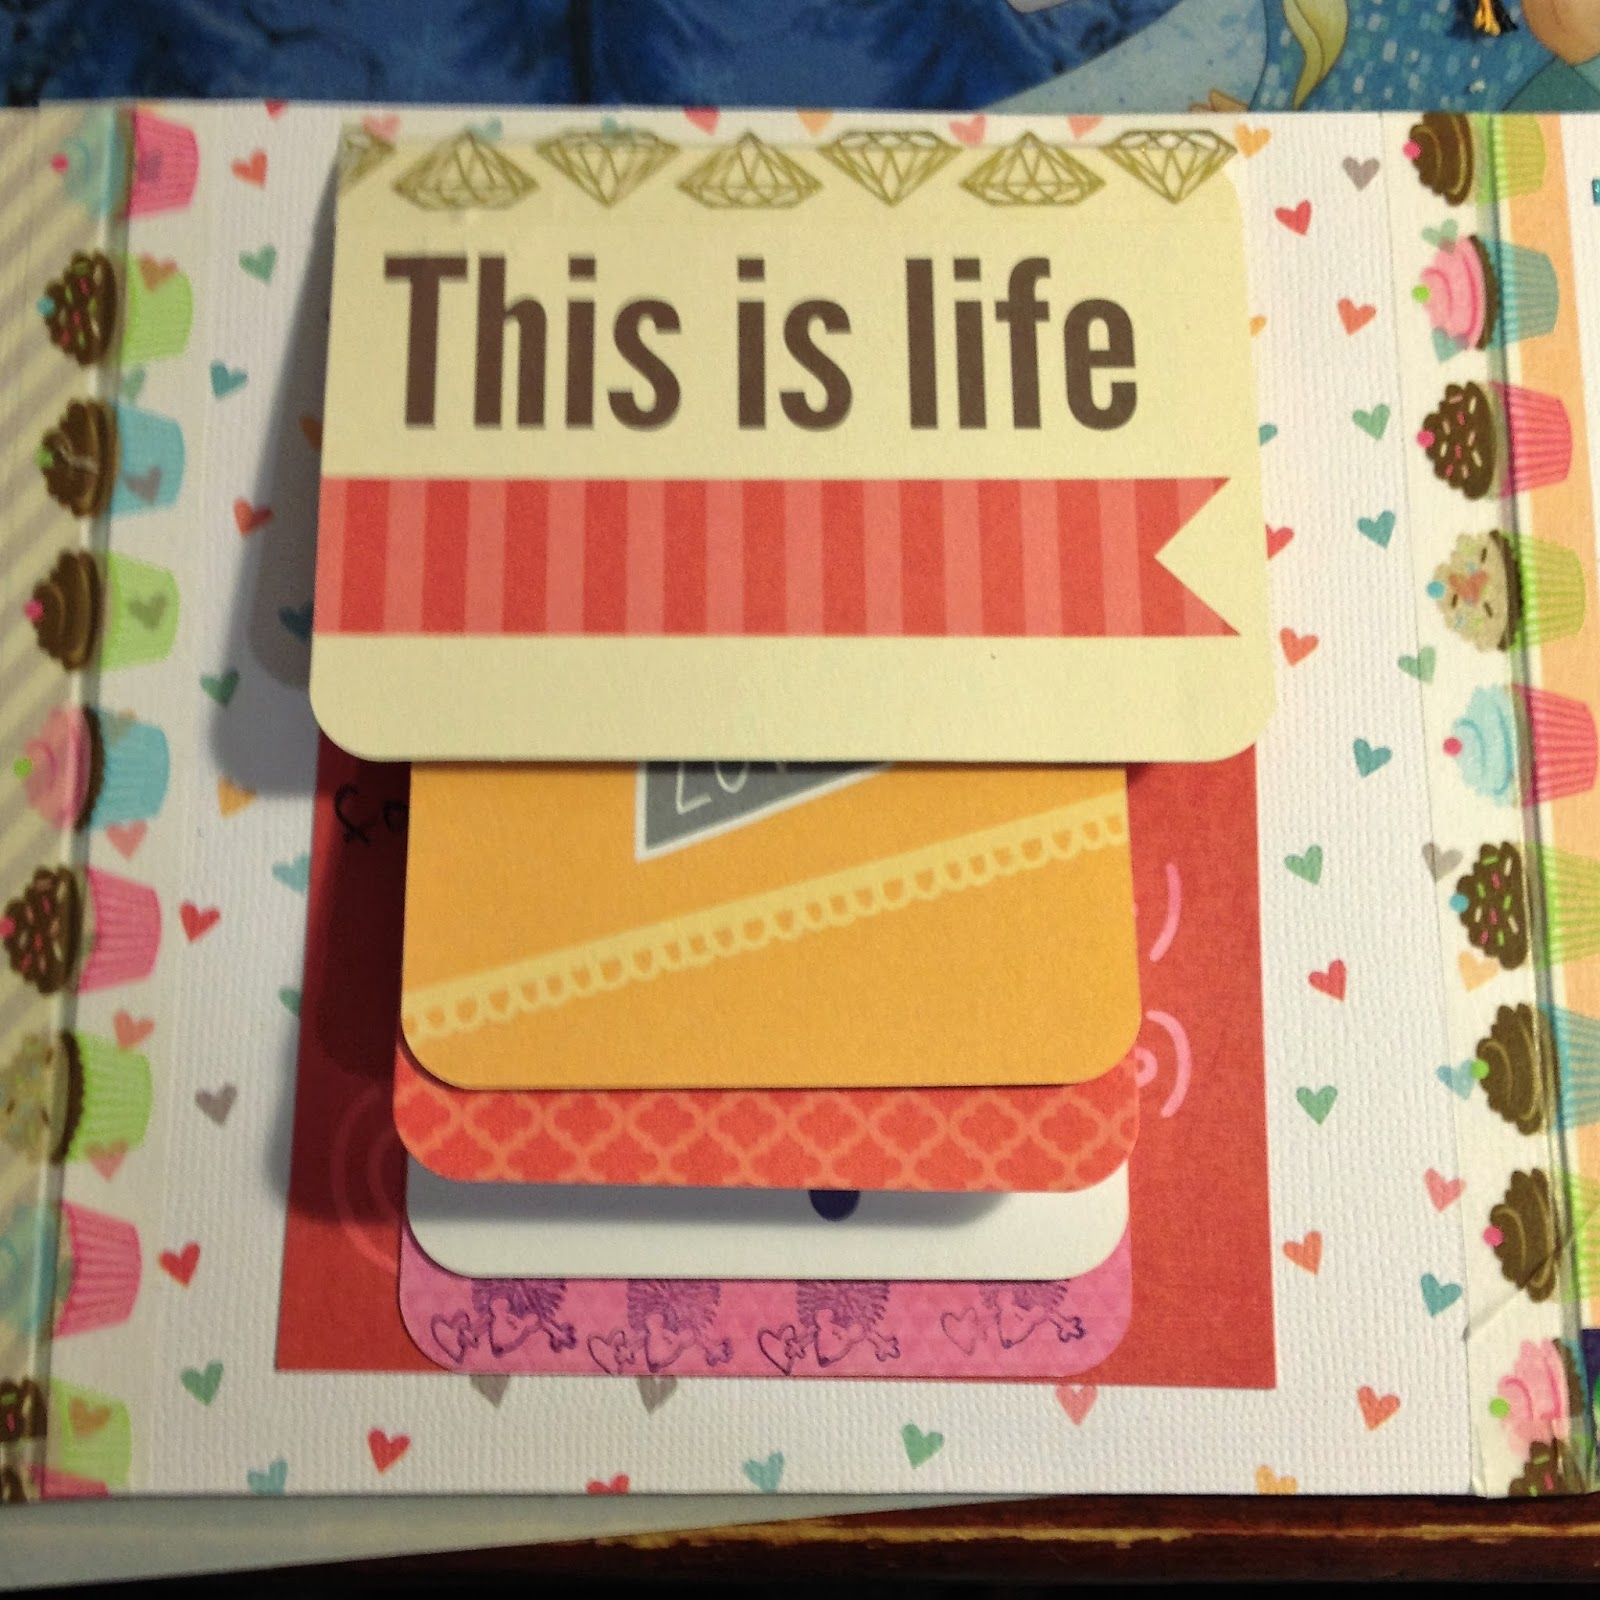
 I made a waterfall of project life cards, using gold foiled diamond washi tape to hold them down.
 I added some pink glitter tape to cover up what I didn't like on the back with a cute sticker from a Finding Dory sticker book and some flat back pearls.
 This was from a cut apart someone sent me, it says "She our lives with sunshine and our hearts with love" I covered up the she with a sticker that said "you" and added some sun stickers to the corners.
 I should have flipped the dog sticker around, I also added stickers saying "You are loved"
 I also should have stamped the fish the other way.
 And I should have put something on the back of the top card. I wrote "don't forget" on the top of the bottom card.
Close-up of right page:
I had another project life card that said "Take a deep breath" and had a cup of coffee on it, but it was my last one, so I just spelled the quote out with alpha stickers, and put a coffee cup and a box of donuts underneath it. I also added the words "tomorrow will be kinder", that's from a song. I also added some monster washi to the bottom because "monsters make me smile :) "
The back just had a note attached to it.
I hope she liked it, I had a lot of fun making it for her. I also hope it helped brighten her day.

Handmade Embellishments

I signed up for a swap on one of my facebook groups where we had to make 5 handmade animal embellishments. I had two partners so I made 10.
Here's what I made:
 A few paperclips, some banners, some tiny rosettes and a leaf.
Here's what I received from one of my partners:
 I love those tags and the rosettes are great.
Here's what I got from my other partner:
These are so fun and cute!

Wednesday, November 23, 2016

Pocket Letter

I made a pocket letter for Karlene, one of the channels I watch on YouTube. She said she liked rainbows, pink, unicorns, butterflies, Pokemon. I tried to incorporate a lot of that into the pocket letter.
 This one is a lot flatter than I usually do. I took some cloud paper and watercolored a rainbow onto it. I added this butterfly paper tape to the side. Mostly everything is stickerse from my stash. I added the 'be awesome' words from a journaling card. The butterfly in the second row is actually layered with a piece in the plastic sleeve and a piece on top of it.
The keychain on the side, I just thought she'd like
Here's the goodies:
I wrote my letter on the back of the 'you rock' journaling card. I tried to add stickers from what I had used on the front. I also tucked in some Hello Kitty stickers because she said she liked those, as well as Lisa Frank stickers, some washi samples and cute panda stickers.

Sunday, November 6, 2016

Halloween Flipbook

For some reason I really wanted to make a Halloween flip book. I think part of it was because I found a pack of 6 (maybe) felt jack-o-lanterns at Target for $1. So, I did a private trade with someone on one of my FB groups. I'm still waiting to receive mine, but here's what I sent her.
 The backgrounds are from a 6x6 paper pad I picked up at Hobby Lobby. I used the silver foil spiderweb washi from Target for $1. The "boo" foam sticker was from a swap. The gem tape at the bottom was from Target for $1.
When you flip this to the left:
 Close-up of left side:
 I had a hard time with this page and still feel like it's missing something. The "boo" foam sticker was from a swap. The 'smiley' faces were from Walmart on clearance. The October 31 chipboard sticker was from a kit I got at a garage sale. The pumpkin sticker is from the Dollar Tree. The "Happy Halloween" is from an all seasons 12x12 paper pack I got at Hobby Lobby.
Close-up of right page:
 I had this cute Tim Holtz ephemera that had this quote on it, so I just tried to illustrate it. It says "Halloween Greetings Screeching owls and flying bats Fighting spirit in black cats, Will make a spooky Hallowe'en With lurking witches and ghosts unseen" The background paper has flying bats. The owl is from the same Tim Holtz Halloween ephemera pack, it's layered on a skull cupcake liner that I got in a swap. The cat is a sticker from Hobby Lobby. I stamped a ghost in the background. I have no idea where I got that stamp.
When you flip this page to the right:
 Close-up of middle page:
 The background has bugs all over it. This napkin I got in a swap, so I just glued it to some cardstock and made a pocket with it. I probably shouldn't have put the Frankenstein sticker on it, but the page was kinda blah, and it needed some color.
Close-up of page on right:
 I probably shouldn't have used this paper as background, it's really busy and I also had a hard time with it. I ended up just making a spooky scene. The postage stamp sticker is from Walmart, the bats are from Hobby Lobby and the gravestones are from Walmart. The haunted house is from a clip art book, I just colored it with a gold gel pen.
When you flip this page to the right:
 Close-up of third page:
 This one is my favorite page. The large monster is actually a wall sticker from Dollar Tree, I just added a gemstone mustache to him. The green monster was in my stash. The blue and purple monsters are from Walmart. The mummy is from a sticker book from Micheal's. I tried to pick monsters that looked like they were dressed up.
Close-up of right page:
 This one just kinda came together. The strip at the bottom is from the all occasions paper pad from Hobby Lobby. The cat and pink post-it notes are from Target. The Witch piece is from the Tim Holtz ephemera pack. And the "W" sticker is from my stash.
The back:
 This background is actually from that all occasions paper pack from Hobby Lobby. I don't know if you can really tell from the picture, but I fussy cut some of the sweets and attached them with foam tape so they stood out. The label is from the Tim Holtz ephemera pack.
I love wrapping up my stuff when sending it out:
This one I wrapped up in a Halloween towel I got in a swap (I don't decorate for Halloween, so I wasn't ever going to use it.), I used some orange lace to make a bow and tucked in this purple skeleton guy. I'm not really sure what he's supposed to be, but he was cute.

I've already bought a 6x6 Christmas paper pad, so I'll probably be doing more flipbooks.