I'm not really into Halloween, but people and swaps have sucked me into it. I had a few years collecting Halloween crafting stuff that I didn't use, so I did a destash swap with someone this year for my Halloween crafting stuff. I kept a few things. I did want to create a Halloween pocket letter, so when the opportunity arose in one of my groups, I jumped on it.
Mostly everything is stuff people have sent me throughout the years except for a few stickers. All the layered papers except that tag at the top were journaling cards with this strip of decoration on the side, of course it wasn't big enough for the whole card, so I just layered it. The stickers on the first card, the fourth and fifth card were from my collection. The stickers on the bottom row are foam. I like how it turned out.
Goodies:
a cupcake pic, Casper die cut, sequins, some tags, stickers, washi and foam stickers.
Back:
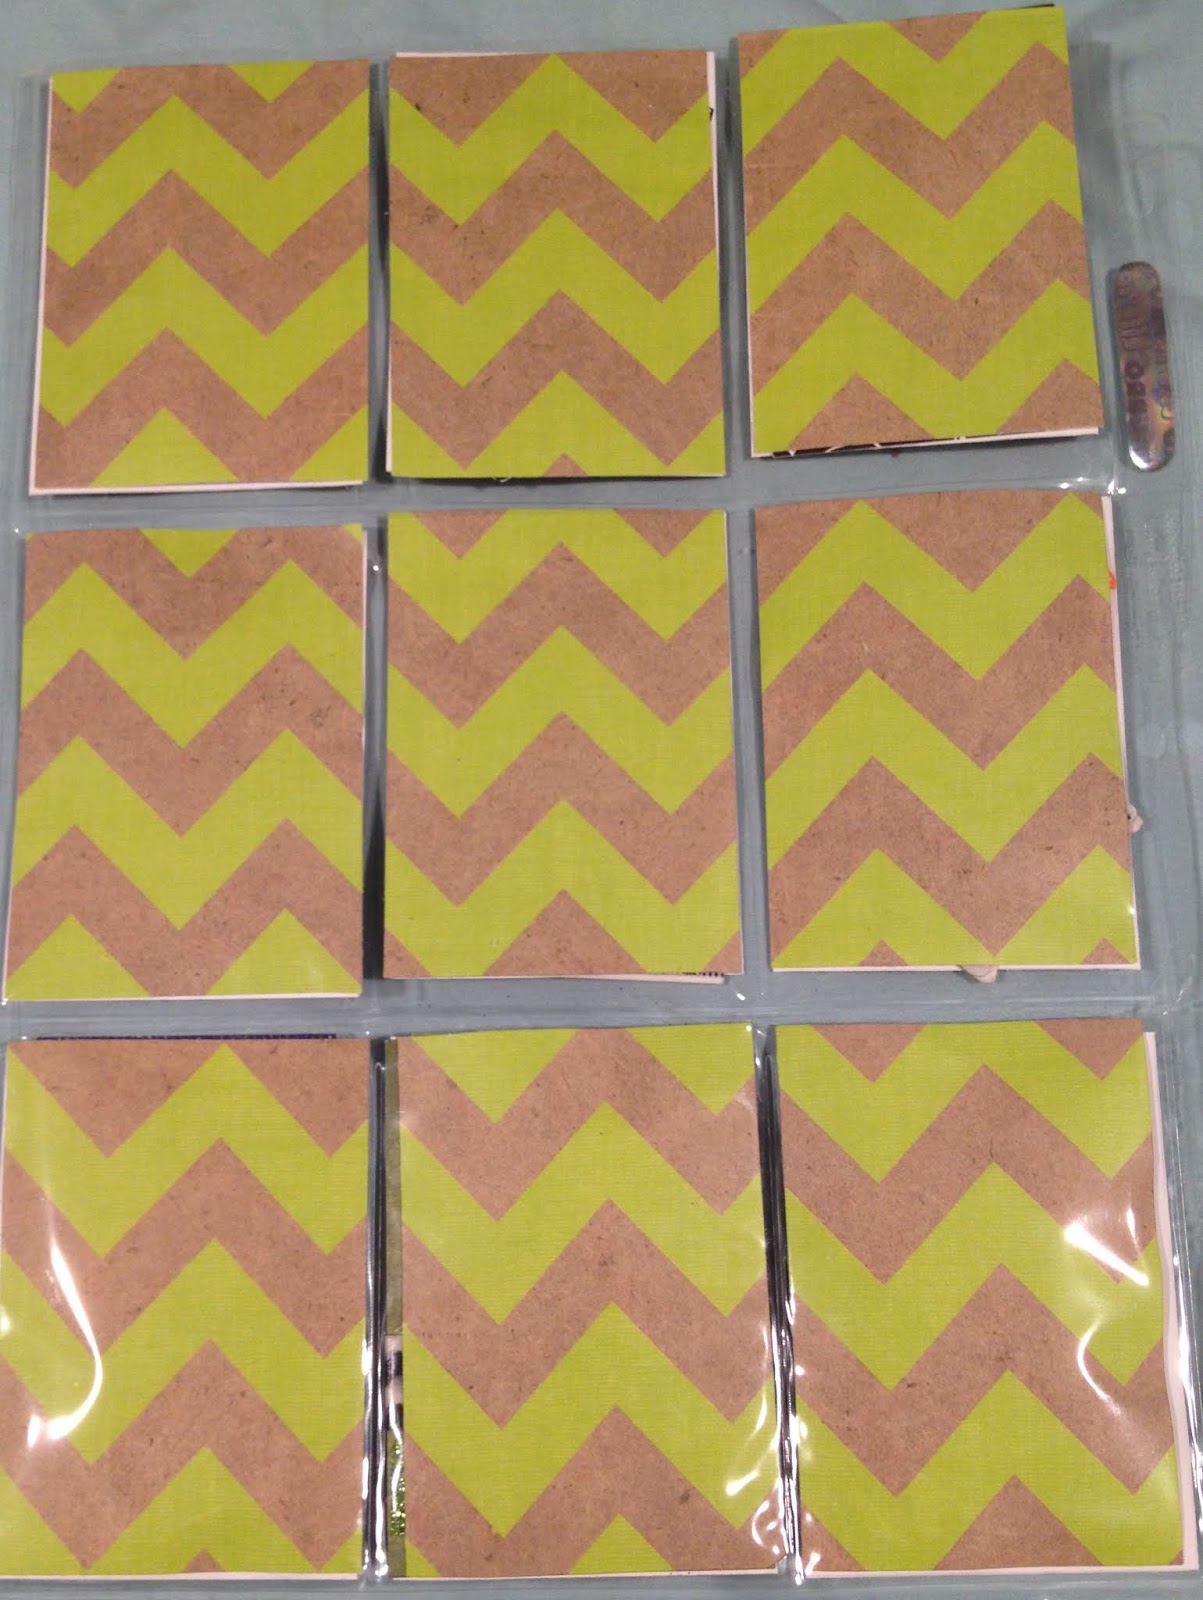
I don't have any big pieces of Halloween paper, so I just went with this zig zag paper.
Here's what I received in return:
The back:
I'm not sure how I feel about it, but I think I'm going to stop doing pocket letters for this group, the last few have been not so great.
I made a shaker tag for this one. I saw where someone had used tulle and wrapped it around a tag, attaching it with hot glue and then attaching another tag on the back to hide the raw edges. I had picked up this fall tulle at the Dollar Store and thought I'd try it out.
I started with strips of paper for the background. I was going to pop the calendar up on foam, but liked the look of it flush on the tag. I added star confetti, some punched leaves, some leaf confetti, some leaf brads (that I removed the brad part from) and some fallish colored sequins. I love how this turned out.
What I received in return:
It took over a week to get to me. But, I love it, it's very cute!
I'm not sure why, but I signed up to make a coffee card for a swap. I don't like coffee, though I like coffee ephemera, and I'm not really good at making cards.
Here's what I came up with:
The background is a paper called football texture, I thought it kinda looked like a burlap bag of coffee. I just added the beige paper, a Dollar Tree sticker and a coffee cup die cut. The front of it was this ugly basketball print, so I just flipped it over.
Here's what I received in return:
It's a shaker card. I LOVE shaker cards. She also included a handmade coffee sleeve.
More random ATCs I've made. I feel like every time I make an ATC lately, I just clean off my desk.
So, random piece of paper for the background. I added some pieces I cut out of a paper pad and a stamped image. I didn't have any good markers around to color it.
Another random piece of paper for background. I added a cut apart, a butterfly sticker and some cupcake washi
I used scraps of paper for this background, added some washi from a swap and some stickers.
Here's what I've received in return:
Very cute.
And the other one:
Except it's not actually an ATC. It measures 3x4, it's basically a journaling card. I like it, I just don't like that it's not an ATC. And I can't trim it down to make it one, I could trim the bottom, but the sides just wouldn't work. I'll probably make it into a small card.
I'm not sure why I signed up for this swap, I don't do a lot of Halloween crafting. I even got rid of all my Halloween crafting supplies after making this.
I realized I didn't have any Halloween but not very patterned paper I wanted to use for the background, so I used a piece of yellow cardstock. I added the green and word Halloween paper on top. I attached the ephemera to some orange paper as I didn't think there was enough orange in it. I put the clear bottle sticker on some cardstock and attached it with foam tape. I added the skull and crossbones sticker at the top.
Here's what I received in return:
I like the dimension of the trick or treat bag at the bottom.
I didn't appreciate that it was just put in an envelope with no note. Is it that hard to add a little note?
I signed up for a shabby chic/vintage pocket letter. And then realized I don't really know what shabby chic is. I made this pocket letter and people said it was shabby chic.
I took some scraps of paper for the background. I didn't have enough of each paper for the whole background, but had enough to do a strip. I just basically used a bunch of stickers and then some flat back pearls and lace tape for the front. I like how simple it turned out.
The back:
I filled up the pockets with beads, stickers, cut aparts, washi samples, die cuts and more stickers.
The back
I love this paper, but the texture made it hard to attach anything to it, so I used it as my back piece.
What I received in return:
I LOVE this pocket letter. It's so beautiful.
The goodies:
I made another explosion box. I had bought a paper pad, tealightful at Tuesday Morning and thought it would make a perfect explosion box.
Here's the video:
The first lid:
Basically all the paper is from that paper pad, I will mention when it isn't. I added this flower on the top.
Side view:
All my side views of the boxes don't have decoration on the lids as they came afterwards. I went with trim and lace around the sides of the boxes.
Here it is opened:
First side:
I used cut aparts for each of the sides that I trimmed down a little to fit on the panels.
Second box lid:
I basically layered a bunch of paper flowers for this one.
Side view:
More trim and lace. The outside sides of this box were from another tea themed pad I bought that day.
Opened:
First side. I had a harder time decorating these as the cut aparts did not fit on these panels because they are 3.5" square.
This has a doily and a handmade flower I got in a swap.
This one has a doily and a chipboard sticker from a sheet of stickers I also picked up that day.
Another doily with some chipboard stickers and a gold word sticker.
Another doily with a handmade rosette.
Third box lid:
This one has some paper from the outside of the second box with a cut apart from the paper pad.
Side view:
More trim and lace.
opened:
First side:
I just used more cut aparts and jewels
Cut apart and pearls
cut apart and jewels
cut apart and pearls.
I love how this turned out. I love that I basically just used stuff from the paper pad. It came together so much faster.