Sunday, March 15, 2015

Altered Tins

I've started altering Altoid Tins for gifts, here's a few I've been working on.
This one was for a friend for Valentine's Day:
 I glued burlap ribbon to the front, added a charm I got in a swap and a jewel on top.
This is the inside of the box:
 There's vintage blue paper as the background, with a strip of ribbon roses on the inside of the lid, I added a tag to the bottom with some more ribbon flowers.
This is the back of the tin:
 We both work at a library, so I thought it was fitting to put "A nation of readers", and "Learning never ends" stamps. I also added a saying from a Dove chocolate.

This next one is a birthday present for a friend who likes birds and blue.
 The front of the tin:
I have decided one of my new signature things is to use dictionary paper as backgrounds, I also added a shiny bird to it.
The inside:
 I glued a few birds on the lid, and a bird and nest to the bottom.
Here's the back:
 A cute kingfisher stamp.

This one is a birthday present for a friend who likes purple:
 
 I added a butterfly and some flowers to the lid, I also added some ribbon and faux pearls to the edge.
This is the inside:

I painted a metal pendant from a necklace for the bottom, and added some dogwood flower stickers with puff paint accentuating them. I added purple flowers to the inside of the lid with a couple butterfly stickers.
And here's the back:
 I added a butterfly sticker to it.

These next two are for the Pay It Forward project that I signed up with Kathy at Kluless and Cathy at Ma Vie Trouvee. So, ladies if you're reading, stop.
This one's for Kathy:
I added burlap with a strip of canvas to the front of it and some vintage buttons. I also added lace to the edges of it.
Here it is opened:
I filled it with buttons because I know she collects buttons, I also added some vintage trim to the lid.
Here's the back:
I added a nice vintage looking picture.
 
And this one's for Cathy:
I added a piece of silver paper and a very colorful motif. I painted the edges green. I believe she likes bright colors, so I tried to use some for her.
She was talking about this being the year of the Ram for the Chinese New Year, so I went with that theme:
I used some stamps in this too. A little back story on that, this summer my parents sold their house and a we were cleaning out, we found my brothers stamp collection, so I have a ton of stamps now, I plan to use some in my artwork, but if anyone's interested in some stamps.
Anyway, the one on the lib is very bright, and I added a ribbon that I printed The year of the Ram on, on the bottom I added some green paper and three ram stamps.
Here's the back:
I thought this was a cute little ram stamp as well.
I also gathered up some handmade beads for Cathy, because I know she likes beads:

I plan to get these will go in the mail tomorrow, I hope the recipients like them.

Wednesday, February 11, 2015

Valentines

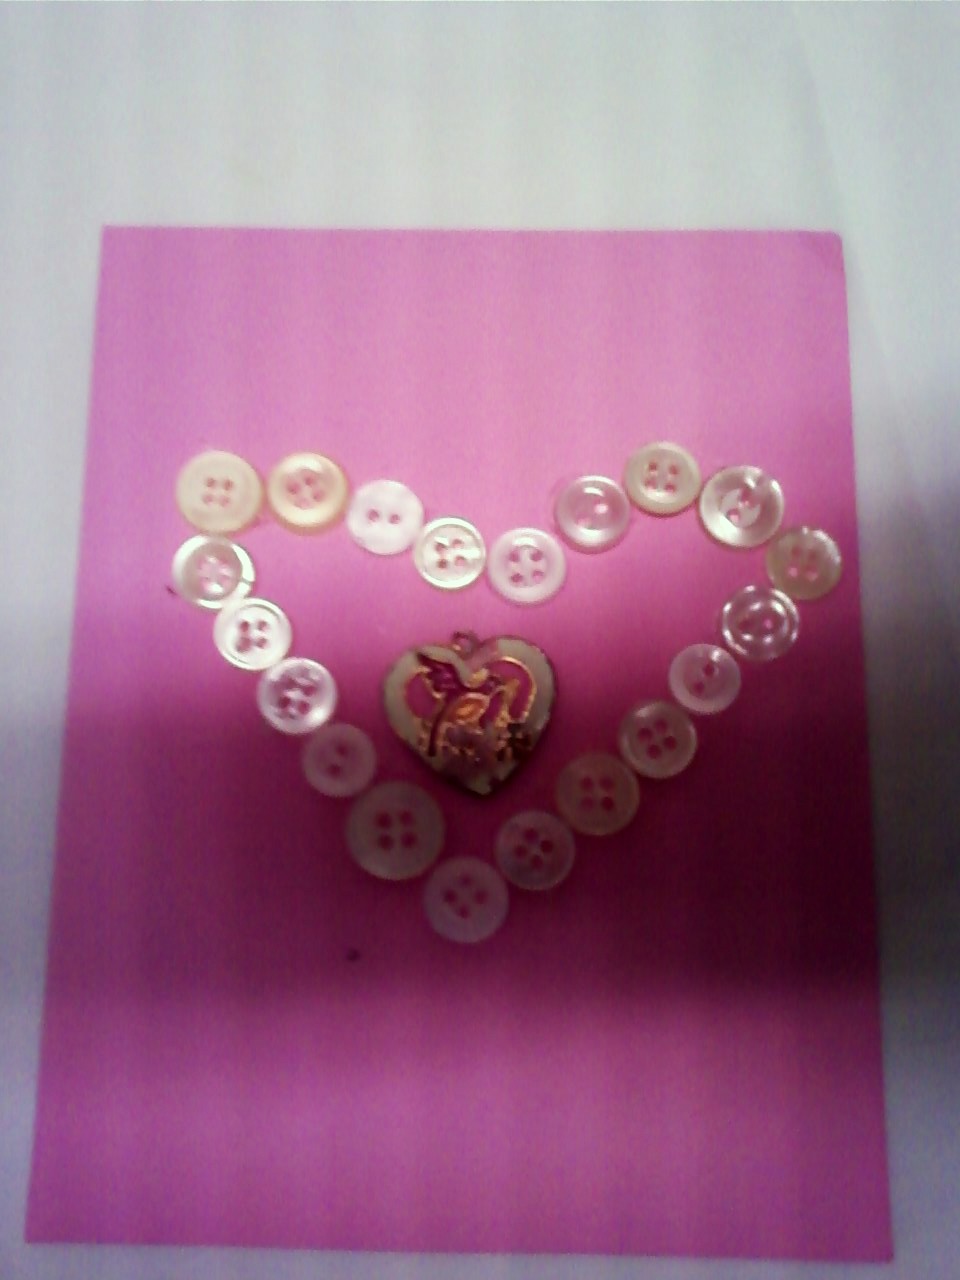
It's getting close to Valentine's Day, so I made a few valentines. I decided to create them out of buttons, since I have a ton of those. I apologize that the pictures are to dark. I finished them tonight and have a few I want to get in the mail tomorrow (fingers crossed they'll make it by Sat, they're going in state, so should be fine.)

As you can see I basically made hearts with the buttons, I covered a few cards with dictionary paper because I wanted to see how it looked with the white buttons on it, a sort of low-color card. I kept thinking they needed something else in the middle to make them look done, so I dug out some heart shaped things from my stash.
This one I covered the background with dictionary paper, and tried out a button border, I also only used clear buttons for the heart. I'm not sure I really liked the clear buttons on the dictionary paper. I used a clay button for the center.
 I also made the heart with clear buttons here, the middle is a sticker, I had a particular person in mind for this one.
 The middle here is a piece of lace.
 For this heart, I used all vintage buttons with string, the middle is a locket.
 Again, dictionary paper, this one has all vintage buttons with a sticker in the middle.
 I used a cupid button for this one.
 More dictionary paper with a sparkly pendant for the middle, all mother of pearl like buttons here.
 Just a clay button for the middle.
 Another pendant for the middle, again with the buttons with string.
 This one has a nice cloisonné pendant for the middle, sadly it fell off after taking this picture, figured I'd send it plain.
 This one I had a particular person in mind, which is why it's made with purple buttons and a nice bead for the center.
 This one has a vintage pin for it's center.
 This one has a button with a heart cut out.
 This one has a sticker I picked up somewhere, the design is created with micro beads.
And lastly, this one has a piece of metal filigree in it.
 
I kinda think they look like a kid made them. I found out I do not freehand hearts well. And when some of them looked so good before I glued the buttons down, they seemed to have morphed into something that's not a heart afterwards. Oh well, it's the thought that counts, right?

Wednesday, December 17, 2014

Christmas gifts

This year for Christmas gifts I decided to alter some Altoids tins. My first step was to glue dictionary paper on them. I tried to paint the insides of them, but my glue gun wasn't sticking well to the paint, so after scraping some of the paint off, I added paper to some and left others just plain metal. Here are all the tins:
 I tried to customize them to people's tastes, but as I wasn't sure who was really into Christmas I ended up with more snowy ones.
This first one was for someone who really liked Christmas. I printed some old clip art off my computer for the fronts of the tins. This Santa picture just fit on so perfectly, he needed to be on a tin. I also used trim on all the sides of the tins, this one has a fancy gold on it.
On the inside of the top, I added another vintage picture, on the bottom of the tin, I added holly paper, a felt snowman, a present button and some red and green star beads.
 This next tin was for a person who doesn't celebrate Christmas, but I wanted to make her something. So, I kinda went with a steampunk like feel. The background is a sticker from a Tim Holtz sticker book. On the corner I layered a metal gear with some clock hands and a jewel. There is gold trim around the edges.
 Inside the top I added some more dictionary paper and piece of glass. On the bottom, I put burnt out Christmas tree bulbs on the top and a robot ornament on the bottom.
 This one has another vintage picture, this time of a snowman, there's a lace around the edges of this one.
 Inside you can see the paint, and then on the lid I put some dictionary paper. The blue snowflake is metal, the white one plastic and the small one a sticker. On the bottom, I glued a snowflake cut from paper and a snowman ornament.
 This one also has a vintage snowman picture. After gluing this one down I decided I liked the fussy cut look better, but it was too late for this one, it also has lace around the edge.
 Inside you see more dictionary paper and the pendant from a necklace. On the bottom is some snowflake scrapbooking paper. The snowflakes at the top were earrings, the snowman was a pin.
 This one, I wasn't really sure of the recipient's tastes, so I went with more of a fun winter scene. There is a vintage winter scene on the front with green ribbon on the edges.
 Inside is a cute little winter scene. The snowflakes are stickers. You can't see it, but the deer are standing in some sparkly white flakes to represent snow.
 Another vintage snowman picture, it also has lace along the edges.
 Inside I glued burlap ribbon to the lid and added some sparkly letters. On the bottom is snowflake paper with a snowglobe sticker and a couple pencil toppers.
 And here they are all wrapped up. I decided to just add letter stickers instead of doing tags this year.
I really wanted to make/alter boxes for all my presents, but I decided that was too big of an undertaking. I'm hoping to do more of these in the coming year.

Monday, November 24, 2014

White Christmas Button Book Swap

I joined the Button Floozies White Christmas Button Book swap. Basically, we were supposed to make a button book out of paper or fabric, with 30-50 buttons showcased in the book. This is the first time I've made and bound a book, so I looked at the one Kathy sent me, and took my inspiration from that.
Looking at other people's pictures and my partners book, and going back to read the directions again, I believe I misunderstood them. They say It should have a minimum of six pages (3 pages front and back) as well as a front and back cover that is decorated. Each page of the book should be ~4x6”; they do not have to be exactly that size but please don’t go more than about an inch larger or smaller. For some reason, I was thinking a page was two pages together, so I cut 6x8" pages and folded them in half thinking I was doing it right. It does say a minimum, so it still works out, and my partner just got more pages and buttons. I don't think that's a bad thing.
Here it is:
 I used blue cardstock for the cover. This is a baby's knit mitten with gold trim on the top, a plastic silver snowflake with buttons on it.
First spread:
Left page: the front of a card layered on a frame. Right page: white cardstock, another card front and silver buttons on the top and bottom.
Second spread:
 I originally started with white cardstock for the pages and mod podged a snowflake napkin for the backgrounds. Left page: blue paper with snowflakes, a snowman made out of buttons and some domed snowflake stickers on top. Right page: ribbon on the side, I used a paint chip sample to make a tree, and glued buttons on it for ornaments.
Third spread:
Left page: I sewed white buttons into a wreath form and attached the card to the page with blue ribbon. Right page: buttons on a card attached with a ribbon.
Fourth spread:
 Left page: a 3-D snowman sticker layered on white cardstock. Right page: another card front layered on some vintage notebook paper, buttons on the side and a "NOEL" button in corner. The deer side is my favorite page in the book.
Fifth spread:
 Left page: I just added some snowflake stickers and buttons to the centers of the snowflakes. Right page: I created a pocket to hold some glass buttons.
Sixth spread:
 Left page: I added a plastic snowflake to the top and buttons to the centers of the snowflakes. Right page: I sewed a bunch of white buttons into a tree shape and topped it with a star button, I attached the tag to the page with washi tape.
Last spread:
Left page: these three buttons have the same pattern on them in different colors. Right page: I attached a button card with some washi tape.

I'm so happy with the finished product. It turned out great. I hope my partner likes it.

My partner was Pat Fields, she said she wanted to work with fabric.
So, here's what I received:

 The cover:
 First spread:
I love the green glass buttons in the pocket.
 Second spread:
I think the snowman is so cute, feel free to click on it to enlarge, it's pieced kind of like quilting.
 Third spread:
 Last spread:
I think the buttons on this heart are so cute, they all have carvings on them.
 Back cover:

Pat asked what my favorite animal was, and I told her a guinea pig. I was thinking maybe she'd find some guinea pig buttons (good luck with that), but now I see what her plan was, it's so cute.